
15 Smart Christmas Decor Storage Hacks & Organization Ideas for an Easy New Year Reset
For years, packing up Christmas felt like punishment for having enjoyed December. Every January I’d shove ornaments into whatever box was closest, wind lights into a bird’s nest of doom, and swear I’d “deal with it next year.” Then I started treating takedown like a system instead of a chore — sort first, store smart, label everything — and now the whole thing takes one focused afternoon. Even better, next December I actually find everything.
If your New Year reset includes reclaiming your garage, attic, or spare room from the holiday explosion, these 15 Christmas decor storage hacks will get you there. Each one is a small change that pays off twice: once when you pack up, and again when you decorate next year.
1. Sort Christmas Decor by Category Before Boxing Anything
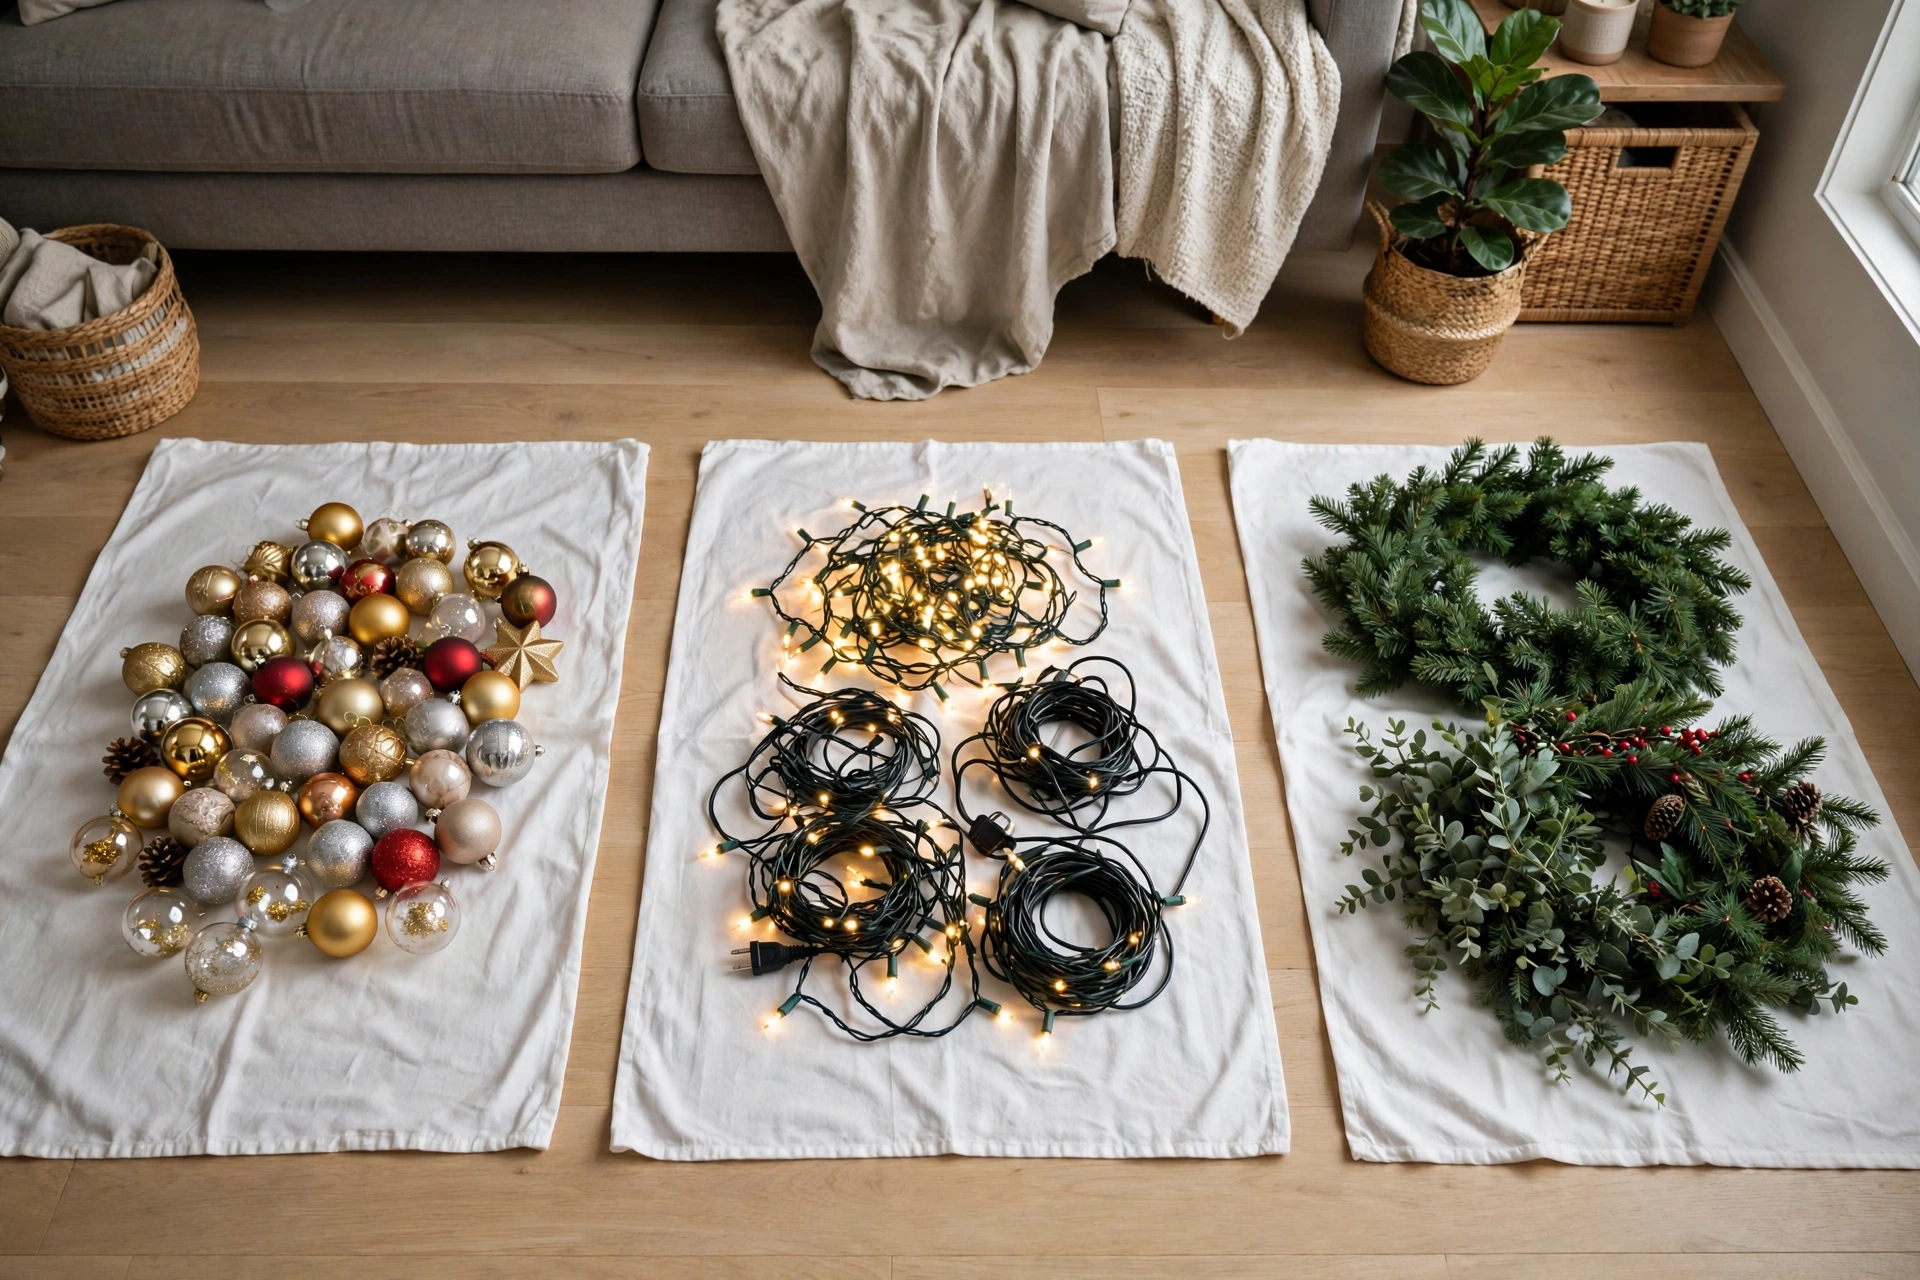
The single biggest mistake people make is packing room-by-room. That guarantees you’ll have fourteen half-empty boxes and no idea where the tree skirt went. Instead, pull everything into one area and sort by category: ornaments together, lights together, garlands together, tabletop decor together. You’ll immediately see duplicates (do you really need six tree toppers?) and you’ll know exactly how much storage each category needs.
Use bedsheets or old tablecloths as sorting surfaces so small pieces don’t roll away. Toss anything broken or faded as you go — storage space is too precious for ornaments you don’t love anymore.
2. Switch to Clear Storage Totes for Christmas
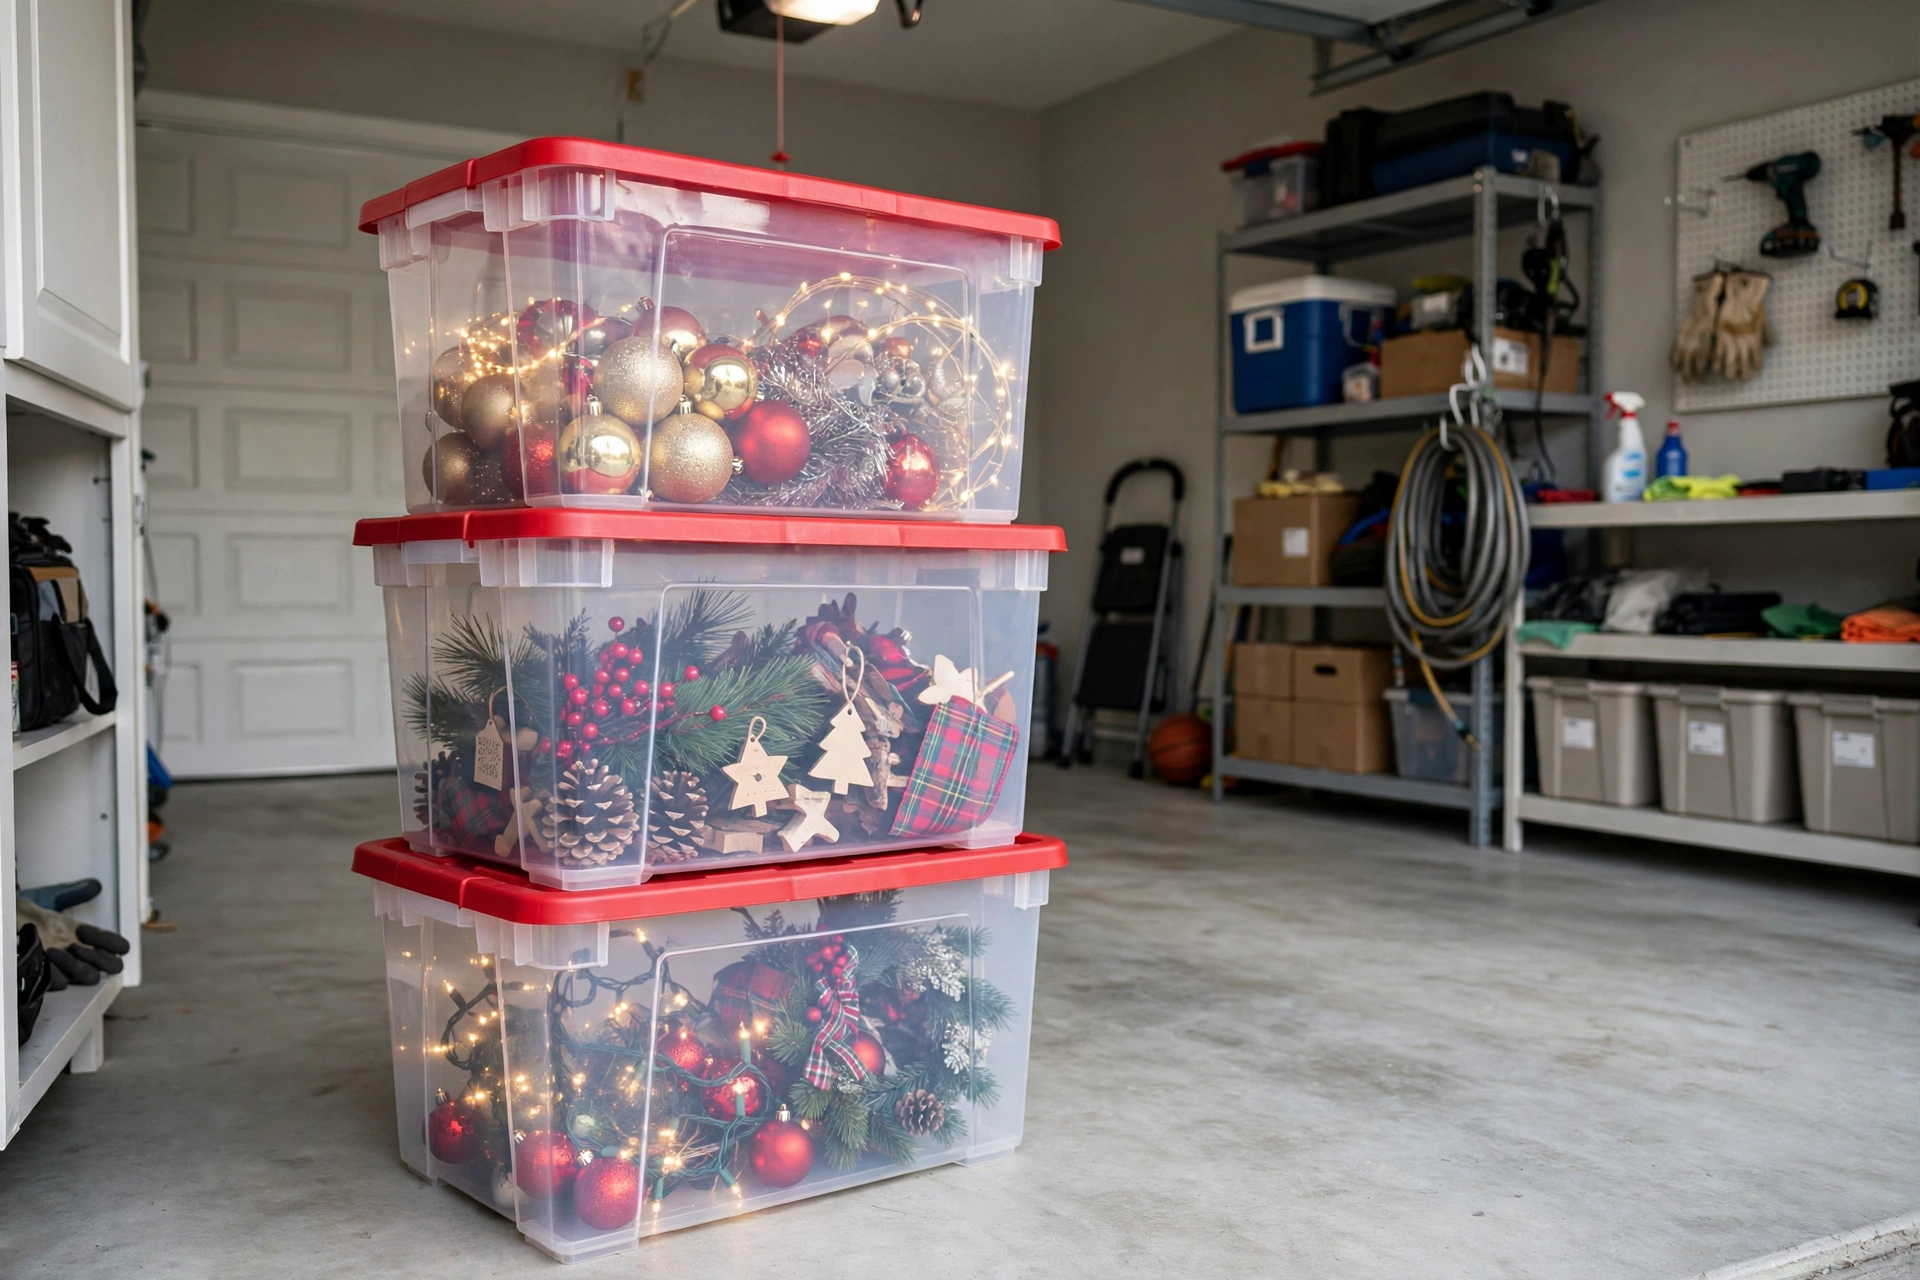
Opaque bins are where Christmas decor goes to be forgotten. Clear storage totes let you see exactly what’s inside without opening a single lid, which means no more unstacking six bins to find the stockings. The uniform size stacks neatly, and you can spot at a glance which box holds the fragile ornaments versus the outdoor lights.
Buy one size — the 27-gallon ones stack best — and resist mixing in random cardboard boxes. Uniformity is what makes a storage wall actually work instead of looking like a cardboard shantytown.
3. Label Every Box Like Future-You Is a Stranger
“Christmas stuff” is not a label. “Christmas stuff” is how you end up opening nine boxes looking for the nativity set. Label every tote on at least two sides with the specific category inside: “ORNAMENTS — SHATTERPROOF RED/GOLD,” “TREE LIGHTS — 4 STRANDS LED,” “MANTEL GARLAND + STOCKINGS.” Future-you, standing in a cold garage next December, will be grateful.
Use big 3-inch labels or a label maker — masking tape and sharpie fade and fall off. For bonus points, number your boxes and keep the master list on your phone (more on that in hack #15).
4. Learn How to Store Christmas Wreaths and Garland Properly
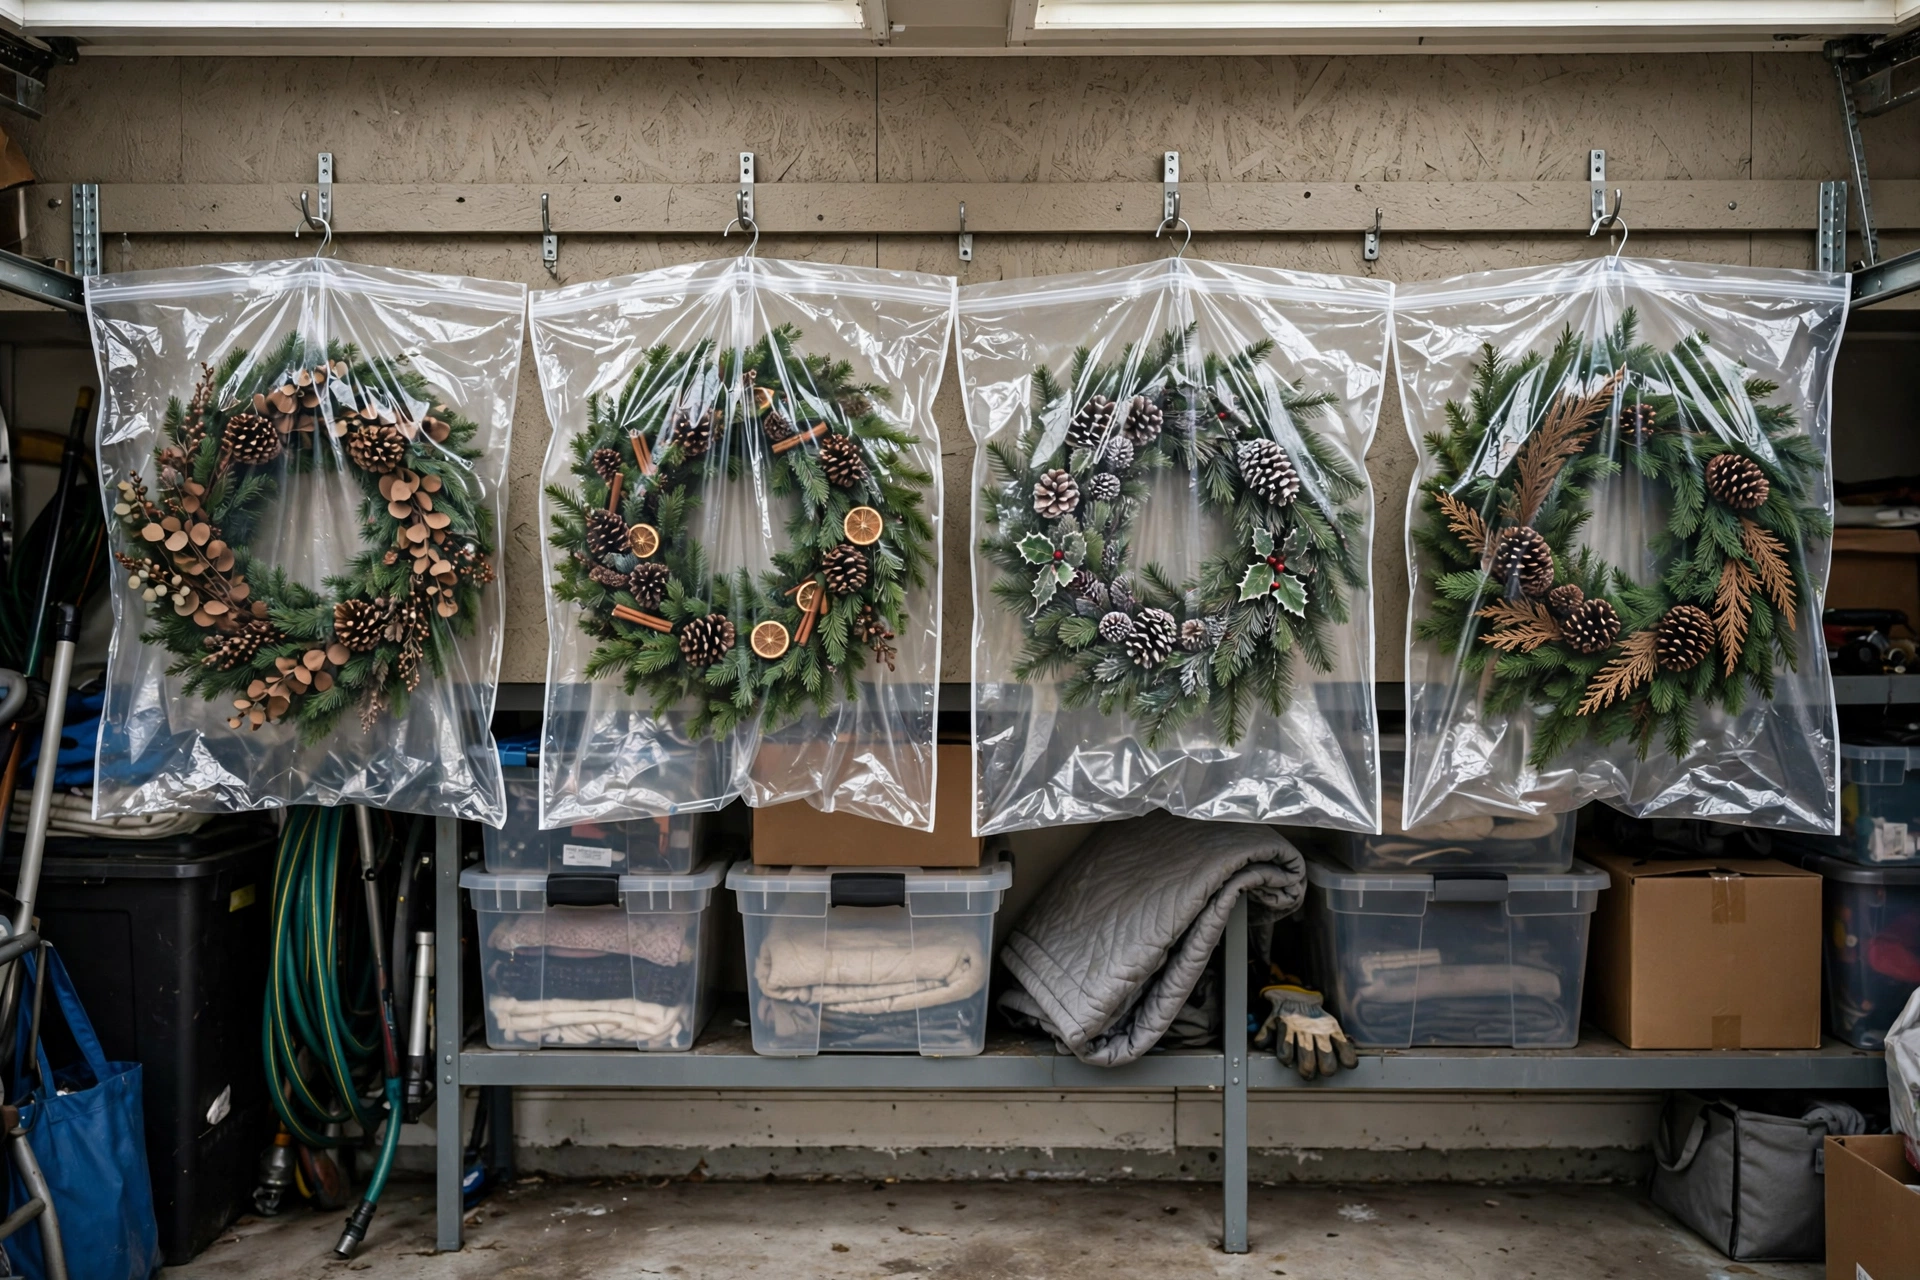
Good wreaths are expensive to replace, and they crush easily. Hang wreaths on hangers inside tall garment bags or dedicated wreath bags, never stacked flat under heavy boxes. The hanger keeps the shape, the bag keeps the dust off, and you can hang the whole row on a single closet rod or wall hook.
For garland, coil it loosely around a piece of cardboard or a pool noodle to prevent kinks, then slide it into a garment bag. Flocked garland sheds, so bagging it also saves you a January’s worth of glitter cleanup.
5. Ornament Storage Ideas on a Budget: DIY Divided Boxes
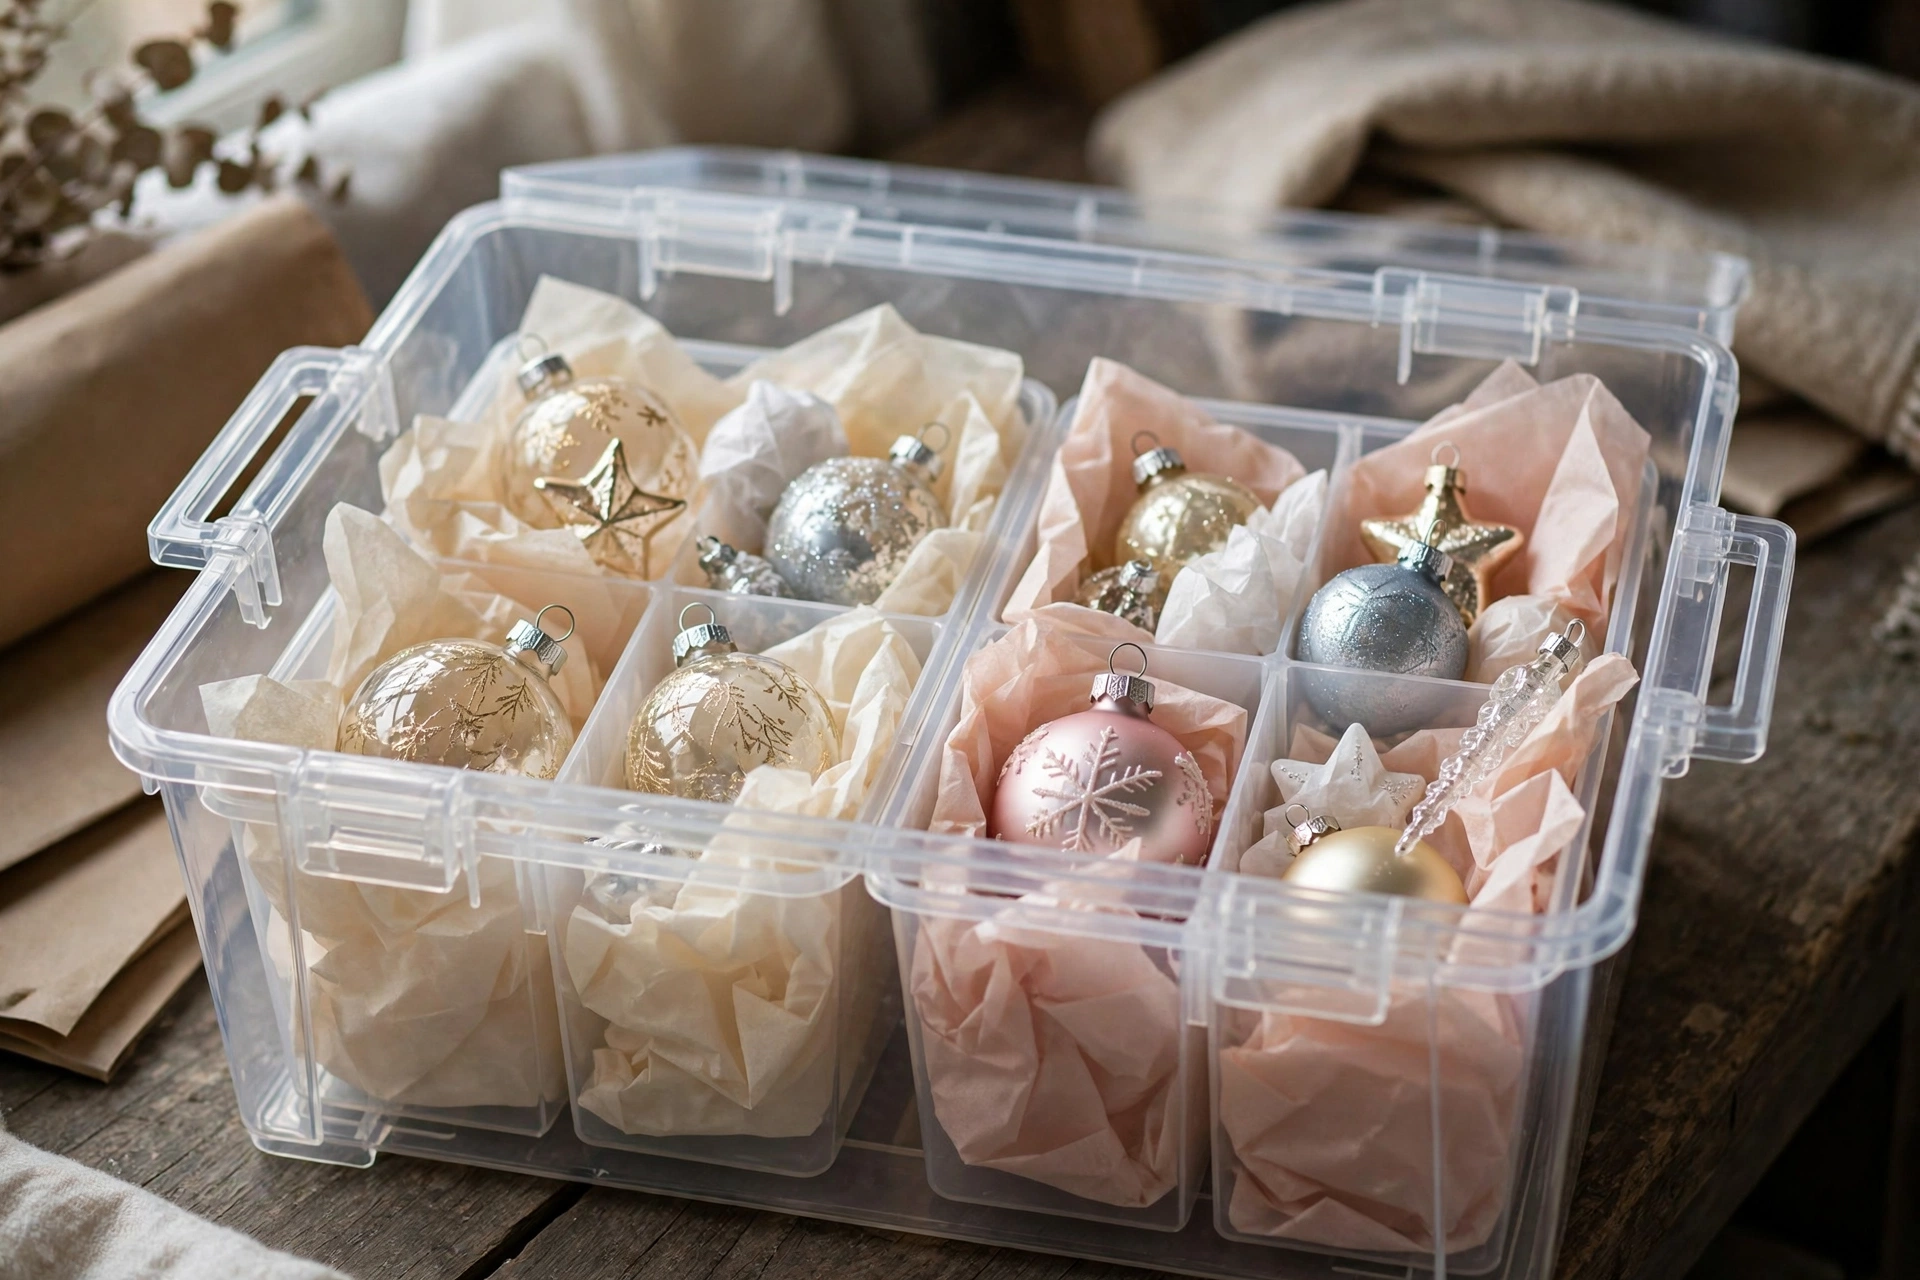
You don’t need a £40 ornament organizer. Take a sturdy box or plastic tote, cut cardboard strips to make a grid, and nestle each ornament in its own cell with tissue paper. Egg cartons work brilliantly for small ornaments; plastic cups glued into a box handle the medium ones.
Wrap truly fragile or heirloom ornaments individually in tissue or bubble wrap before they go into the grid. Store the box flat — never on its side — so nothing shifts and crushes.
6. Christmas Light Storage That Actually Prevents Tangles
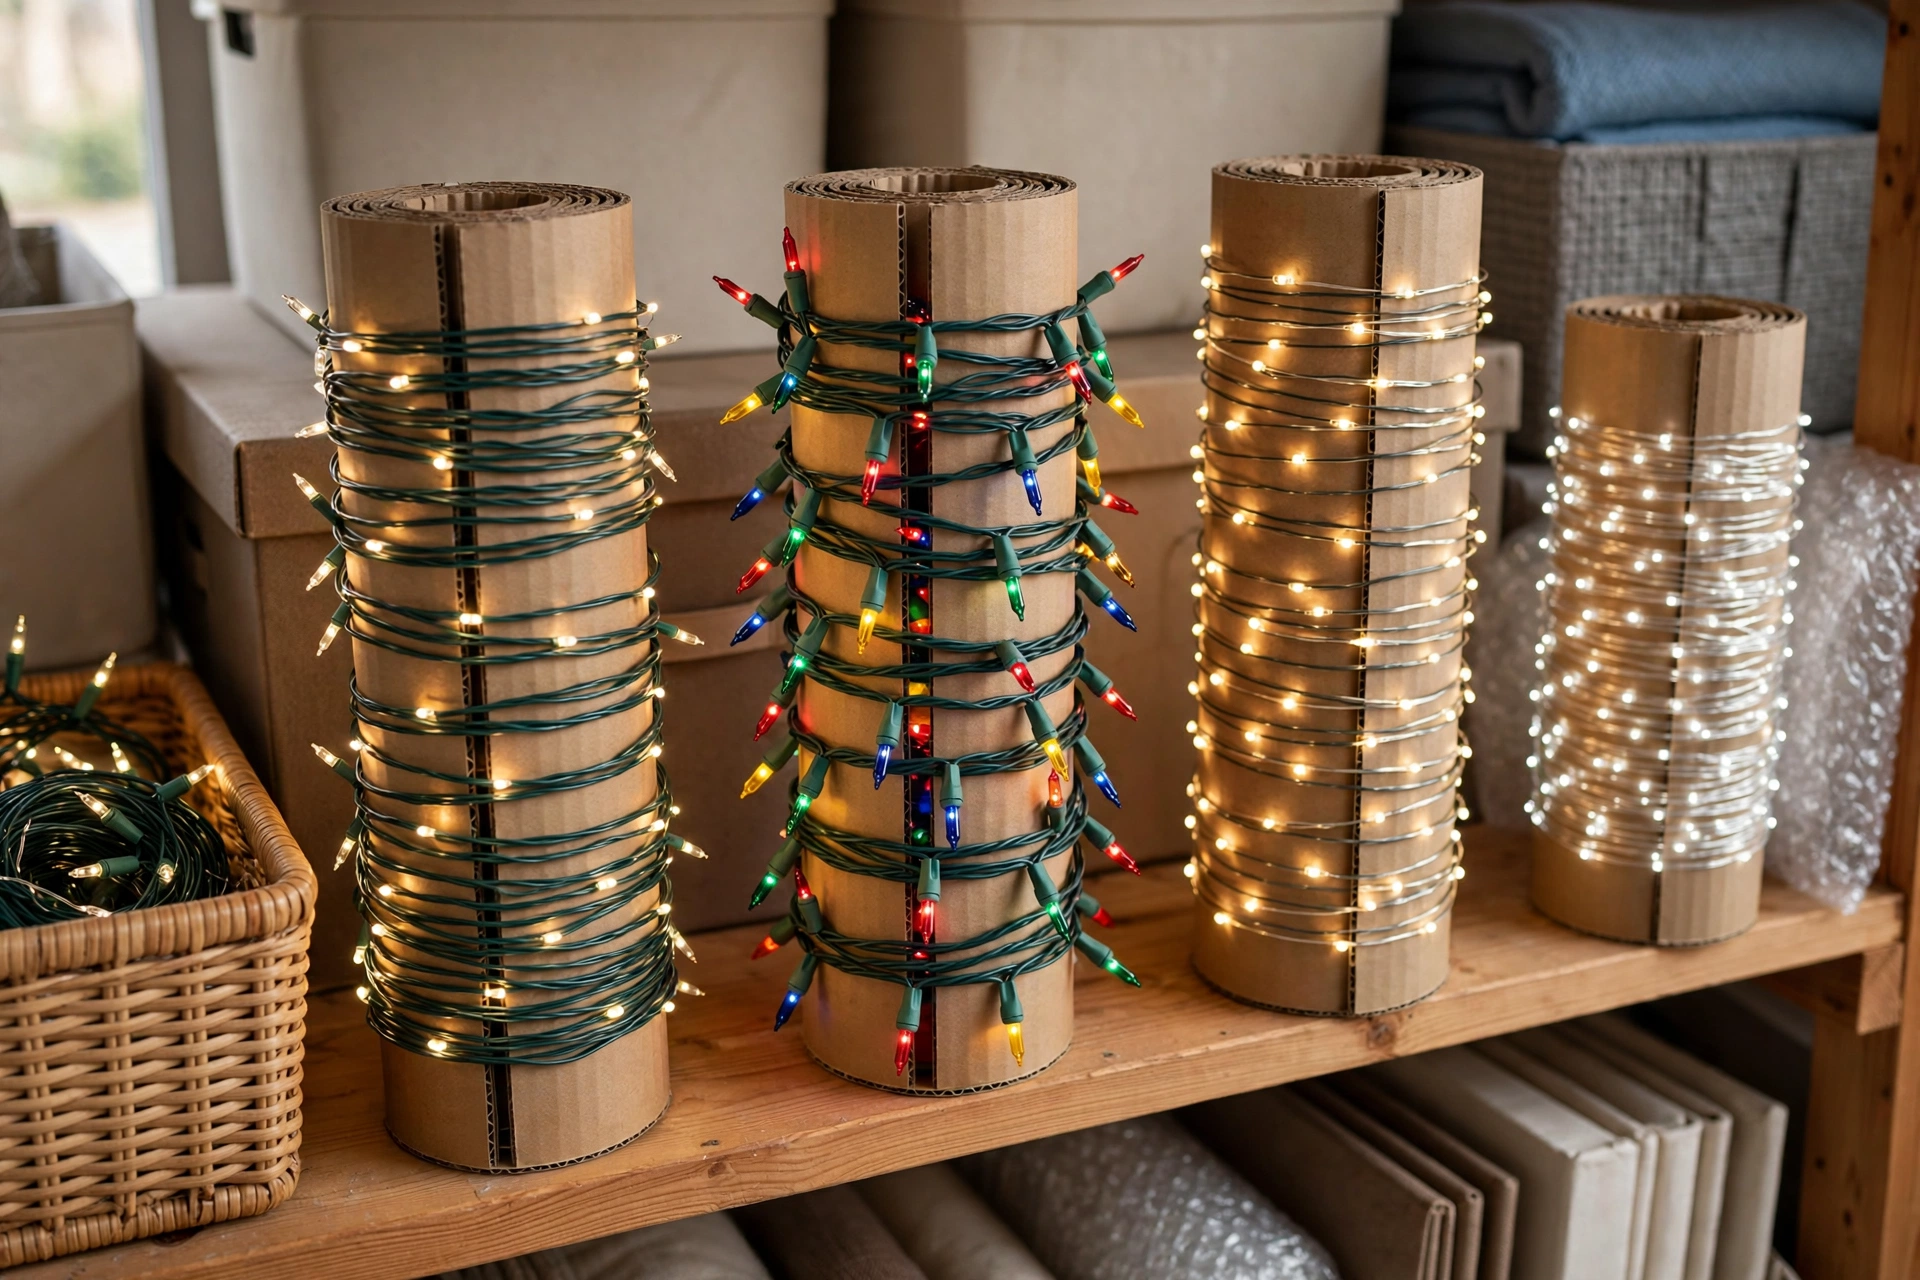
Wrap each strand of lights around a flat piece of cardboard, a paper towel tube, or a dedicated light reel — and test them before you wrap. There’s no sadness quite like unwrapping a dead strand next December. Secure the plug end with a twist tie so the whole thing doesn’t unravel in the box.
Label each reel with where the lights came from: “TREE — 2 STRANDS,” “PORCH RAILING.” Next year you’ll hang them in half the time because you’re not guessing which strand is long enough.
7. Vacuum Seal Holiday Textiles and Soft Decor
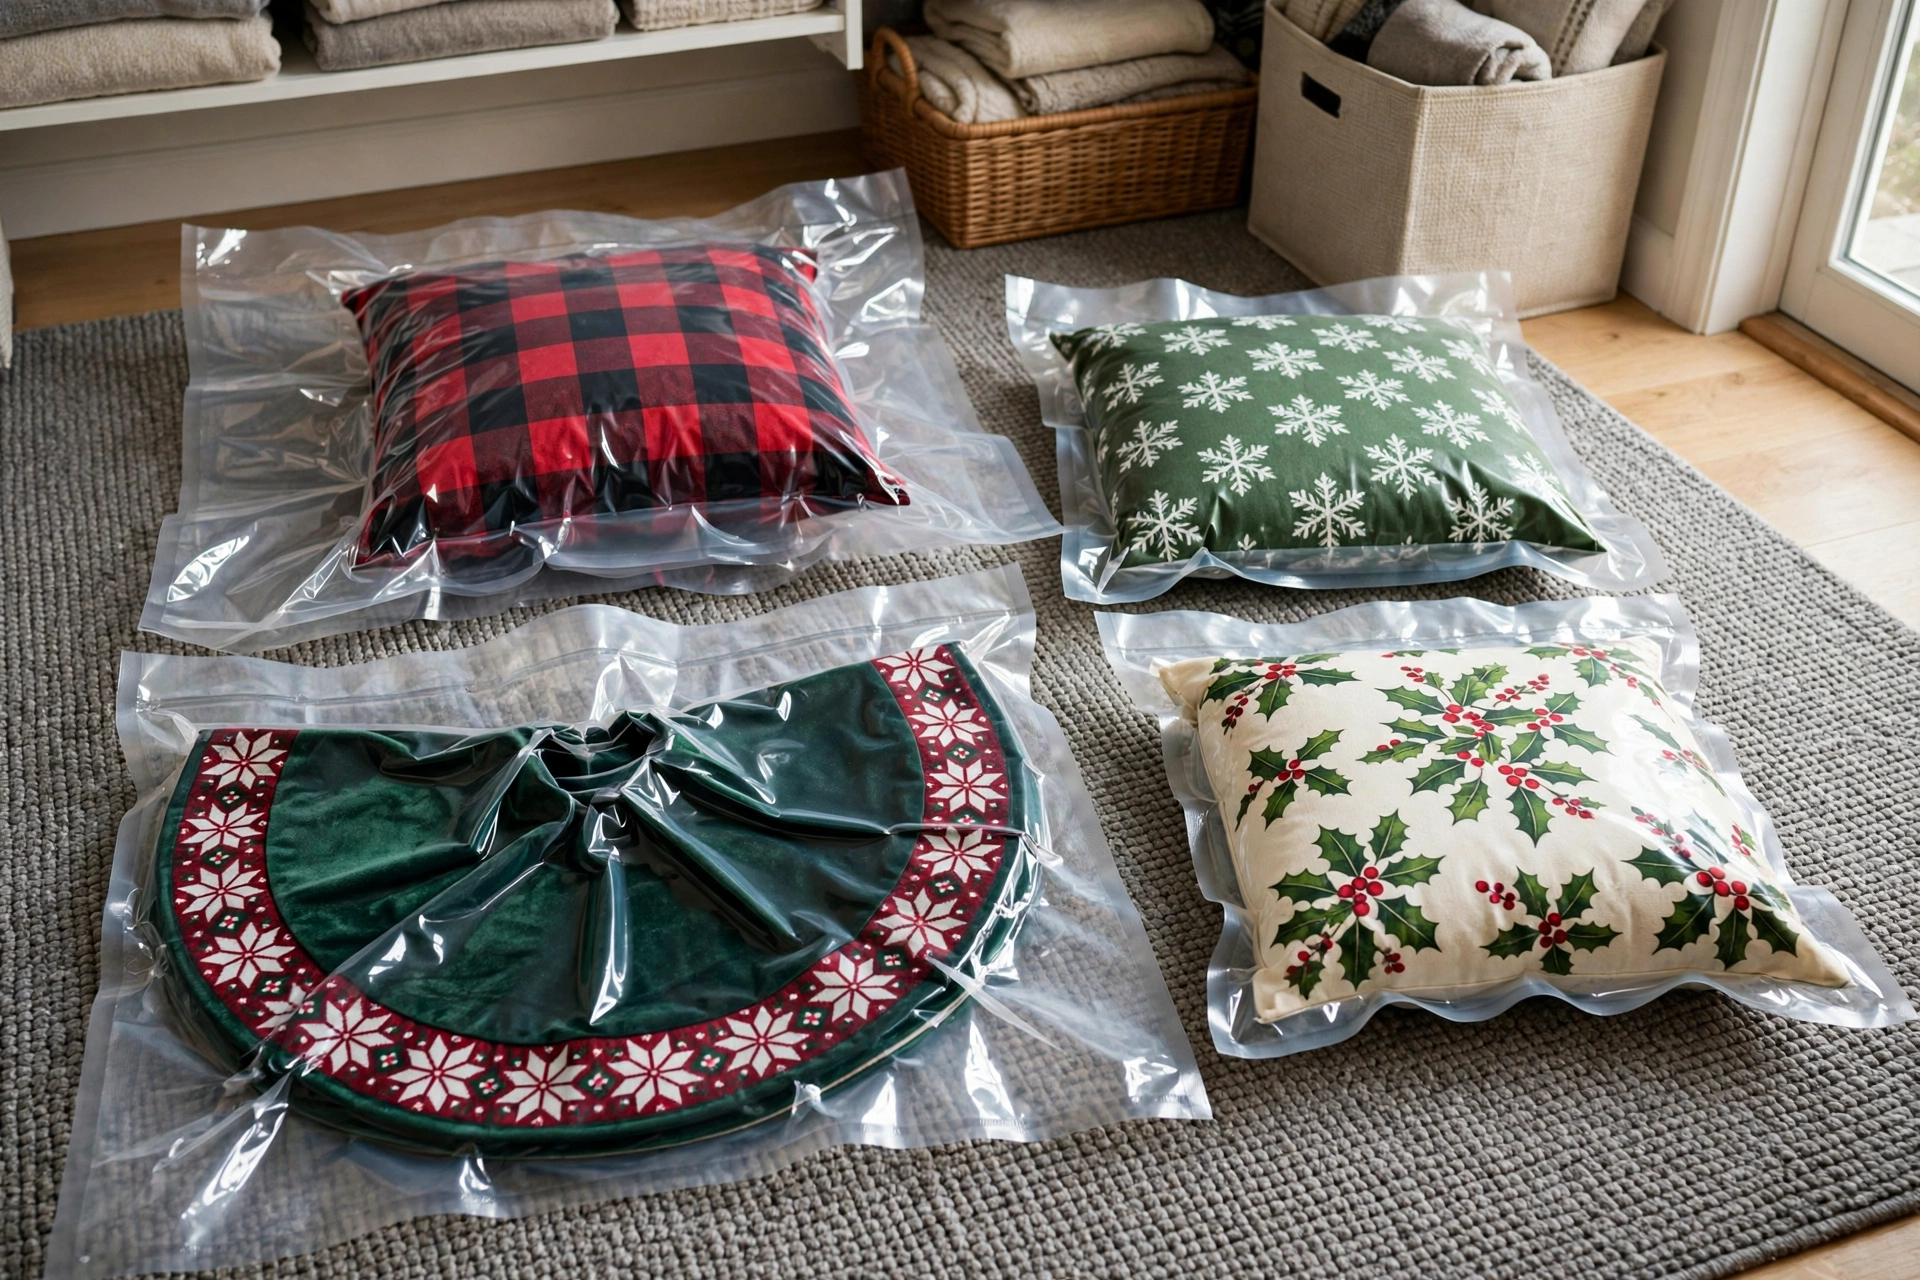
Tree skirts, stockings, table runners, throw pillows, and Santa hats are bulky but compressible — perfect candidates for vacuum storage bags. You’ll cut their volume by half or more, which frees up an entire tote for something else. Just don’t vacuum-seal anything with delicate beading or wired edges.
Slip a dryer sheet into each bag before sealing to keep everything smelling fresh. When you open them next year, fluff in the dryer on no-heat for ten minutes and they’ll look brand new.
8. Use a Wrapping Paper Organizer for Rolls and Ribbons
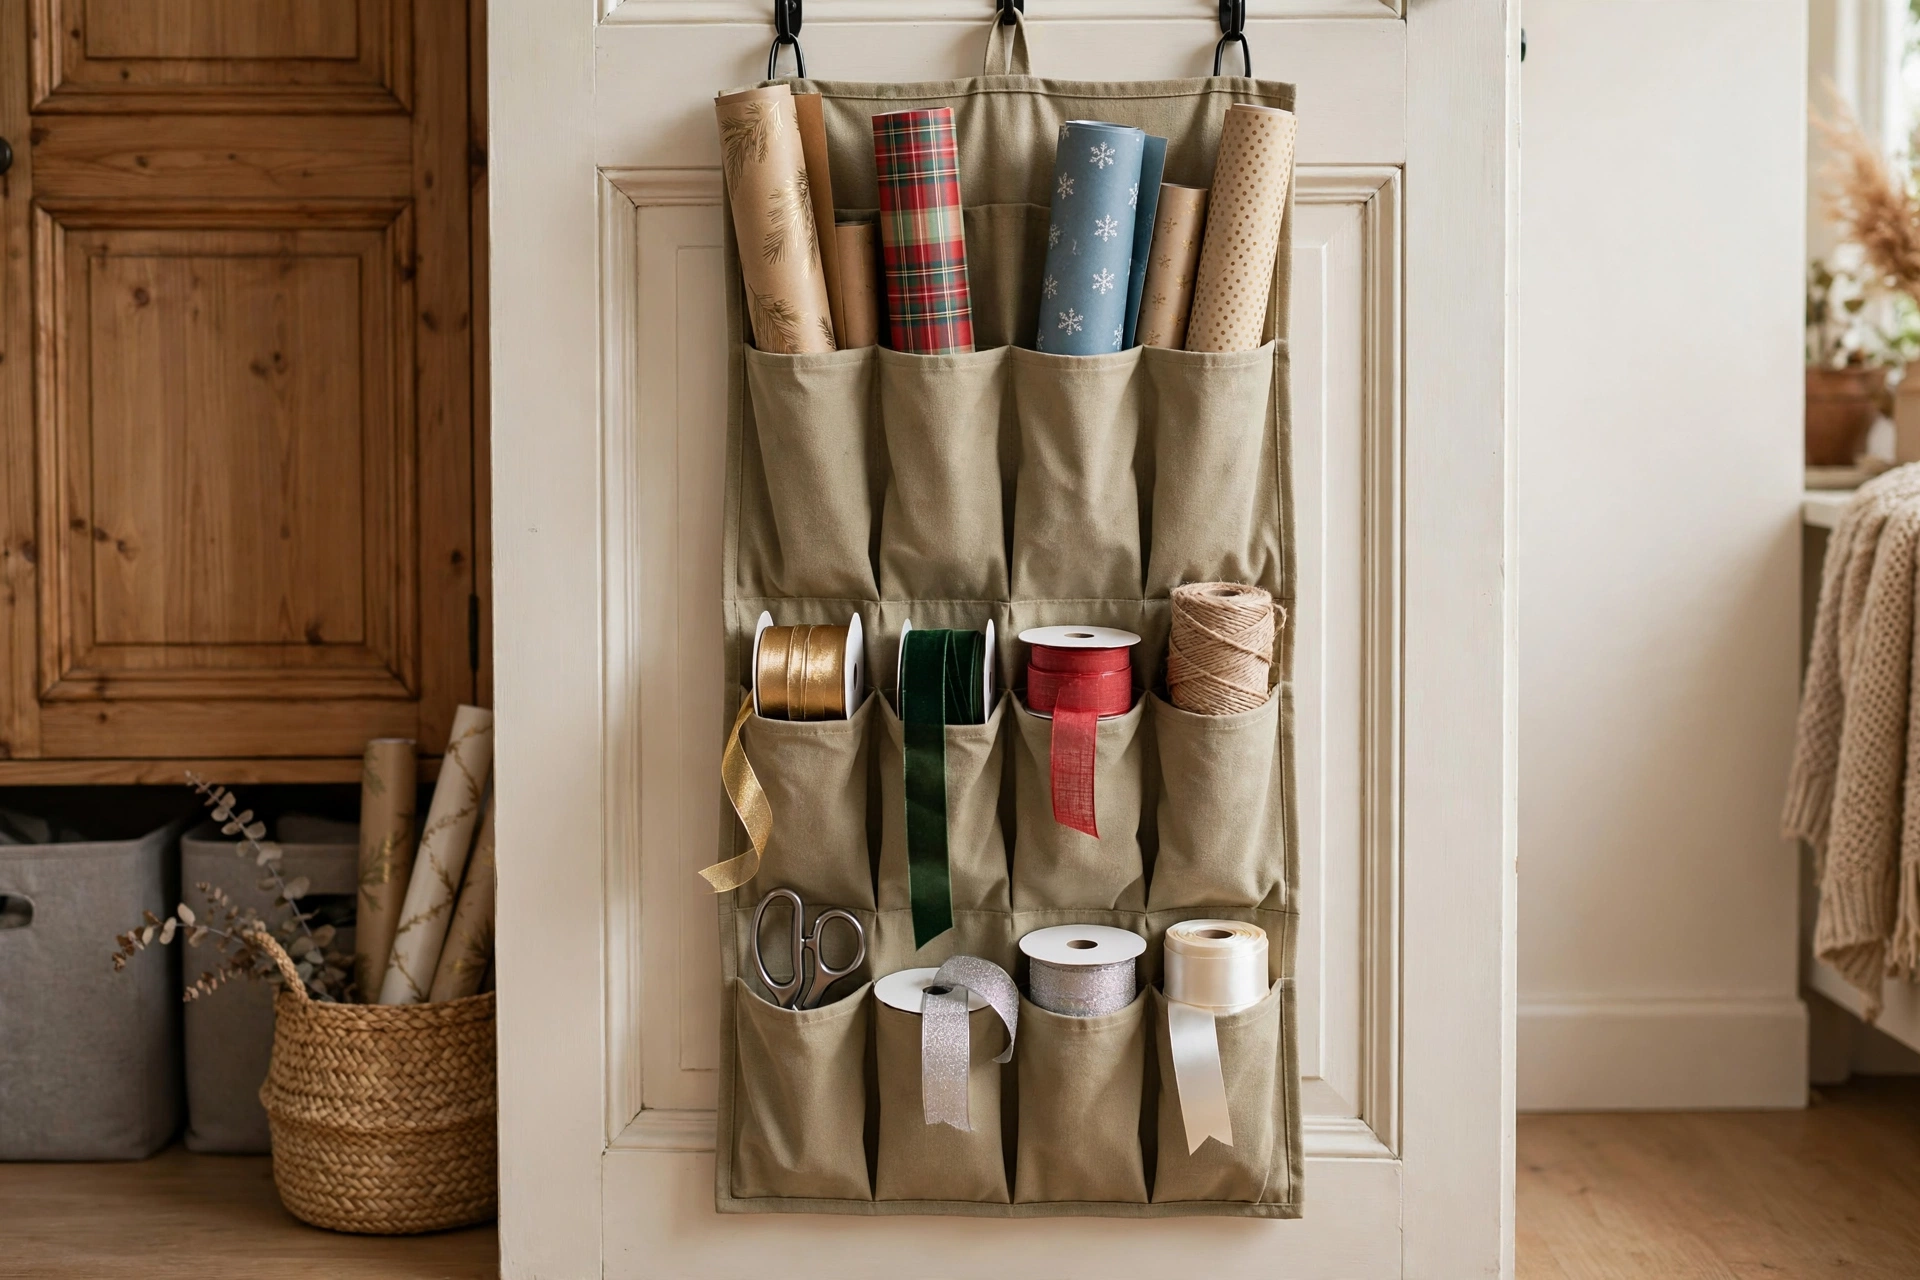
Wrapping paper rolls get crushed in corners and ribbon spools unravel into chaos. A tall, narrow organizer — even a repurposed tall laundry hamper or an umbrella stand — keeps rolls upright and intact. Store ribbon spools on a dowel or in a divided bin so you can see every colour at a glance.
Keep scissors, tape, gift tags, and bows in a small caddy that lives with the wrapping station. When everything has one home, wrapping next year’s gifts stops feeling like a scavenger hunt.
9. Photograph Your Decor Setup Before You Take It Down
This is the hack that saves the most time next December. Before you touch a single ornament, photograph everything: the tree from three angles, the mantel, the tablescapes, the outdoor lights. Photograph the light strand layout on the tree especially — that’s the part nobody remembers.
Save the photos in a dedicated album on your phone called “Christmas Setup.” Next year, decorating becomes paint-by-numbers instead of a creative crisis. You’ll recreate your best look in half the time.

10. Pack a “First Box” for Next Year’s Decorating
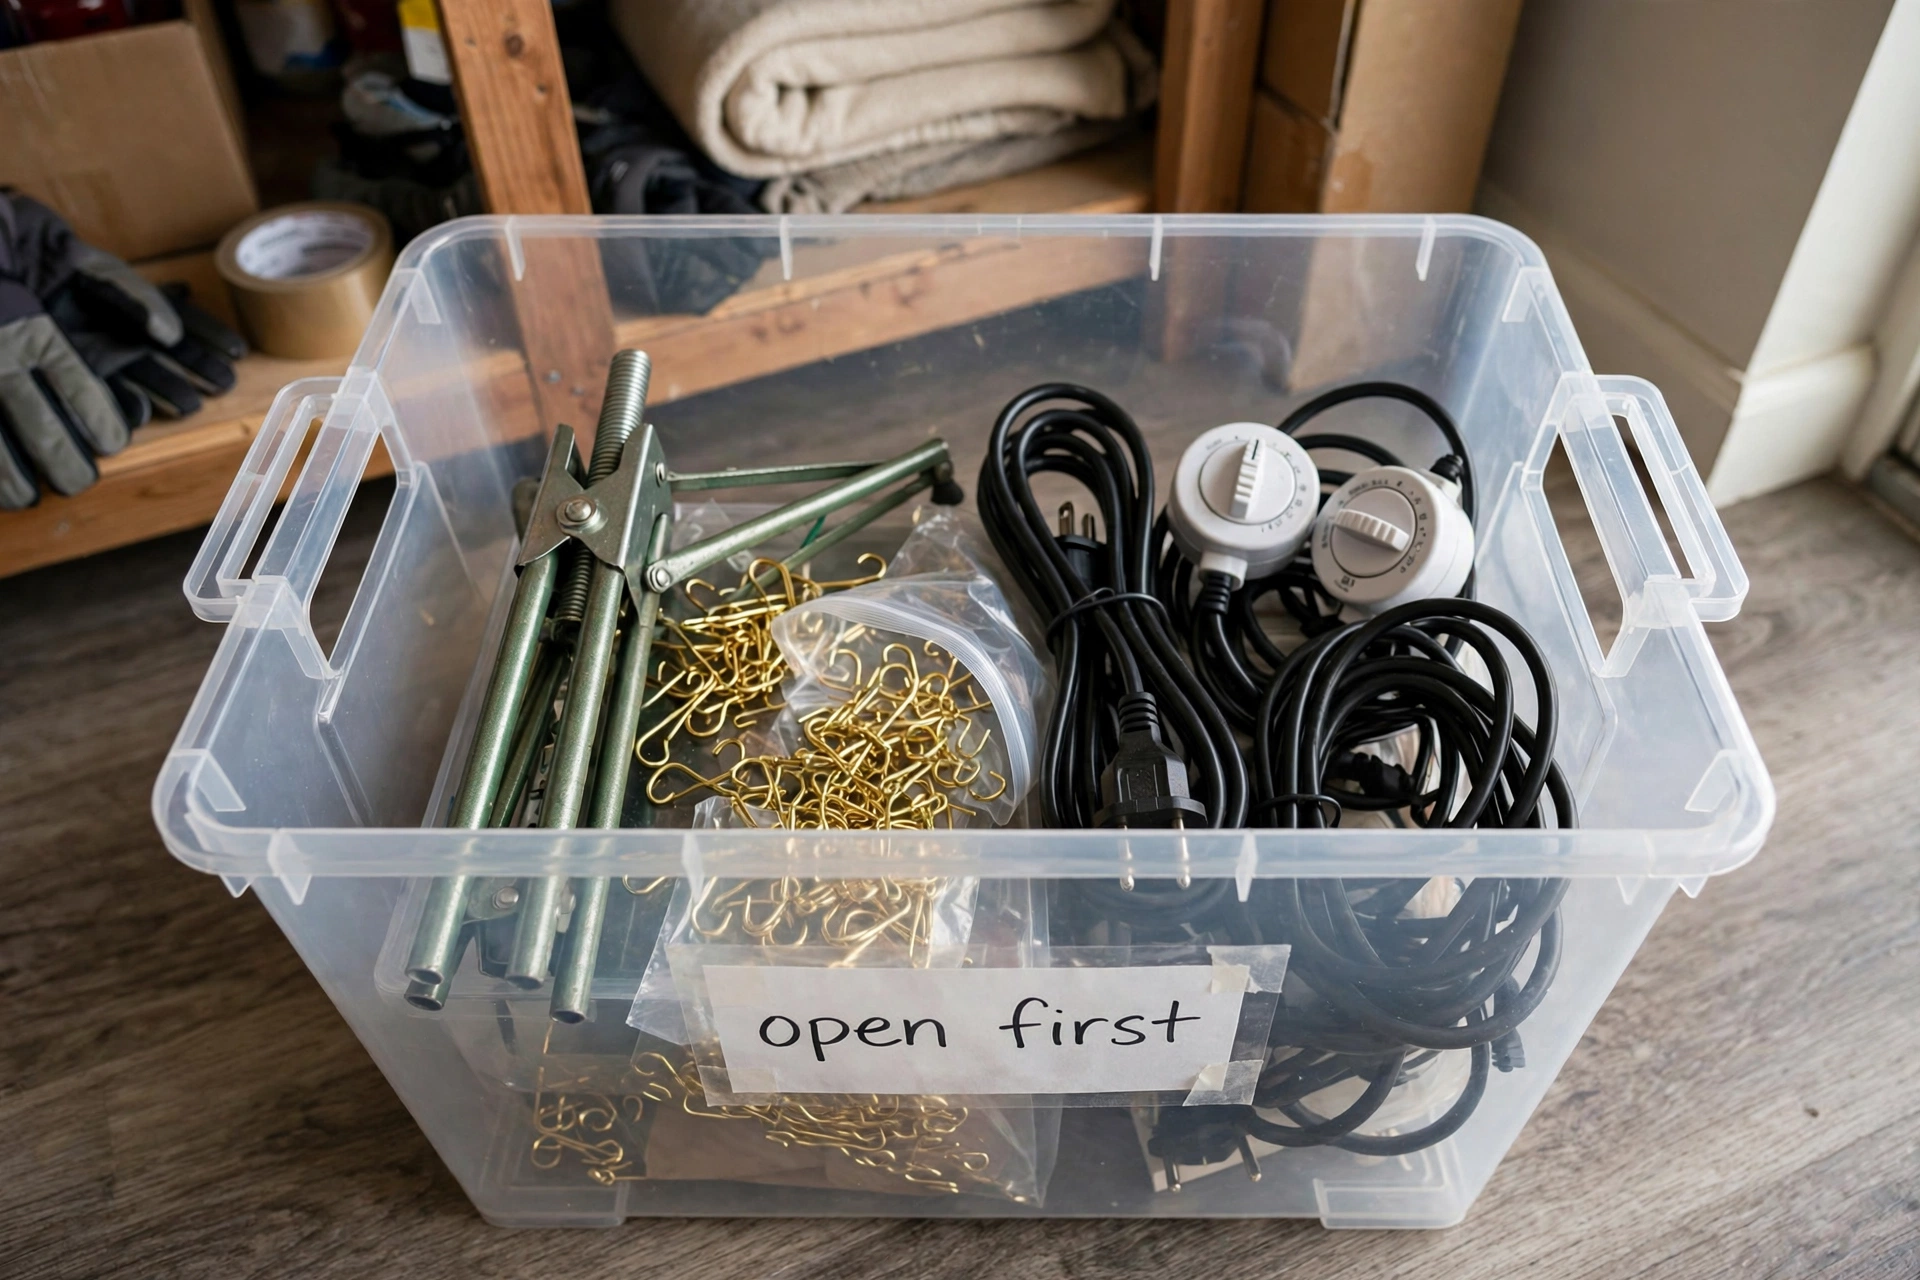
Next December, you’ll want to decorate in stages — tree first, then the rest. Pack one clearly labelled “FIRST BOX” with the essentials: tree stand and screws, tree lights, the star or topper, ornament hooks, and extension cords. Mark it with bright tape so it’s impossible to miss.
Store this box at the very front of your storage area, on top or by the door. When decorating day comes, you grab one box and start — no digging required.
11. Minimalist Winter Decor After Christmas: Keep the Cosy, Lose the Holiday
You don’t have to strip the house bare on January 1st. Keep the cosy (candles, warm throws, fairy lights, evergreen sprigs) and remove only the explicitly Christmas items (tree, stockings, Santa anything). The house still feels warm and intentional instead of suddenly stark.
This also spreads the takedown work over a week or two. Christmas-specific decor gets packed now; winter decor transitions out gradually as spring approaches. Less overwhelm, same reset.

12. Schedule Your Christmas Takedown on the Calendar
“Sometime in January” means March. Pick a specific date — the first Saturday of January works for most people — and put it on the calendar like an appointment. Tell the family. Make it a two-hour session with music and hot chocolate, not a weekend-killing marathon.
If you didn’t get to it by mid-January, schedule a second date rather than letting it drift. Decorations that linger into February start to feel like clutter, and clutter kills the fresh-start energy of the new year.

13. Outdoor Christmas Decor Storage by Zone
Outdoor Christmas decor should be stored as close to its use point as possible — porch items near the front of the garage, backyard items near the back. Coil outdoor light strands on reels (they’re thicker and heavier than indoor ones), and store inflatables completely dry with a sachet of silica gel to prevent mildew.
Take down outdoor decor before the worst winter weather hits, even if indoor decor stays up longer. Frozen clips and brittle plastic break; a calm dry day in early January is ideal.
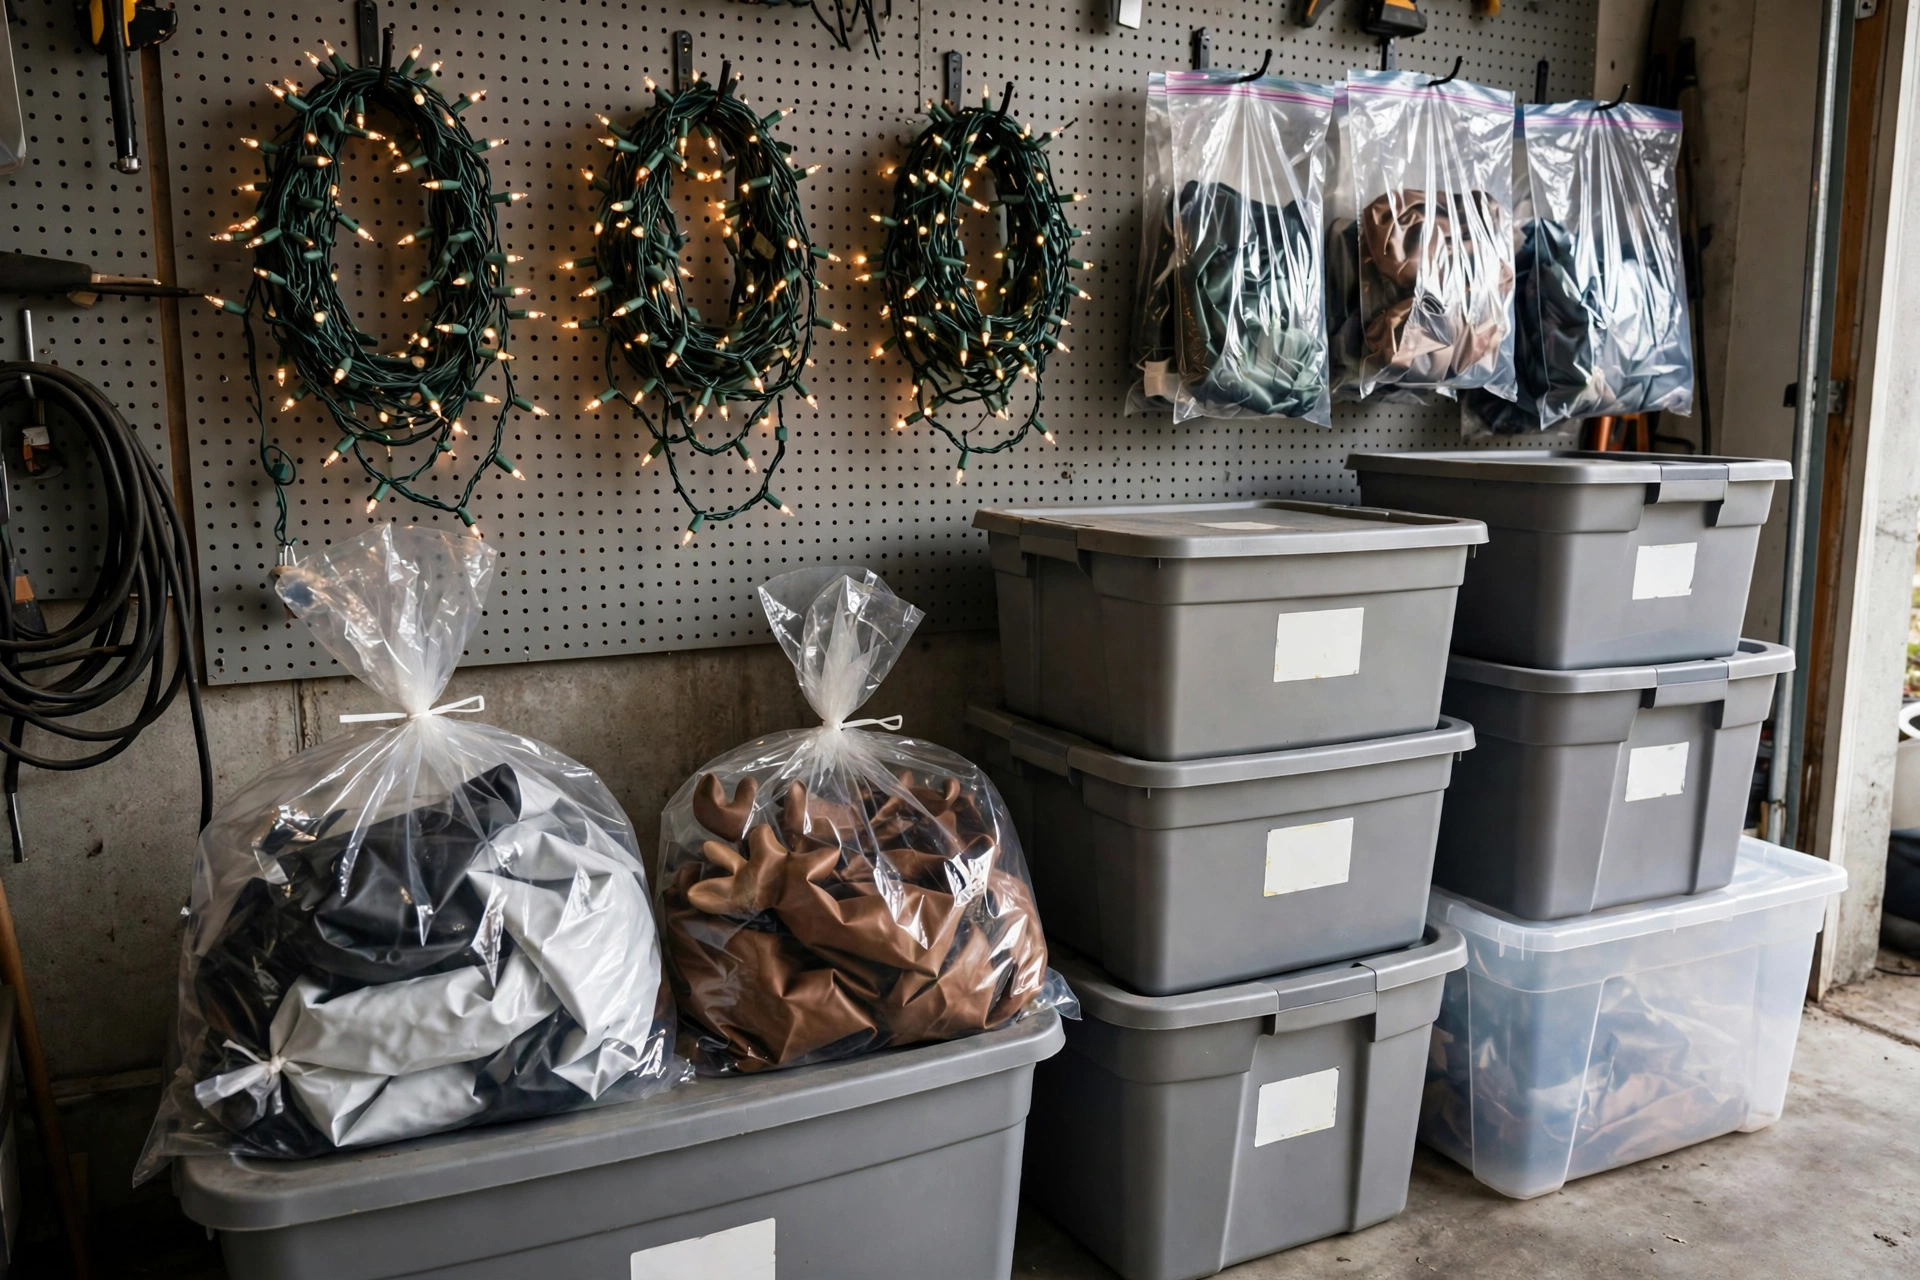
14. January Closet Organization Reset: One In, One Out
New Year reset energy is real — use it. As you unpack everyday life back into closets and shelves cleared of holiday overflow, apply a one-in-one-out rule: for every new item the holidays brought in, one old item gets donated. The storage you freed up stays freed up.
This is also the moment to relocate off-season items properly. Summer gear that got shoved aside for Christmas boxes goes back to its zone; the Christmas totes take the prime high-shelf real estate since you won’t need them for eleven months.
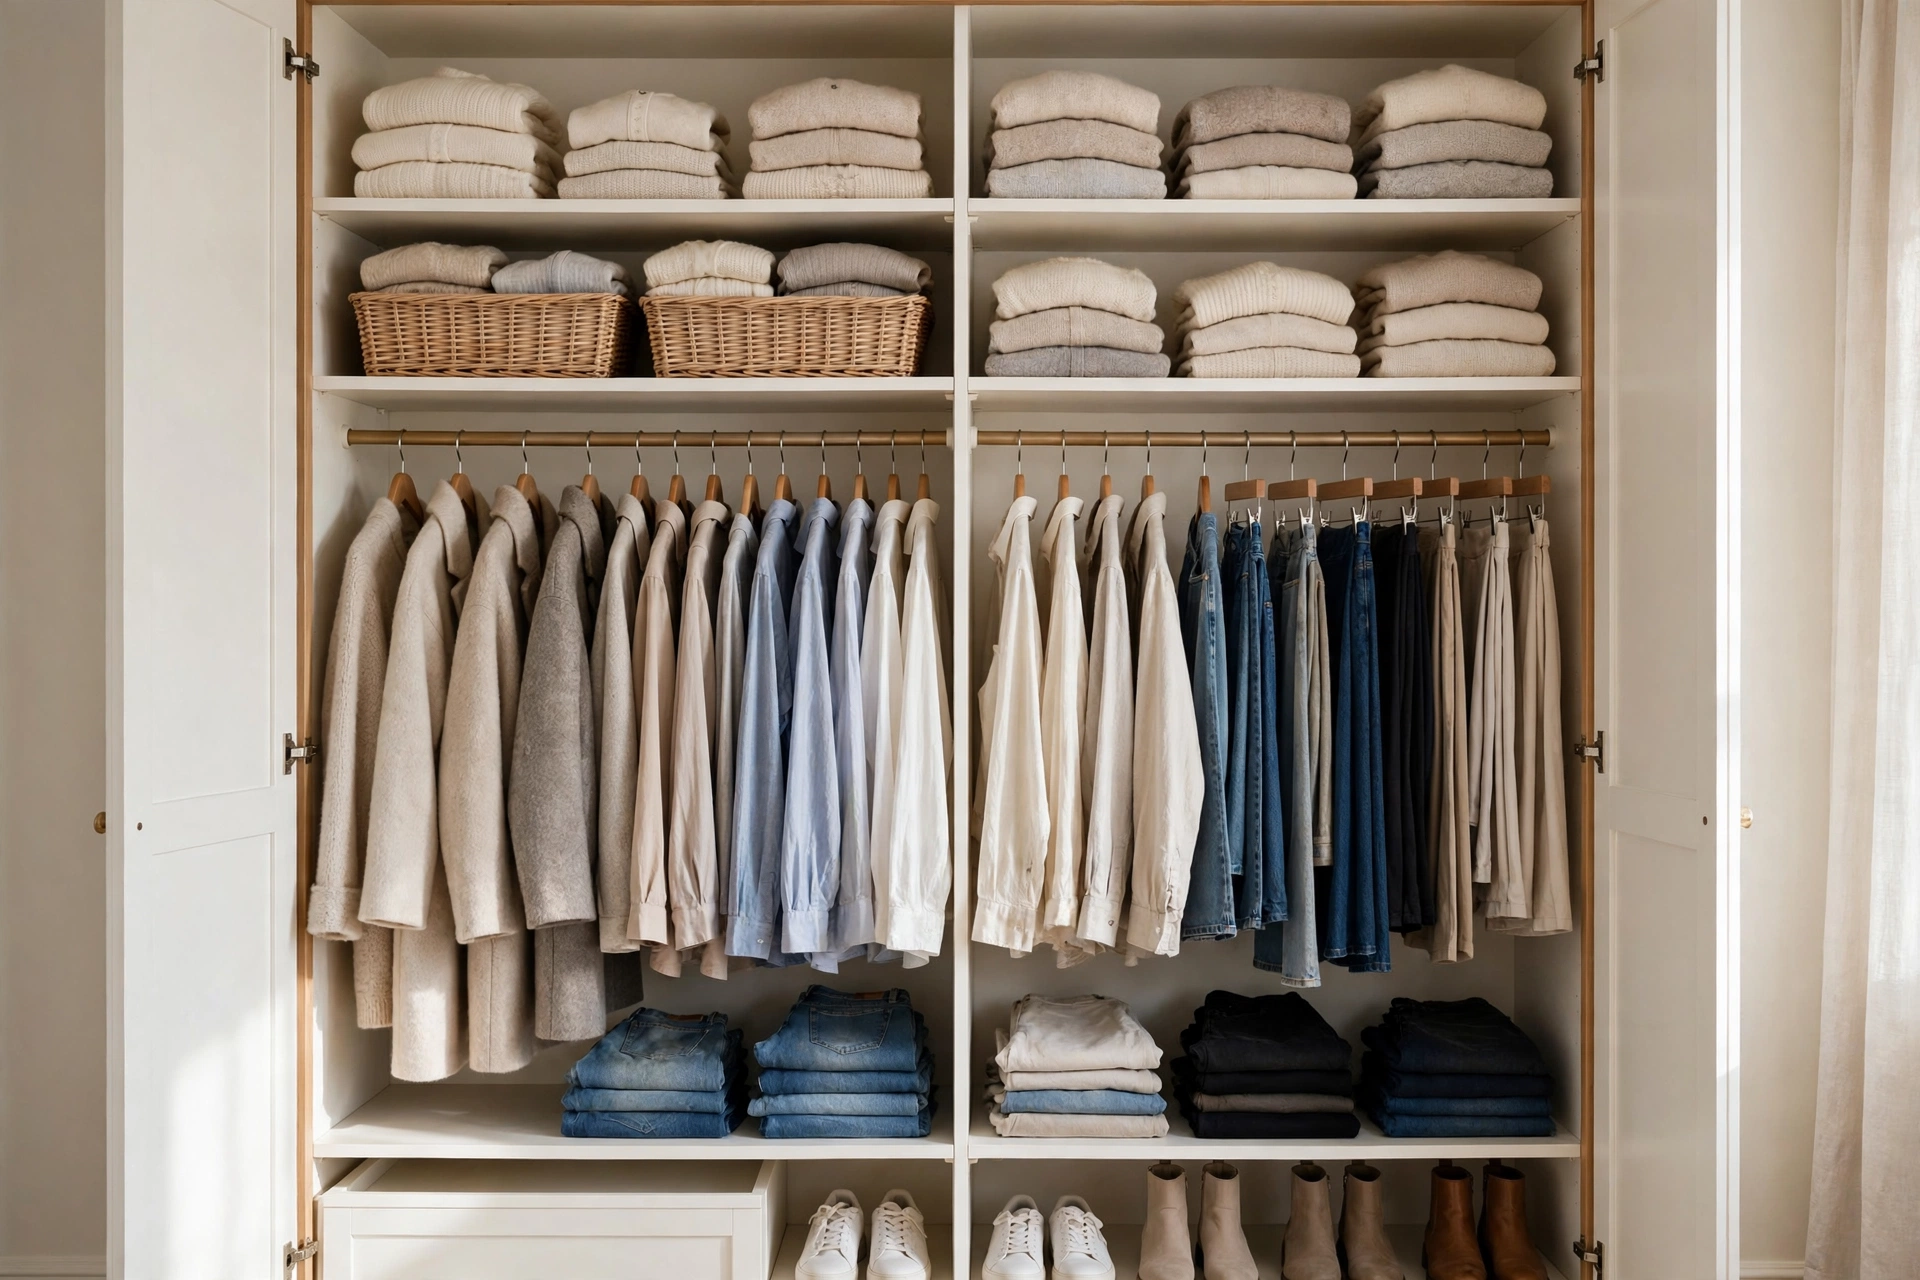
15. Create a Holiday Inventory List on Your Phone
The master stroke: a simple note on your phone listing every box, its number, and what’s inside. “Box 3: Shatterproof ornaments, red/gold. Box 4: Tree lights x4, porch railing clips.” Add a column for “needs replacing” — dead light strands, broken hooks — so next November you can shop sales instead of panic-buying.
Update the list as you pack, not after. And snap a photo of each box’s contents before you seal it; tuck the photo into the note. This one habit eliminates 90% of next year’s “where is the…?” moments.
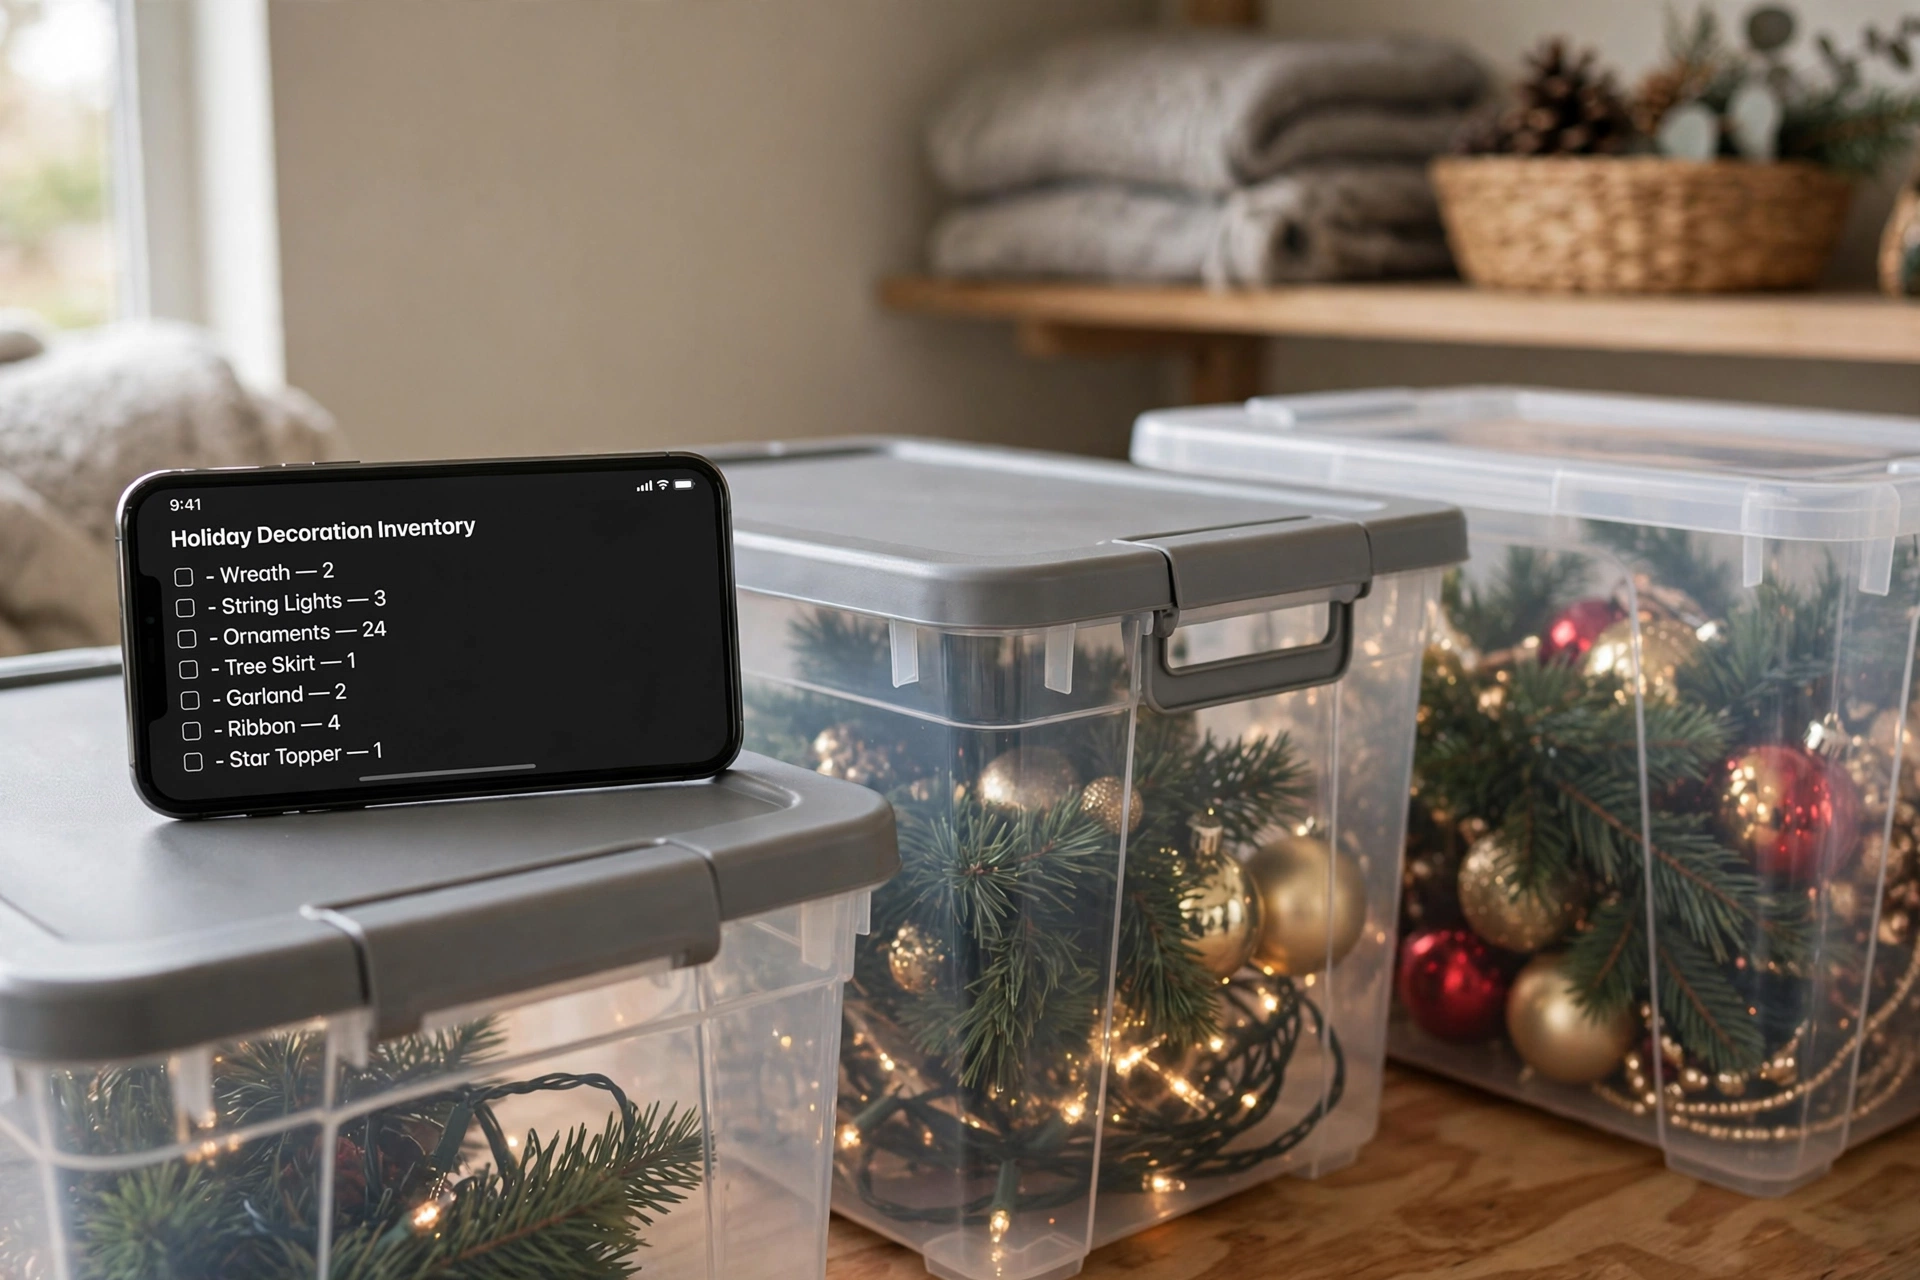
Bonus: Garage Holiday Bin Organization That Lasts
If your Christmas decor lives in the garage, give it a dedicated zone — one wall, one shelving unit, one clearly defined area. Outline the zone with tape on the floor if you have to. When every tote has an assigned spot on a shelf, “putting Christmas away” becomes a ten-minute shelving task instead of a garage reorganization project.
Store the heaviest totes (outdoor decor, tree stand) on the bottom shelves and the lightest (textiles, wreaths in bags) up top. And keep that FIRST BOX from hack #10 at the front edge, ready to grab.
Conclusion
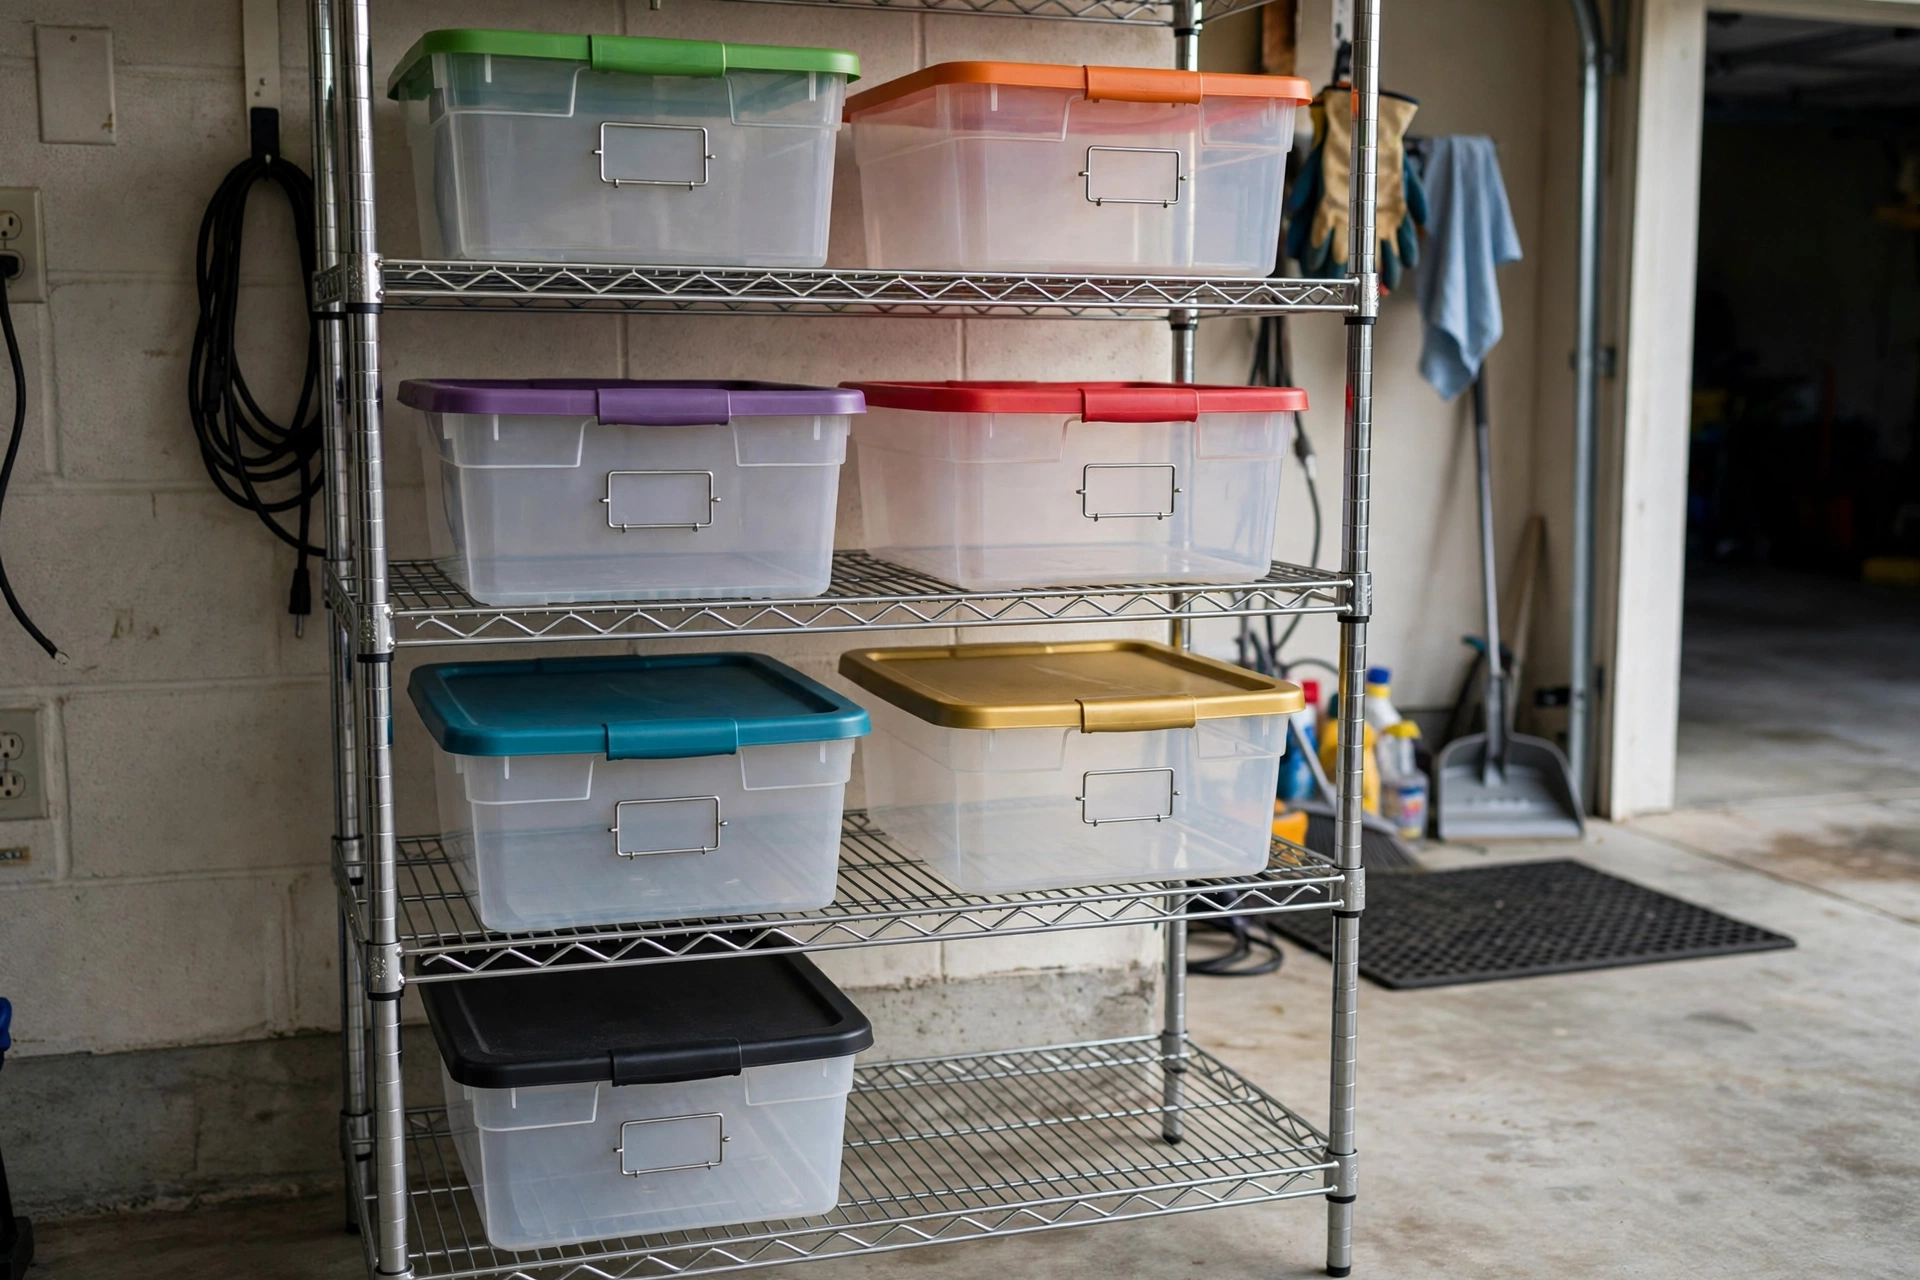
Taking down Christmas doesn’t have to feel like the sad epilogue to the holidays. With a system — sort by category, store in clear labelled totes, photograph your setup, and keep a phone inventory — the whole process takes an afternoon and sets up next December for success. Start with one hack (I’d pick the clear totes) and add the rest as you go. Your future self, sipping cocoa next to a perfectly recreated tree, says thanks.
FAQs
When should I take down Christmas decorations?
Most people take decorations down in the first week of January, traditionally by Twelfth Night (January 5th or 6th). Outdoor decor should come down earlier if harsh winter weather is forecast. The key is scheduling a specific date rather than letting it drift.
What is the best way to store a Christmas wreath?
Hang wreaths on hangers inside garment bags or dedicated wreath storage bags, and hang the bags on a rod or hook. Never stack heavy boxes on top of wreaths — crushing permanently deforms them.
How do I keep Christmas lights from tangling in storage?
Wrap each strand around a flat piece of cardboard, a paper towel tube, or a light reel, secure the ends with twist ties, and store them in a labelled tote. Test every strand before wrapping so you don’t store dead lights.
Should I keep boxes for artificial Christmas trees?
Only if the box is still sturdy. Most original tree boxes deteriorate after a few years. A dedicated tree storage bag — upright or duffel style — protects better and is easier to handle. Keep the tree sections together with their screws and stand in the FIRST BOX.
How can I declutter Christmas decorations?
Sort everything by category first, then apply a simple rule: if it’s broken, faded, or you didn’t display it this year, let it go. Donate good-quality duplicates. Fewer, better decorations are easier to store and more enjoyable to display.