15 Retro Silver Tinsel Christmas Tree Decor Ideas (Nostalgic & Cool Again)
A silver tinsel christmas tree is officially cool again — searches for “silver tinsel trees” are up +167% YoY (Faire Holiday 2026 report). The winning formula: colorful vintage lights, mismatched retro ornaments, and plenty of shimmer, styled with that childhood christmas aesthetic we all secretly miss. Below are 15 nostalgic decorating ideas that make a silver tinsel tree feel joyful and intentional — never dated.
Why This Little Silver Tree Is Getting Its Glow-Up
There’s something about a silver tinsel christmas tree that hits differently in your thirties — it doesn’t just decorate the room, it rewinds time. For years these trees were the punchline, dusty in someone’s attic while we chased real firs and perfectly curated neutrals. But now the shimmer is back, and honestly? I get it. I dug our family’s old silver tree out of my mom’s garage two Decembers ago, half-expecting a laugh, and instead I stood there in the cold garage feeling about eight years old again. That metallic sparkle has a magic that green branches just can’t copy — it throws light around the room, it photographs like a dream, and it gives you permission to be playful in a season that’s gotten a little too serious. So fluff those foil branches, grab the multicolored lights, and let’s make your silver tinsel tree the prettiest throwback on the block.
1. The “Fresh From the Attic” Unboxing Ritual
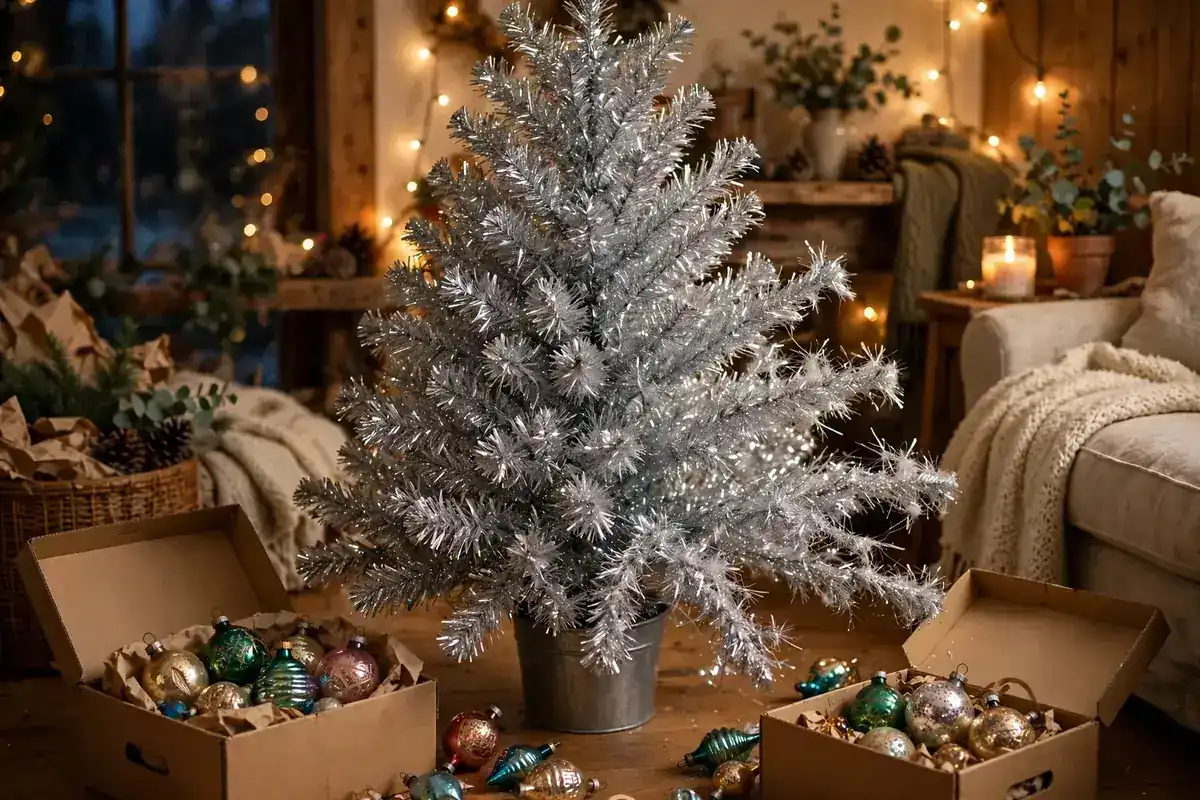
Before a single ornament goes on, your silver tinsel christmas tree deserves a proper revival moment. These trees have usually spent years — sometimes decades — in boxes, and the branches come out flat, cramped, and a little sad. Give yourself an hour, put on a holiday playlist, and fluff every single branch layer by layer, starting from the bottom. Bend the foil tips slightly outward at the ends, alternate the direction of branches on each tier, and step back every few layers to check the shape. It makes an enormous difference — a well-fluffed tree looks lush and intentional; an unfluffed one looks like a coat rack.
Check the wiring as you go, especially if your tree came pre-lit from the 70s or 80s. Tug gently on each branch and look for bare spots where the foil has shed — a little sparkle loss is normal, and you can fill thin spots by rotating branches inward or tucking in extra tinsel garland later. If the base is wobbly, tighten the stand now, not after the ornaments are hanging. This is also the moment to wipe down any attic dust with a dry microfiber cloth. Thirty unglamorous minutes here is what separates a tree that looks vintage-cool from one that looks vintage-neglected.
2. Silver Tinsel Tree with Colorful Lights: The Essential Look
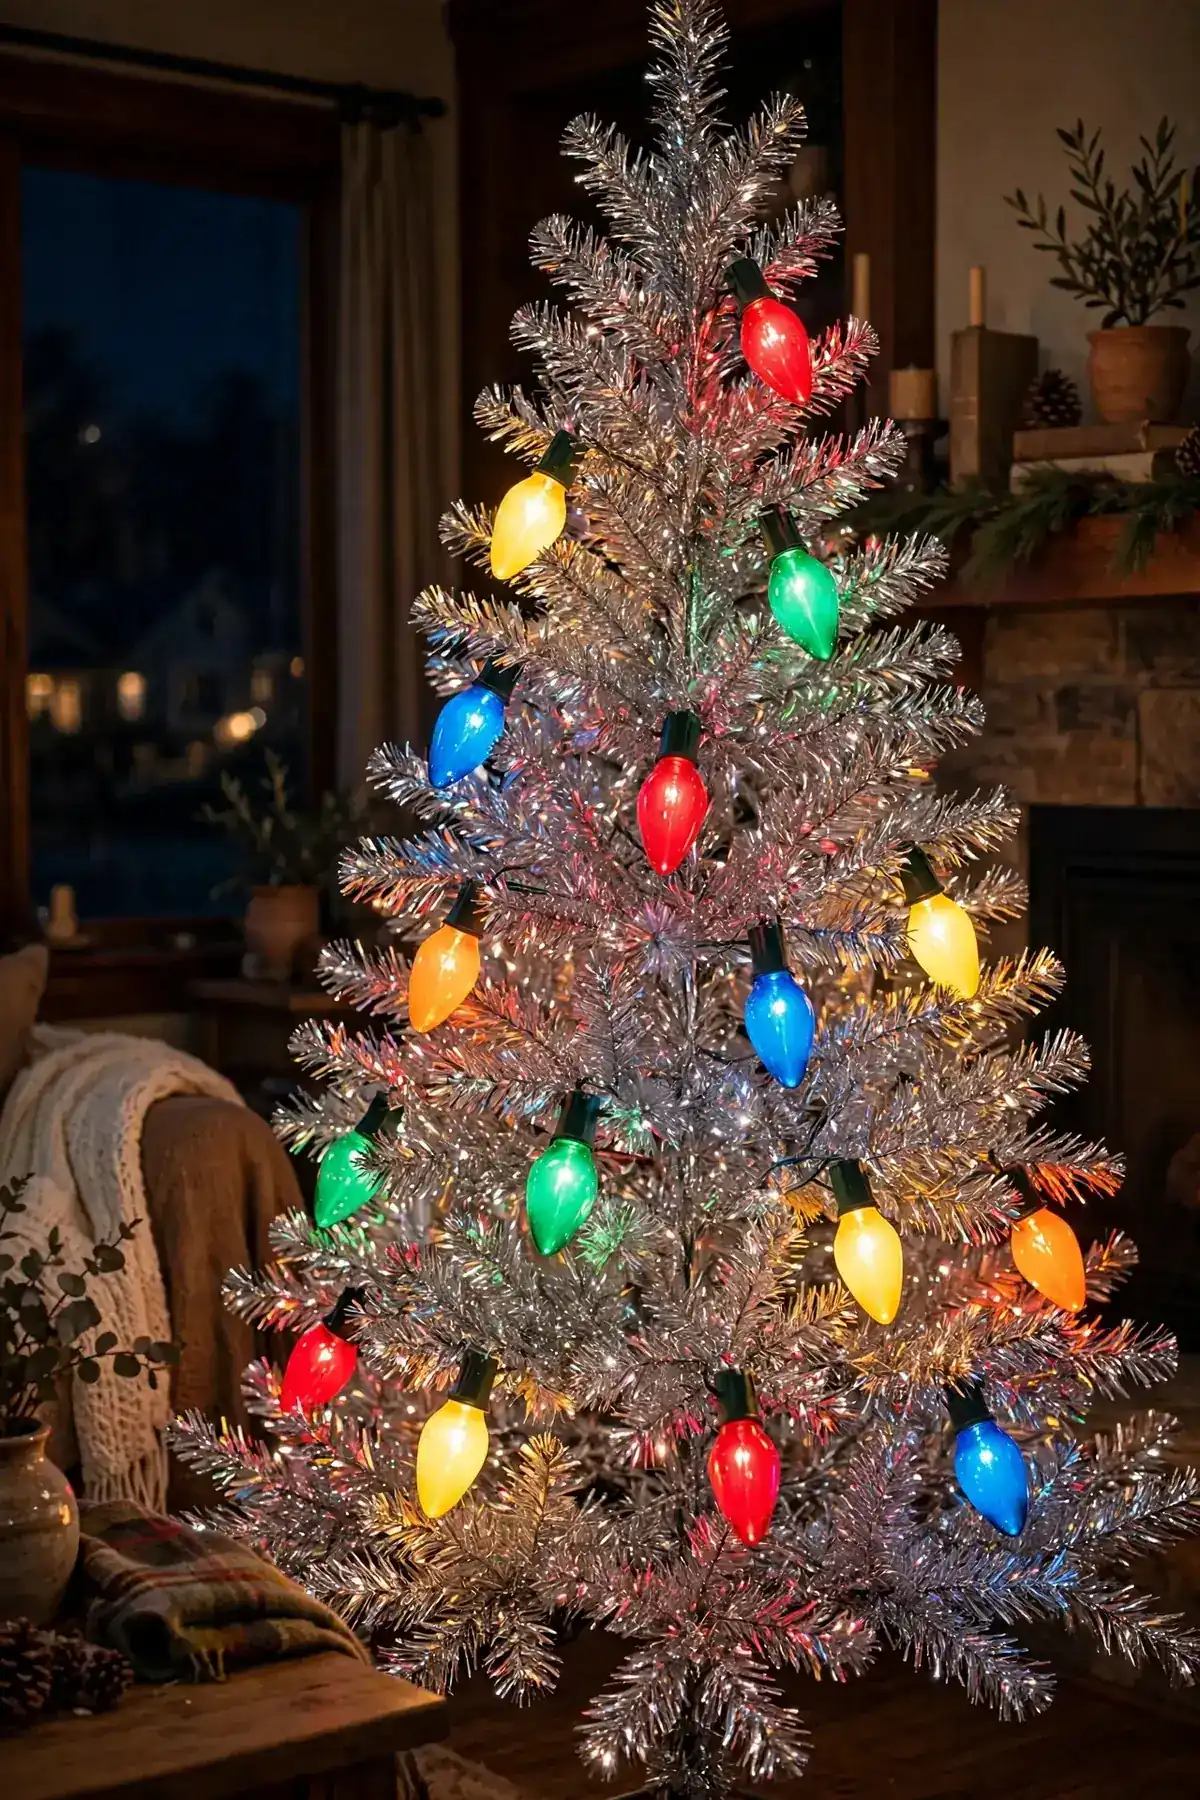
If there’s one rule for a silver tinsel tree with colorful lights, it’s this: multicolor wins, every single time. Warm-white lights on silver tinsel can look elegant, but the iconic look — the one from every midcentury Christmas card — is those big C9 ceramic bulbs in red, green, blue, yellow, and orange, reflecting off every metallic strand. The foil branches act like thousands of tiny mirrors, doubling the color, so you need fewer strands than you’d expect. Aim for about 50 lights per foot of tree, starting at the bottom and weaving inward toward the trunk for depth.
The trick that makes it look expensive rather than chaotic is bulb size and placement. Go for larger C9-style bulbs over tiny fairy lights — the big color pools read as intentional, while scattered pinpoints can look busy against all that shimmer. Place the brightest colors (red, blue) near the front and tuck the gentler ones (green, gold) deeper into the branches. And please, test every strand before you string them — nothing kills the 90s nostalgia christmas mood faster than unwrapping a tree to find a dead strand on Christmas Eve. If you’re buying new, vintage-style LED C9s give the same look and won’t melt the foil or spike your electric bill.
3. Retro Christmas Tree with Mismatched Ornaments
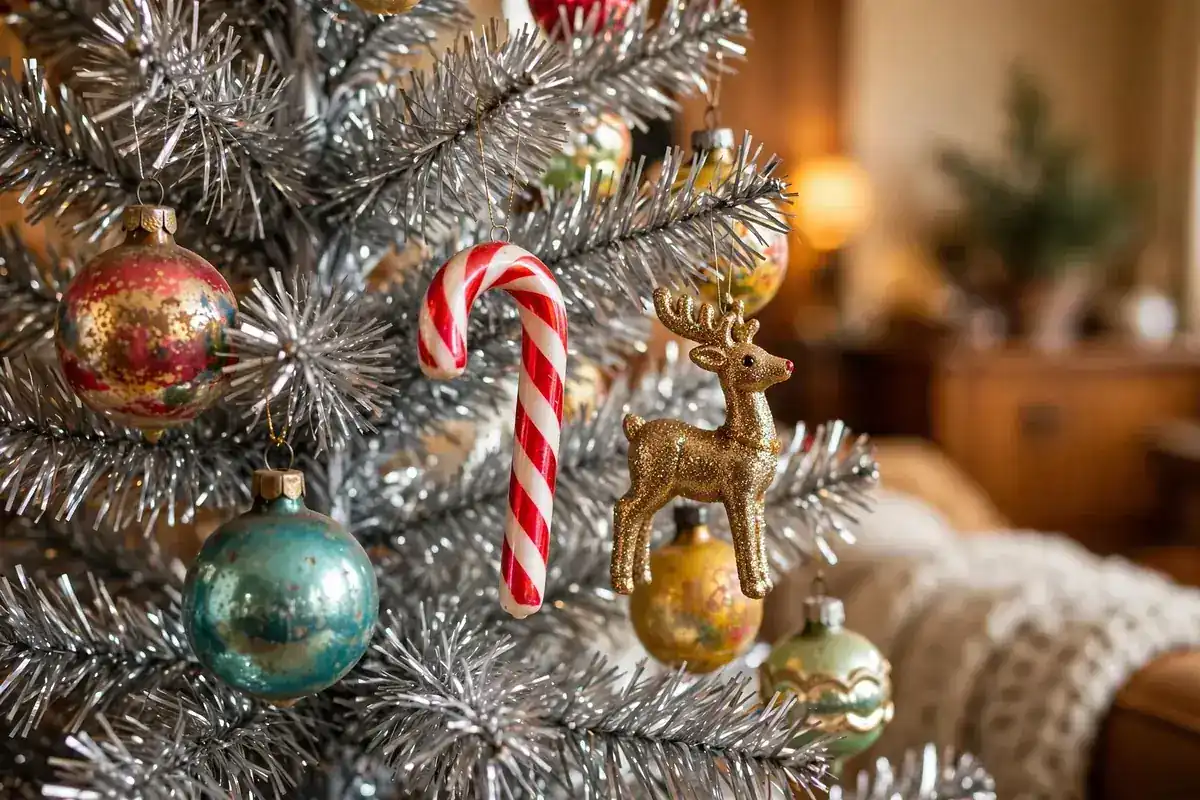
The most charming thing about a retro christmas tree with mismatched ornaments is that it’s impossible to get wrong. This is not the tree for matching sets and color stories — it’s the tree for the chipped glass ball from your childhood, the plastic candy cane from a mall in 1997, the glittery reindeer your aunt made. Hang the oldest, most meaningful ornaments at eye level where you’ll see them all season, then fill the gaps with flea-market finds and thrift-store boxes of vintage glass balls (shiny brite-style sets are easy to find under $20).
What keeps mismatched from looking messy is spacing and scale. Distribute the heaviest ornaments lower and the lightest ones up top, and resist the urge to cluster — one standout ornament per branch, with smaller fillers tucked between, creates that delightful “discovery” feeling when you look at the tree. Odd numbers of repeating colors help too: three red balls, five blue, seven gold. And don’t you dare throw away the ornament hooks that lost their shape — mismatched ornaments look best hung slightly unevenly, like they’ve been loved for years, because they have.
4. Vintage Tinsel Christmas Tree Decorating Ideas: The Big Topper Moment

Silver trees were made for dramatic toppers, and half the best vintage tinsel christmas tree decorating ideas start at the very top. A big foil starburst — the kind with exploding metal rays — is the classic choice and it sits beautifully on tinsel because the textures match. Alternatively, go for an oversized gold or pink bow, a lighted vintage star, or even a small plush Santa hat. Whatever you choose, go bigger than you think: tinsel trees eat toppers for breakfast, and a small topper disappears into the shimmer.
Anchor the topper with a little extra structure, since tinsel branches aren’t the strongest. Wrap a few pipe cleaners or a rubber band around the trunk’s top section before sliding the topper on — this keeps it upright through December’s bumps and pet investigations. Then work outward: place your showpiece ornaments in the top third of the tree so the eye travels up and lands on the topper. If your tree is over six feet, step on a stool to place the topper and photograph it from the front door — that’s the angle your holiday guests will see first, and it’s worth the extra effort.
5. Let the Tinsel Garland Be the Main Event
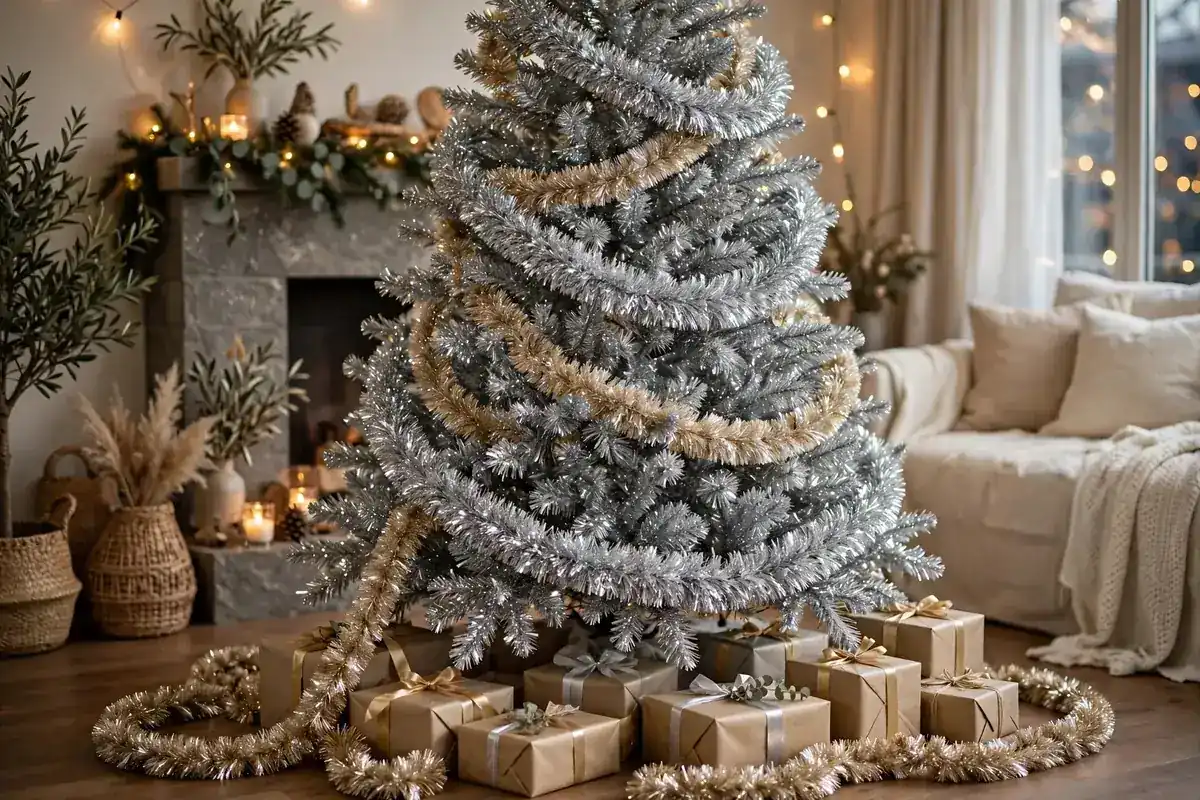
Garland on a tinsel tree sounds redundant, but that’s exactly why it works — doubling down on the shine is the whole point. Wrap a thick silver tinsel garland in loose, generous swags around the tree, starting at the top and spiraling down with about a foot of vertical space between passes. The garland catches light differently than the tree branches, creating depth and movement instead of one flat wall of sparkle. For extra drama, use a slightly different finish: silver tree + champagne-gold garland, or silver tree + pastel pink garland.
Drape it, don’t string it tight — the relaxed swoop is what makes tinsel garland styling look vintage rather than store-bought. Secure each swag with a twist of floral wire at the back so it stays put but keeps that soft droop. Two to three passes is plenty for a 6-foot tree; more than that and you start burying the ornaments. And here’s the finishing trick: let one long strand trail onto the floor and pool around the base, then tuck wrapped presents into the folds. That little spill of tinsel is pure childhood christmas aesthetic — the kind of detail that makes guests smile before they even look at the ornaments.
6. A Shiny Tree Skirt That Throws Light Around
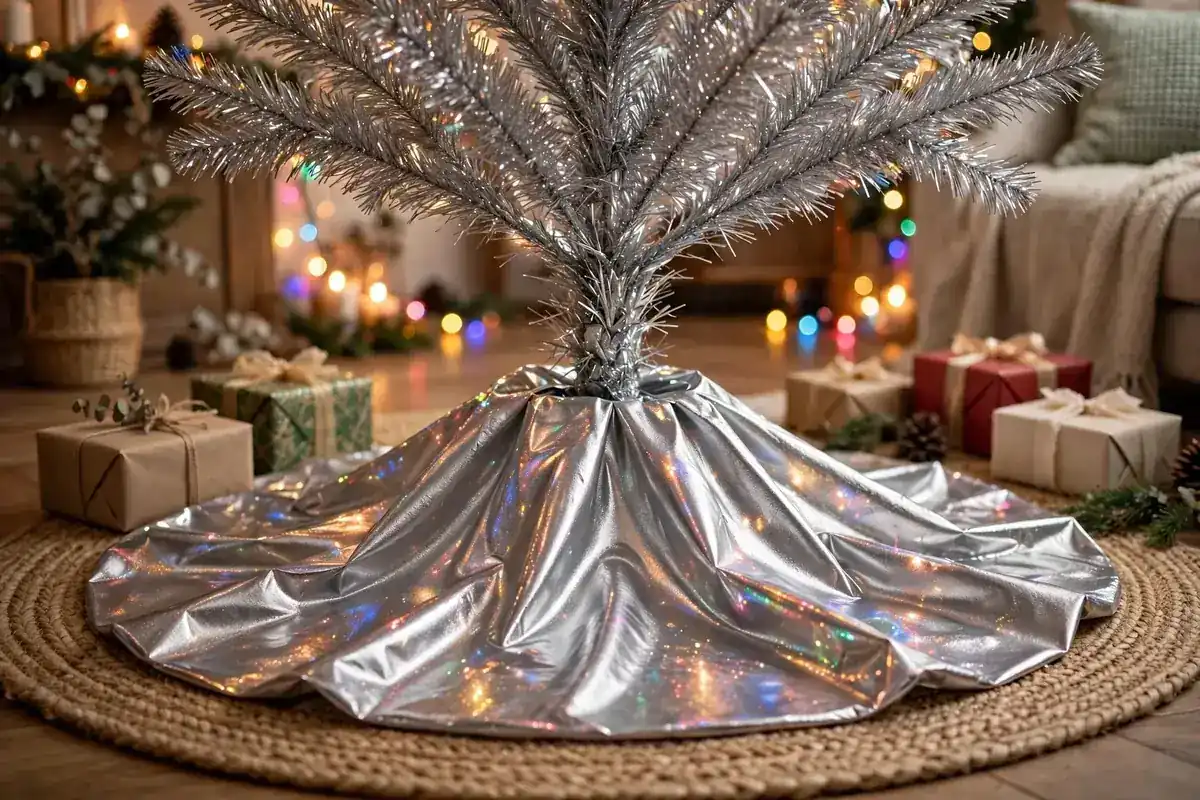
A shiny tree skirt isn’t just a cover for the stand — on a silver tree, it’s a light amplifier. Metallic silver or champagne sequin skirts catch the tree lights from below and bounce color upward, so the base of your tree glows from the inside out. Look for a quilted metallic skirt or a faux-fur one with silver threading; either way, it should drape rather than sit stiff, so the stand disappears completely under soft folds. A 48-inch skirt fits trees up to 7 feet with room to spread.
Layering is where this gets fun. Place a large, flat woven rug or a round jute mat under the skirt first for grounding, then let the shiny skirt sit slightly off-center so a bit of the base layer peeks out. That contrast of texture — rustic jute against liquid metal — is what keeps the whole setup from looking flat and one-note. If you have a rotating or musical tree base, choose a skirt with a loose elastic center or cut a small slit so it sits over the mechanism. And if your skirt ever looks a little wrinkled, toss it in the dryer on no-heat for ten minutes — comes out perfectly smooth.
7. The Tabletop Tinsel Tree for Small Spaces
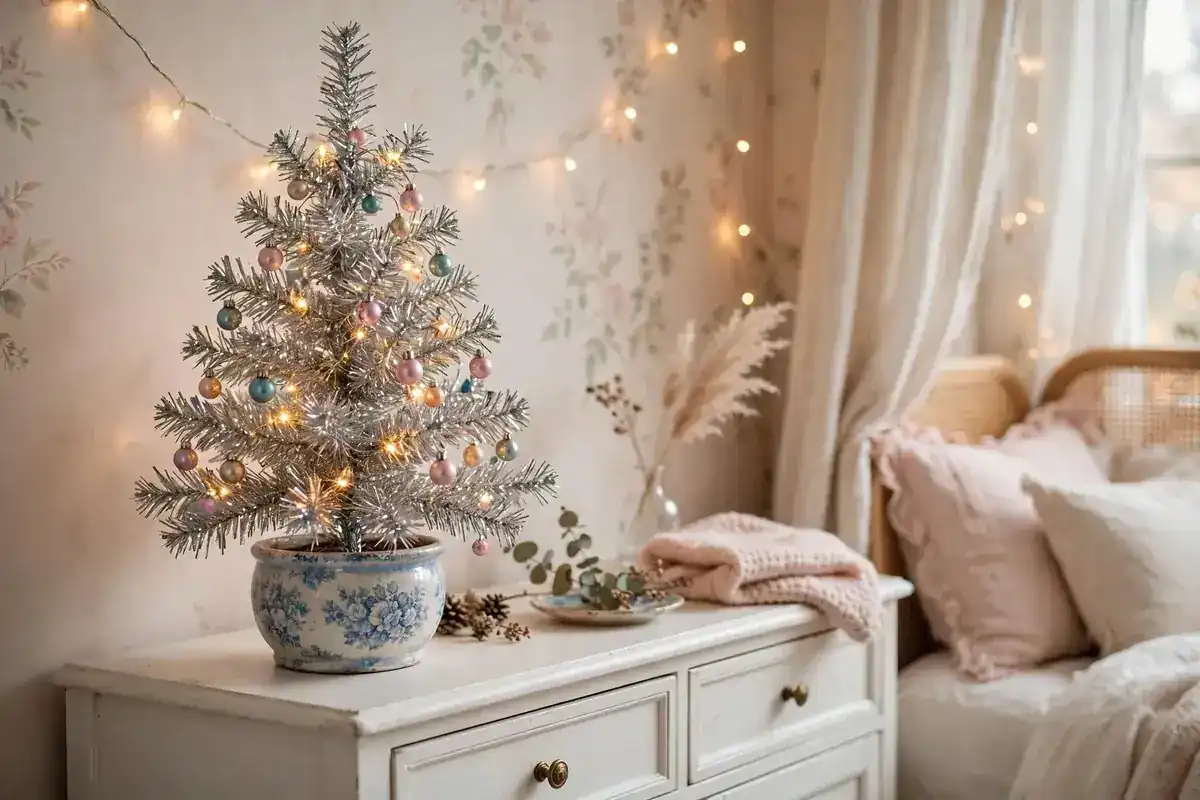
Not every silver tinsel christmas tree needs to be six feet tall — the tabletop versions might be the cutest thing in this whole trend. A 2-to-3-foot silver tinsel tree on a console, sideboard, or even your desk delivers the full nostalgic hit with a fraction of the storage. Style it exactly like the big tree but scaled down: one strand of mini colorful lights, a handful of tiny ornaments (2-inch balls are perfect), and a small topper like a paper star or a glittery snowflake. Set it in a vintage ceramic planter or a mercury-glass bowl instead of the original stand for an instant upgrade.
These little trees shine brightest in multiples. Line three tabletop tinsel trees down a dining table runner as a centerpiece, each with slightly different ornament colors, or cluster one on every surface of your entryway so guests walk through a gauntlet of shimmer. They’re also the perfect dorm-room or apartment tree when a full tree won’t fit — my first apartment tree was a 3-foot silver tinsel one on top of my bookshelf, and I decorated it entirely with candy. For storage, tabletop trees usually collapse flat into their original box, which means no excuses come January.
8. Mix In 90s Toy Ornaments for Full Nostalgia
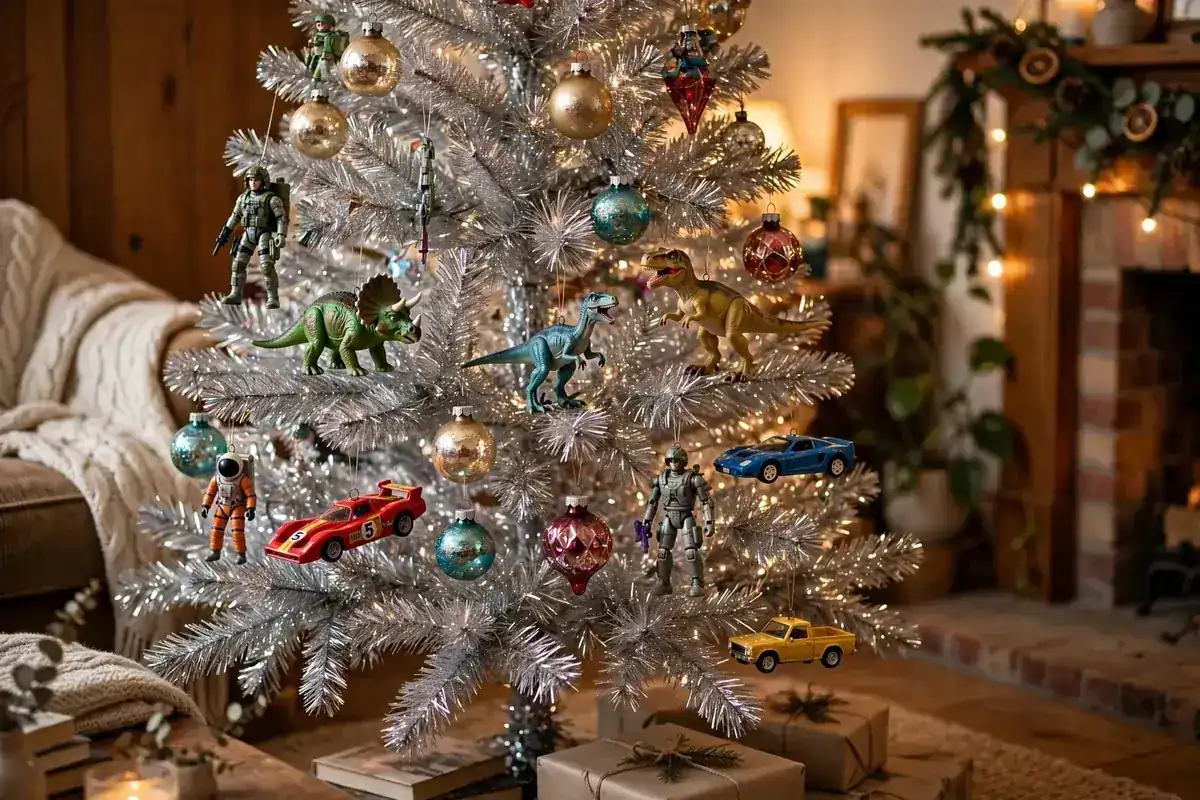
Here’s where the 90s nostalgia christmas energy really takes over: decorate your silver tinsel tree with toys. Small plastic dinosaurs, mini action figures, toy cars, tiny Barbies — anything that looks like it came out of a 1994 stocking. The silver branches make the perfect neutral backdrop for bright plastic colors, and the effect is genuinely joyful instead of kitschy. Tie thin fishing line or ornament hooks through belt loops, limbs, or around wheels; it takes about two minutes per toy and they hang surprisingly well.
The key is commitment. Two or three toys scattered among glass ornaments look like an accident; fifteen toys plus glass looks like a theme. Aim for a 60/40 split — 60% vintage-style ornaments for the sparkle base, 40% toys for the personality — and distribute the toys evenly so every angle has a surprise. Let the kids (or your inner kid) place their own favorites at eye level. This is also the most fun tree to shop for: dollar stores, thrift shops, and your own junk drawer are the best sources, which makes it one of the most budget-friendly ways to decorate a silver tinsel christmas tree all season.
9. Reflective Mercury Glass for Extra Shimmer

If one ornament type was born for a silver tinsel christmas tree, it’s mercury glass. Those reflective ornaments — with their mottled silver, gold, and champagne finishes — echo the foil branches perfectly, so the whole tree reads as one continuous shimmer instead of a tree with decorations on it. Mix sizes freely: big 4-inch mercury glass balls create focal points, while smaller ones fill gaps and catch the light from the colorful vintage lights strung behind them. Place them on the outer branches where they can throw reflections across the room.
Mercury glass also lets you steer the mood. Silver-and-gold mercury glass reads classic and warm; silver-and-pastel reads soft and feminine; all-silver reads glamorous and modern. Whichever direction you choose, add a few matte ornaments to balance the shine — flat ceramic or wood ornaments give the eye somewhere to rest and keep the tree from becoming a blur of reflection. Vintage mercury glass is easy to find at estate sales and antique stores, but the new reproductions are genuinely good quality now. Hold one up to the light before buying: good mercury glass has depth and variation, not a flat silver spray-paint look.
10. Handmade Paper Chains and Foil Stars
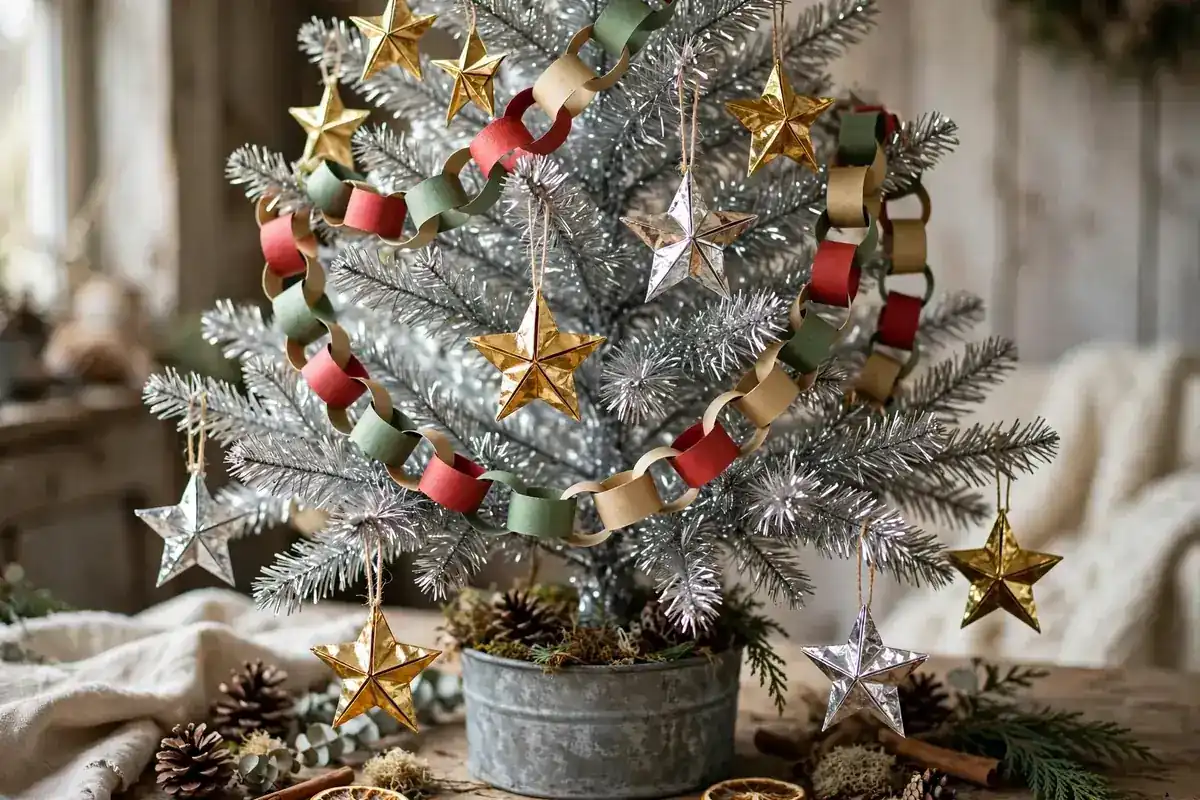
The most nostalgic ornaments aren’t bought — they’re made, and paper chains plus foil stars are the childhood christmas aesthetic in its purest form. Cut strips of red, green, and gold construction paper, loop them into long chains, and drape them around the silver tinsel tree in relaxed swags. The paper’s matte texture against the shiny foil is a gorgeous contrast, and the whole thing costs about two dollars. Follow the chains with foil star cutouts — fold gold and silver foil paper into 3D stars and hang them with string at varying heights for a homemade sparkle that no store-bought ornament can match.
This is the best tree theme for a craft night. Invite friends over with paper, scissors, and glue, and you’ll have enough chains for the whole tree in one evening. Kids can handle the chains entirely on their own, which makes this a genuinely family-made tree they’ll remember. One practical note: paper chains get dusty and crushed in storage, so plan to make fresh ones each year — honestly, that’s part of the ritual. Keep the foil stars, though; they store flat between sheets of tissue and last for years.
11. Go Pastel: Pink, Blue, and Silver
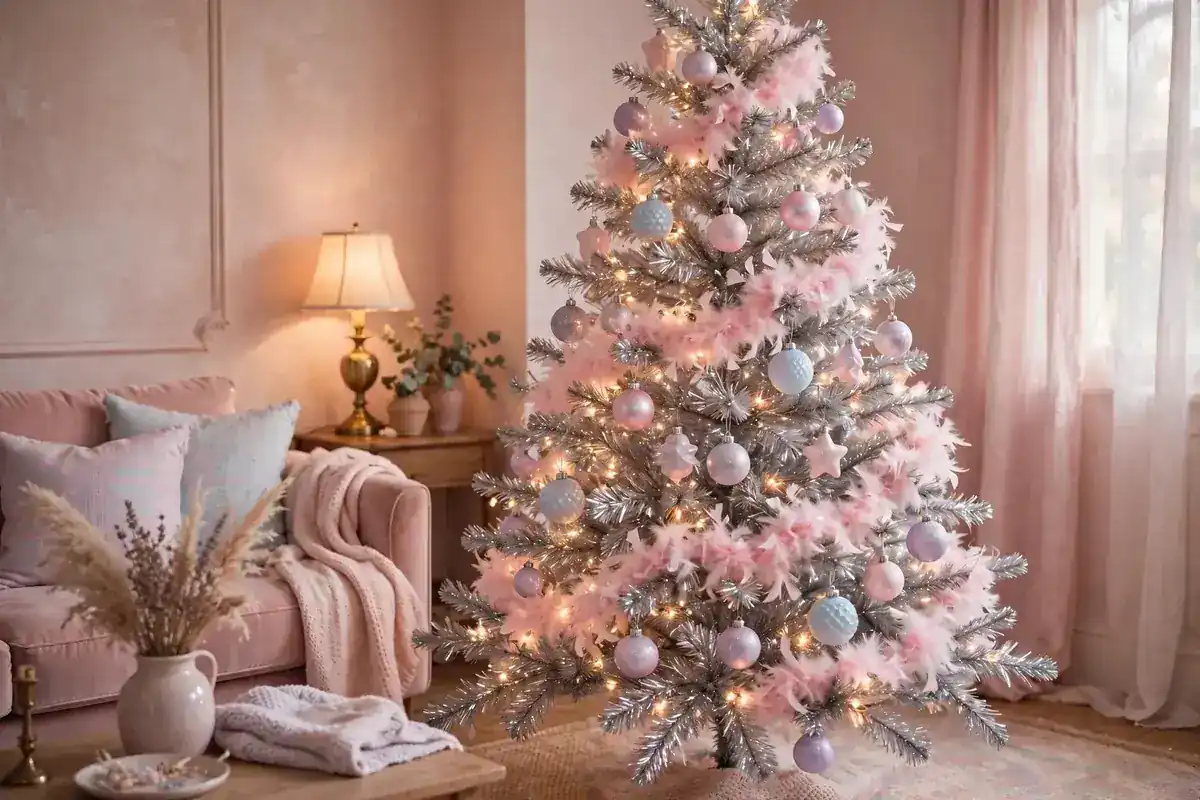
A silver tinsel tree with pastel ornaments is the softer side of retro — think 1950s Christmas cards, pink aluminum tree commercials, and a whole feminine holiday mood. Layer baby-pink, powder-blue, and lavender ornaments over the silver branches, and swap the classic multicolor lights for soft white or pastel-tinted strands. The silver acts like a pearl finish behind the pastels, and the overall effect is dreamy rather than loud. Add a pink feather boa as garland and a pink starburst topper, and you’ve got the full retro-pastel look.
What keeps pastels from looking washed out is contrast. Include a few deeper tones — dusty rose, slate blue, silver-plum — so the tree has depth, and make sure at least some ornaments are shiny metallic rather than all matte. The shiny ones catch the light and define the tree’s shape, while the matte pastels provide the soft color wash. This is also the perfect theme if your living room leans blush or neutral: a pastel silver tinsel tree blends into a feminine, cozy living room christmas decor palette instead of fighting it. Photograph it at golden hour with the lights on — the pink-silver glow is unreal.
12. Tinsel Garland Mantel Styling
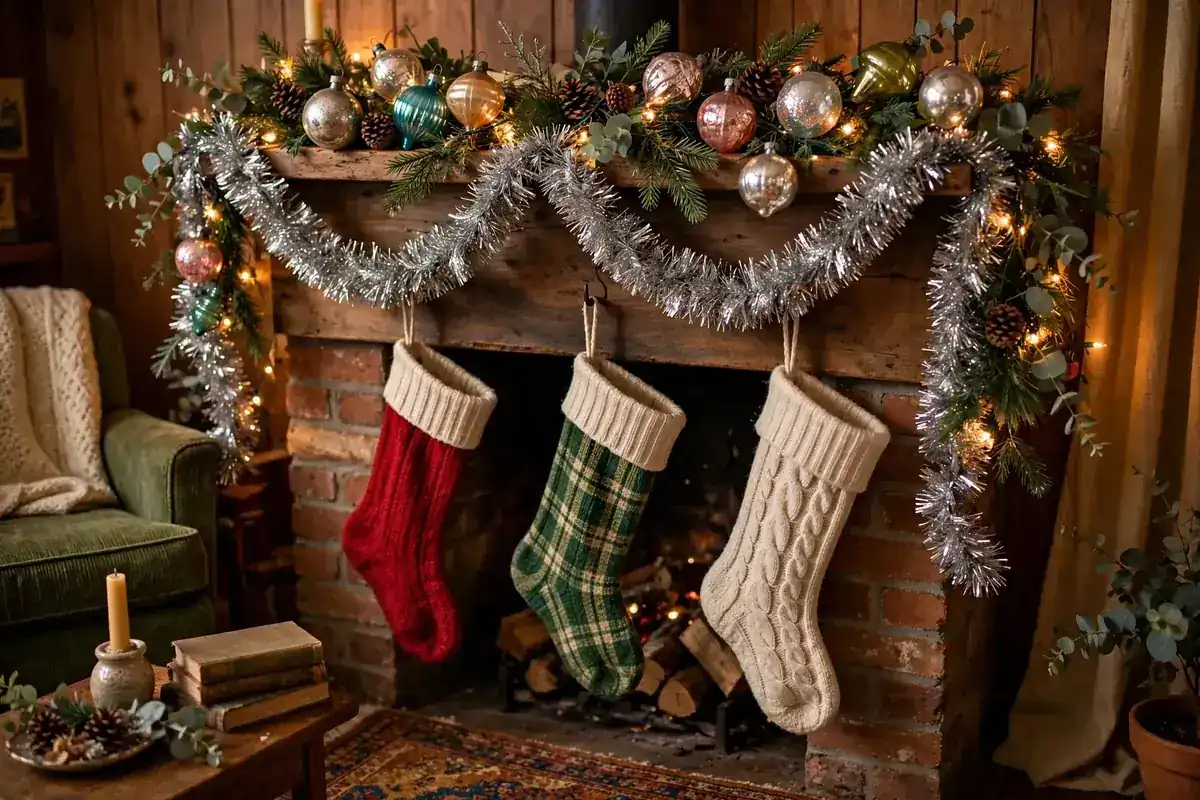
Your tree shouldn’t have all the fun — tinsel garland mantel styling brings the retro shimmer to the whole room. Start with a thick silver tinsel garland as the base, swagged loosely across the mantel with gentle dips between each end, and let the ends trail down on one side for that relaxed vintage feel. Layer a thinner, colorful garland on top — multicolor metallic or pastel pink — so there’s dimension, then tuck in vintage ornaments, a few sprigs of faux greenery for contrast, and a string of battery fairy lights for evening glow. Stockings hung at even intervals complete the classic mantel picture.
The secret to mantel styling that looks effortless is the rule of three heights. Tall candlesticks or bottle-brush trees at the back, mid-height garland and ornaments in the middle, and small accents like tiny presents or pinecones along the front edge. This layering hides the Command hooks and gives the whole arrangement depth from across the room. If your mantel is narrow, let the garland do most of the work and keep the add-ons minimal — tinsel reads festive on its own. And coordinate loosely with your tree: the same color accents on both makes the whole room feel intentionally designed, like a magazine spread from a retro Christmas special.
13. A Silver Tinsel Wreath on the Front Door
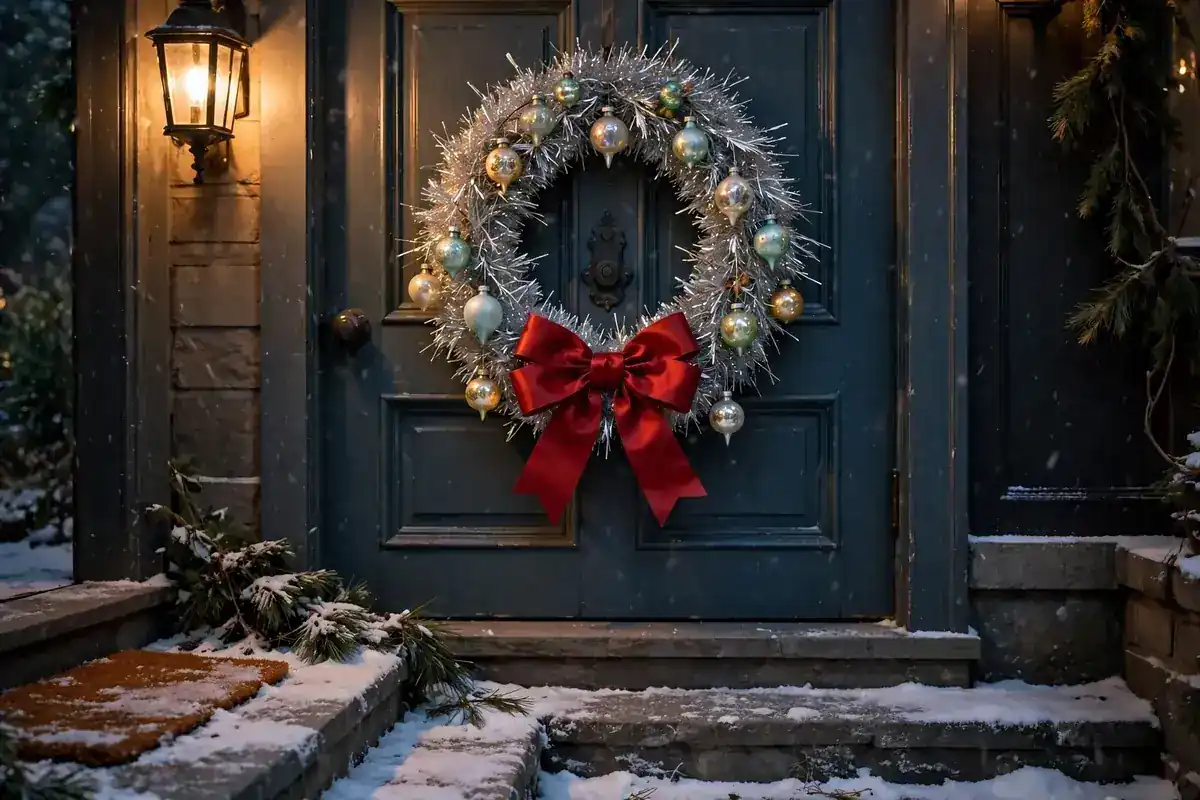
Carry the theme all the way to the front door with a silver tinsel wreath. Buy a plain silver tinsel wreath base (they’re widely available and inexpensive) and dress it up with a handful of the same vintage ornaments you’re using on the tree — this repetition is what makes the whole house feel coordinated. Tuck in a big satin bow in red, pink, or champagne at the top, add a string of battery-operated fairy lights, and hang it on a wide satin ribbon rather than a wire hanger so it drapes prettily. It takes ten minutes and looks like you hired a decorator.
If you’re making a tinsel wreath for the first time, here are two things that matter: fluff the tinsel outward on both sides so the wreath reads full from every angle, and keep the ornament count to an odd number — five or seven small balls look styled; six look store-bought. Our diy christmas wreath ideas have more wreath-base techniques if you want to go further. Hang the finished wreath slightly lower than eye level so it’s the first thing visitors see as they approach. And if you have a double door or a matching side window, repeat the same wreath there — symmetry doubles the impact of the shimmer.
14. Blue-and-Silver Ball Clusters for Depth

Here’s a styling trick that makes any silver tinsel christmas tree look professionally decorated: group your ornaments into clusters instead of spreading them one by one. Take 3-5 ball ornaments in shades of blue and silver — navy, cobalt, icy blue, silver, mercury — and wire them together into a tight cluster, then nest the cluster deep into the tree at the ends of branches. The deep blue against the silver foil creates gorgeous depth and contrast, and clustering makes the tree look fuller than it actually is. Repeat the clusters in 5-7 spots around the tree, evenly spaced.
Why blue and silver works so well: it’s the coldest, crispest color combination, and it leans into the tree’s metallic nature instead of fighting it. If your tree is on the smaller side or the branches are thinning with age, clusters are your best friend — they hide bare spots completely. Add a few blue lights or a blue-tinted light strand near the clusters to deepen the effect at night. And save one oversized blue ornament for the front-and-center branch at eye level — it becomes the tree’s jewel, the piece everyone comments on. Finish the look with a shiny tree skirt in silver to keep the cool-toned palette flowing right to the floor.
15. The Rotating Base and Light Show Finale
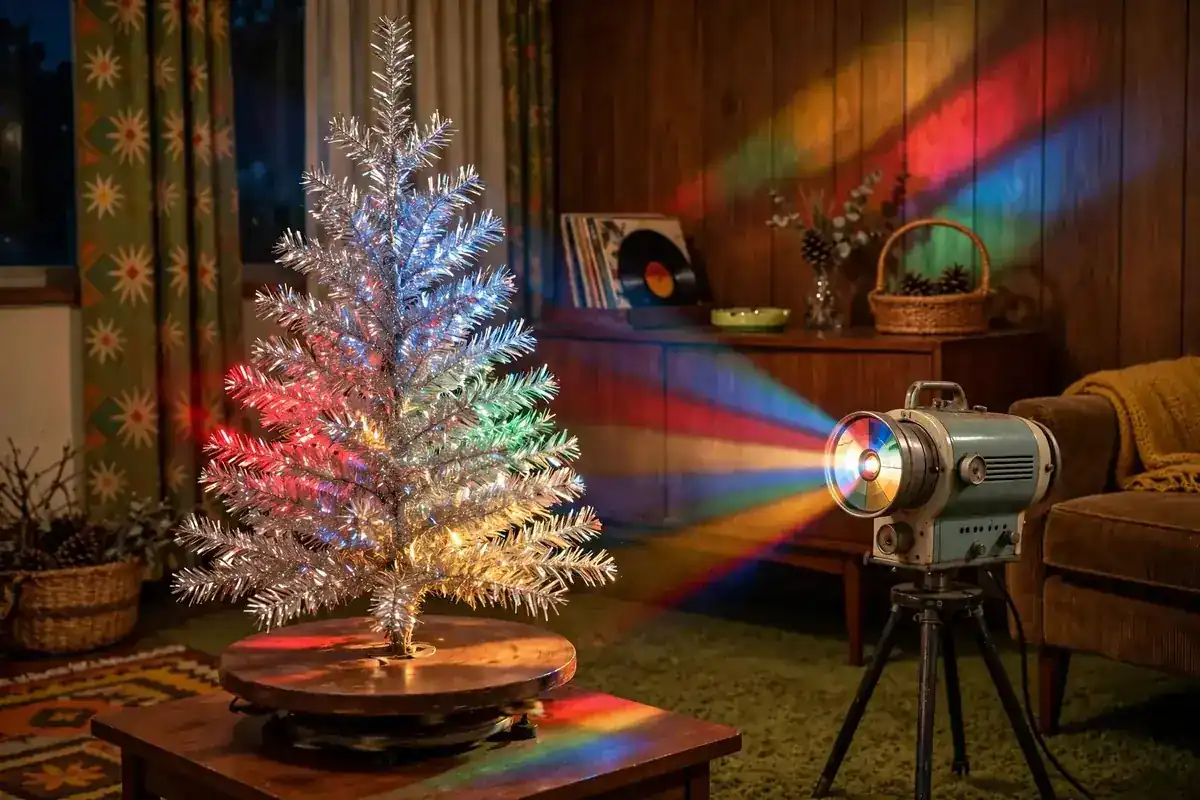
If you want the full 1960s experience, finish your silver tinsel christmas tree with the ultimate retro accessory: a rotating base and a color-changing light wheel. The motorized base slowly turns the tree while a color wheel projects shifting red, blue, green, and gold light onto the foil branches — the silver practically glows from within, and the whole room fills with moving color. It’s theatrical, it’s over-the-top, and it’s the single most nostalgic decorating move on this list. Set the tree near a wall so the colored light has a surface to dance on.
A few practical notes: modern rotating bases are quieter and sturdier than the originals, but check the weight rating against your tree’s height — a 7-foot tree needs a heavy-duty base. Keep the color wheel 3-4 feet away from the tree for the best spread of color, and angle it slightly upward so the light washes the upper branches. The one caution: if your household is sensitive to motion or flashing light, skip the rotation and use the color wheel alone. Honestly though, the rotating silver tree with its slow color show is the kind of thing guests talk about all season — and for warm ambient holiday lighting throughout the rest of the house, keep the tree room as the colorful showpiece and go soft and warm everywhere else.
The Shine-Up: Retro Is a Feeling, Not a Decade
The best thing about a silver tinsel christmas tree is that it gives you permission to stop performing perfection and start having fun again. Nobody decorates a tinsel tree to impress the design blogs — you decorate it because the shimmer makes you happy, because the multicolored lights remind you of being seven, because mismatched ornaments carry actual memories instead of curated aesthetics. Fluff the branches, string the big colorful bulbs, hang the weird little toys, and let the tree spin if you feel like it. Cool comes and goes, but the joy of a room full of silver sparkle? That never goes out of style.
Frequently Asked Questions
Are silver tinsel Christmas trees tacky or cool?
They’re cool again — searches for “silver tinsel trees” are up +167% YoY, and the retro styling trend has brought them firmly back into fashion. The key is intentional styling: colorful vintage lights, mismatched ornaments, and plenty of shimmer make them look joyful, not dated.
What color lights look best on a silver tinsel tree?
Multicolored C9 bulbs are the classic, iconic choice — the silver foil doubles the color and creates that midcentury glow. Soft white or pastel lights work beautifully for a pastel pink-and-silver theme. Avoid warm-white alone on a full tree, as it can look flat against the metallic branches.
How do you decorate a vintage tinsel Christmas tree?
Start by fluffing every branch layer and checking for bare spots. String colorful vintage lights first, add thick tinsel garland in loose swags, then hang mismatched retro ornaments one per branch. Finish with a big dramatic topper and a shiny metallic tree skirt.
Where can I find a vintage silver tinsel tree?
Thrift stores, estate sales, and Facebook Marketplace are the best sources for genuine 60s–80s tinsel trees, usually under $50. New reproductions are available at most big retailers each holiday season and are sturdier, with safer pre-lit options.
Do silver tinsel trees work with modern decor?
Absolutely — silver is a neutral. Pair the tree with modern minimal furniture and let it be the room’s statement piece, or go full retro with tinsel garland mantel styling and matching wreaths. Pastel ornaments make silver trees feel soft and contemporary rather than kitsch.
How do you store a tinsel Christmas tree?
Collapse the branches upward toward the trunk, slide the tree back into its original box, and store upright or flat in a dry spot. Keep paper chain garlands separate (they crush easily) but store foil stars flat in tissue. Never store in a damp garage — moisture dulls the metallic finish.
You May Also Like
By Luma Grace