12 Inside Chicken Coop Designs to Keep Your Flock Happy and Healthy
Hey there! If you have ever stepped inside a basic, muddy chicken coop and thought, “My girls deserve better than this,” you have come to the right place. Building a coop is one thing, but designing the inside is where the real magic happens. We spend a lot of time making the outside look like a cute miniature barn, but the interior is where your hens actually live, sleep, and lay those liquid-gold eggs.
IMO, a well-designed coop interior is the difference between a high-maintenance chore and a joyful hobby. I remember my first coop was a disaster of poorly placed roosts and hard-to-clean corners. I’ve learned the hard way that a little creative planning inside goes a long way. Let’s look at thirteen brilliant internal coop designs that make life easier for you and a whole lot better for your feathered friends!
1. Deep Litter Method Floor
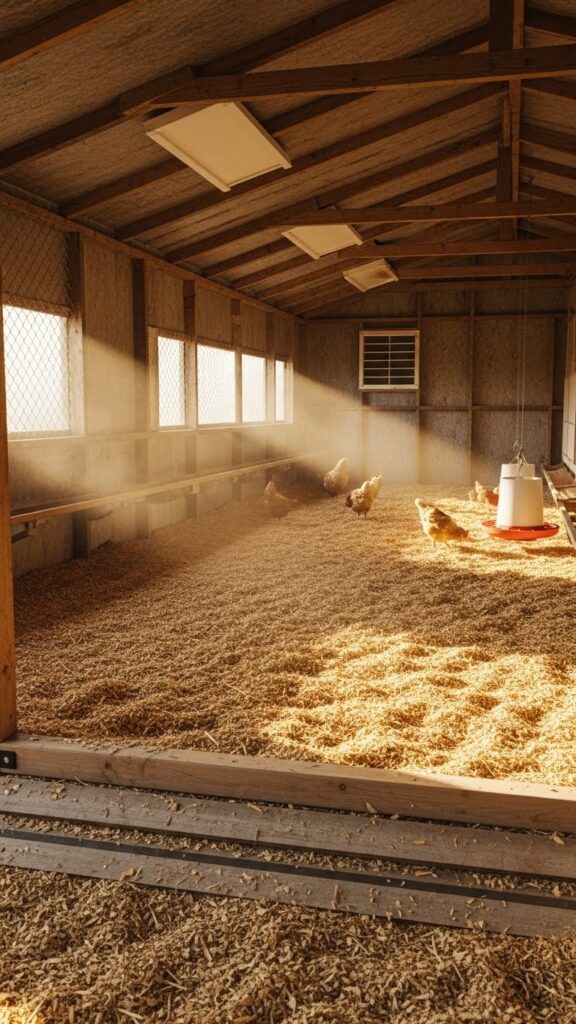
The deep litter method isn’t just a design; it is a labor-saving ecosystem. Instead of cleaning out the floor every week, you build up a thick layer of pine shavings and straw (about 6–8 inches deep). The waste composts right on the floor, creating natural heat in the winter and beneficial microbes.
This design requires a sturdy “litter guard” at the door so the shavings don’t spill out when you open it. I love this because it only needs a full clean-out once or twice a year. It feels earthy and natural, and the hens love scratching through it. FYI, make sure you have great ventilation, or the ammonia will build up! 🙂
2. Integrated Droppings Board
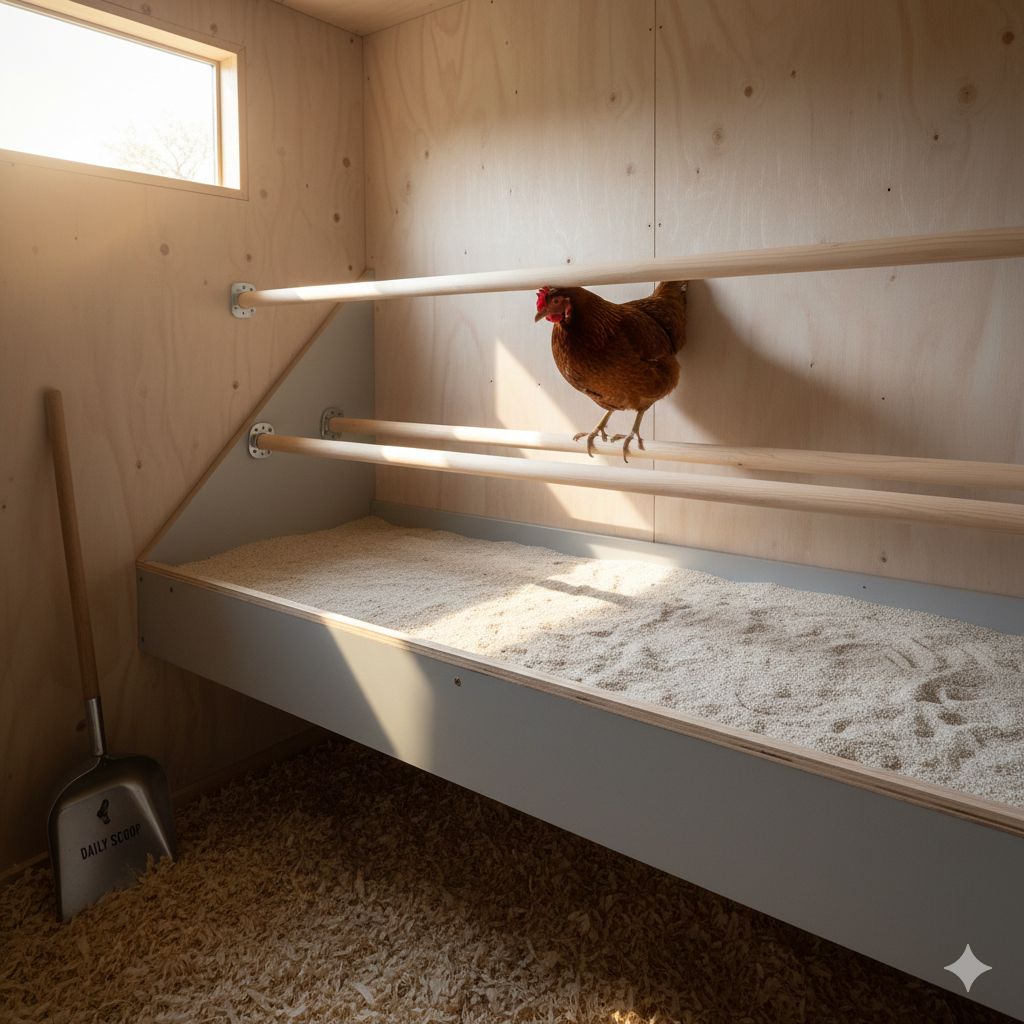
Cleaning poop is the least glamorous part of chicken keeping, but a droppings board makes it a ten-second job. This is a flat shelf installed about 6–8 inches below the roosting bars. Since chickens do 80% of their business while sleeping, the shelf catches everything before it hits the floor bedding.
You can coat the board with a bit of sand or PDZ (a coop deodorizer) to make scooping like a cat litter box. It keeps your floor litter pristine for months. I’ve seen this save people hours of work. It is a sleek, organized solution that keeps the “inside” feeling fresh and tidy.
3. High-Traffic Sand Flooring
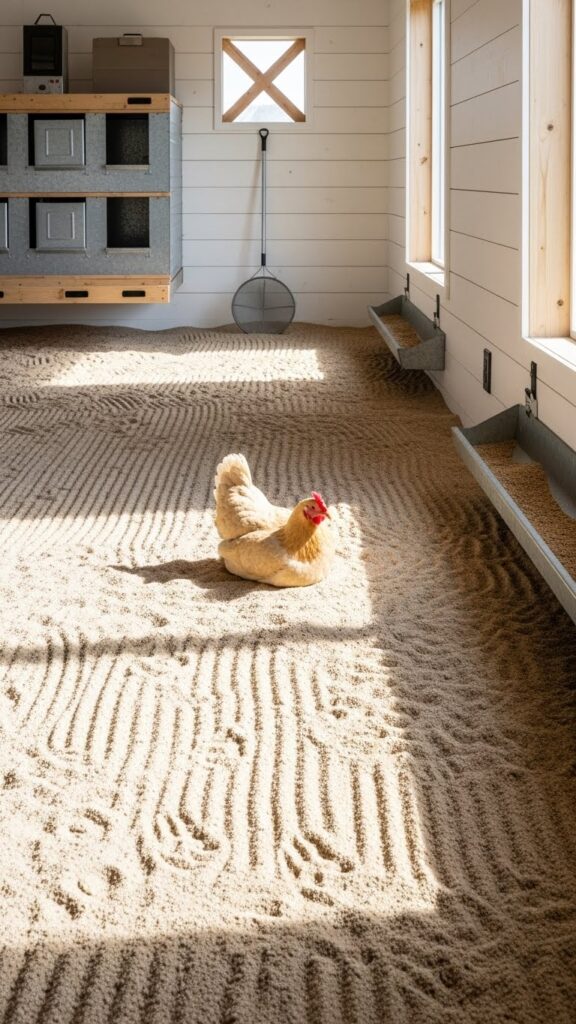
If you live in a damp climate, swap the straw for coarse construction sand. Sand acts as a natural desiccant, drying out waste instantly and providing a built-in dust bath for the girls. It is incredibly easy to spot-clean with a long-handled sifter.
It doesn’t harbor moisture or mold like hay can, which keeps your flock’s lungs healthy. It feels very clean and modern inside. Plus, in the summer, it stays nice and cool on their feet. It is the gold standard for “clean” coop interiors and looks much more professional than messy wood chips.
4. Multi-Level Roosting Ladders
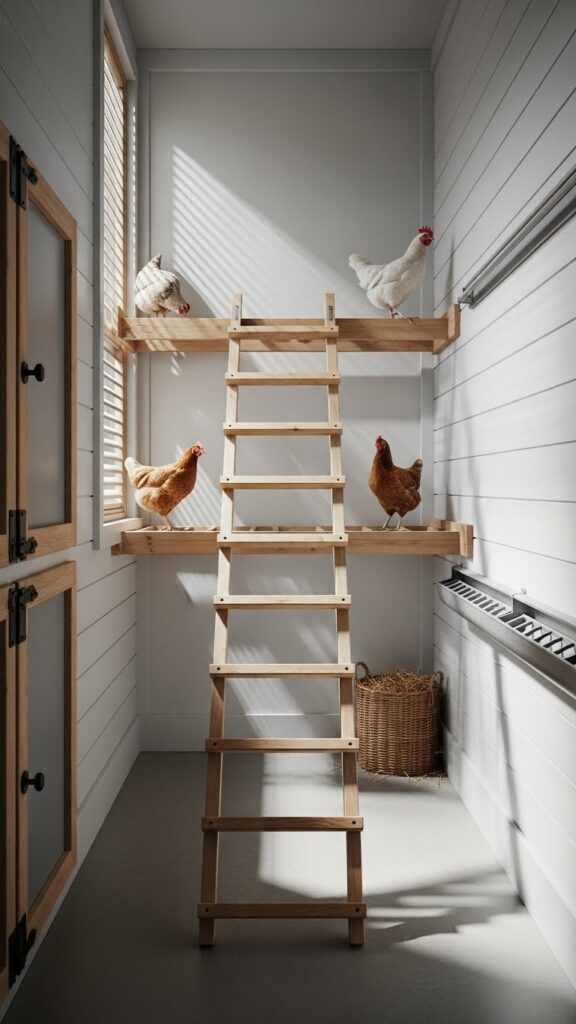
Chickens have a natural pecking order, and they love to sleep at different heights. Designing a “ladder” style roosting system allows the bossy hens to take the top spot while the shy ones feel safe below. I suggest using 2x4s with the wide side up so they can cover their feet with their feathers in the winter.
This utilizes the vertical space in your coop, leaving more floor room for feeders and movement. Make sure the lowest bar is at least 18 inches off the ground to prevent drafts. It adds a dynamic, tiered look to the interior that makes the coop feel like a real home.
5. Roll-Away Nesting Boxes
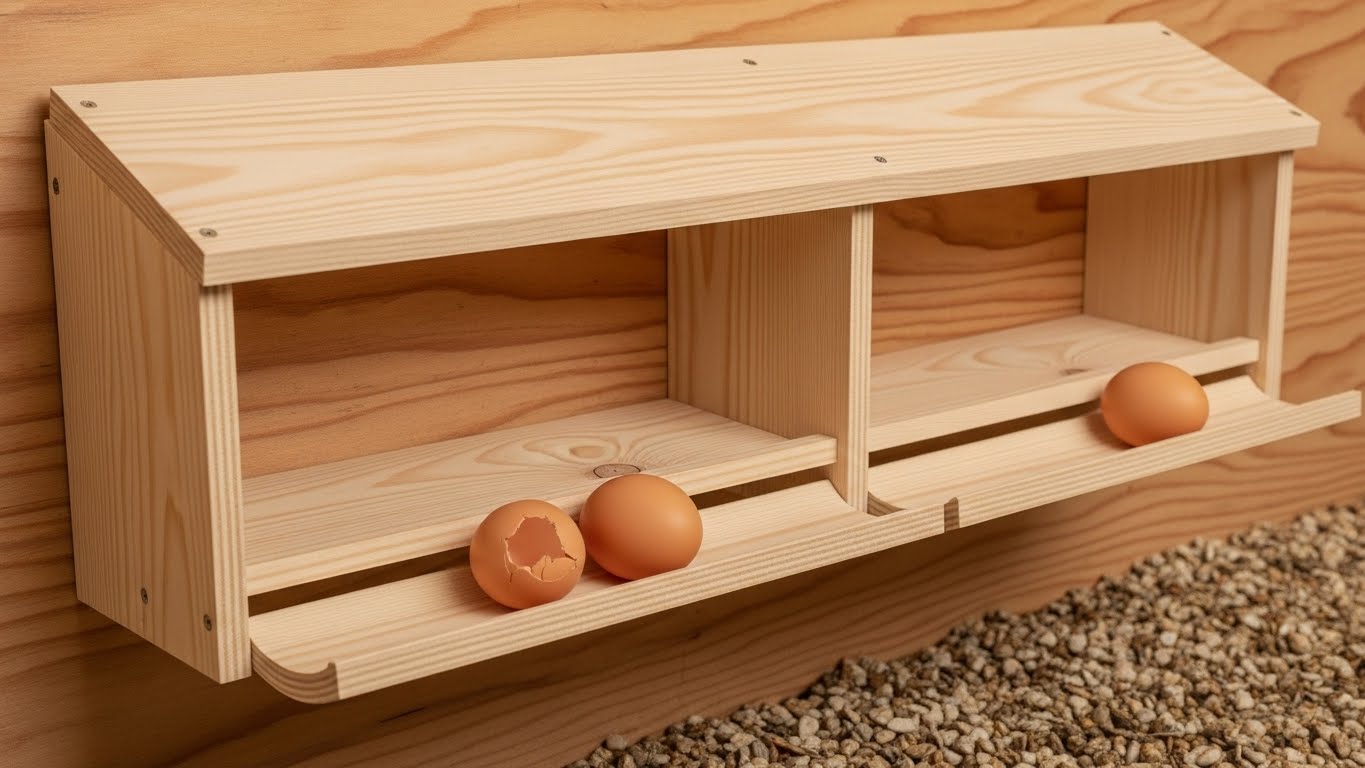
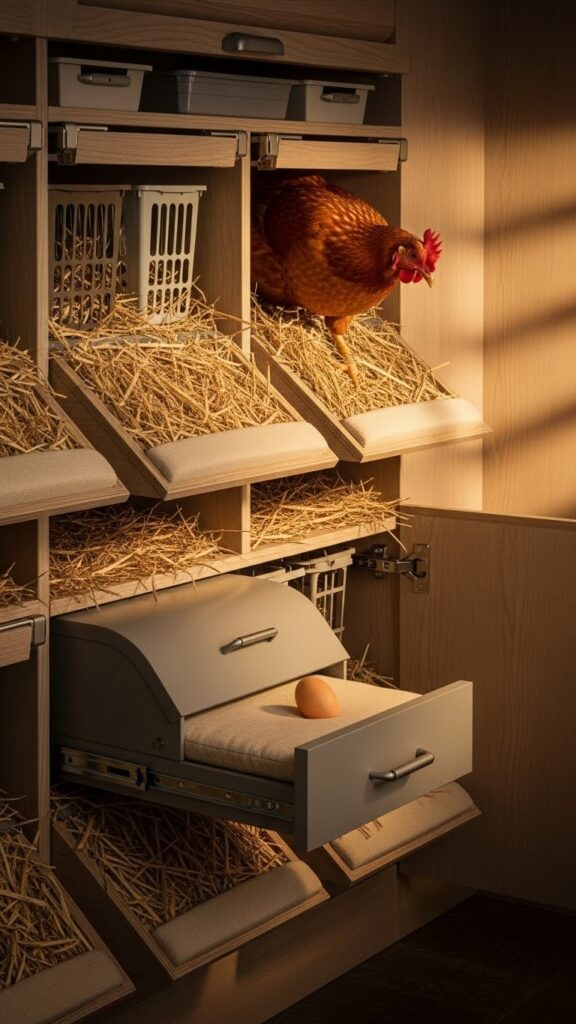
Tired of cracked or dirty eggs? Roll-away nesting boxes feature a slightly sloped floor. When the hen stands up, the egg gently rolls into a covered compartment at the front or back. I used these for a friend whose hens were “egg eaters,” and they solved the problem overnight.
It keeps the eggs away from curious beaks and keeps them clean from manure. It also makes collecting eggs a fun, treasure-hunt experience. It adds a sophisticated, functional element to the wall of your coop. You can hide the collection area behind a small cabinet door for a very clean look.
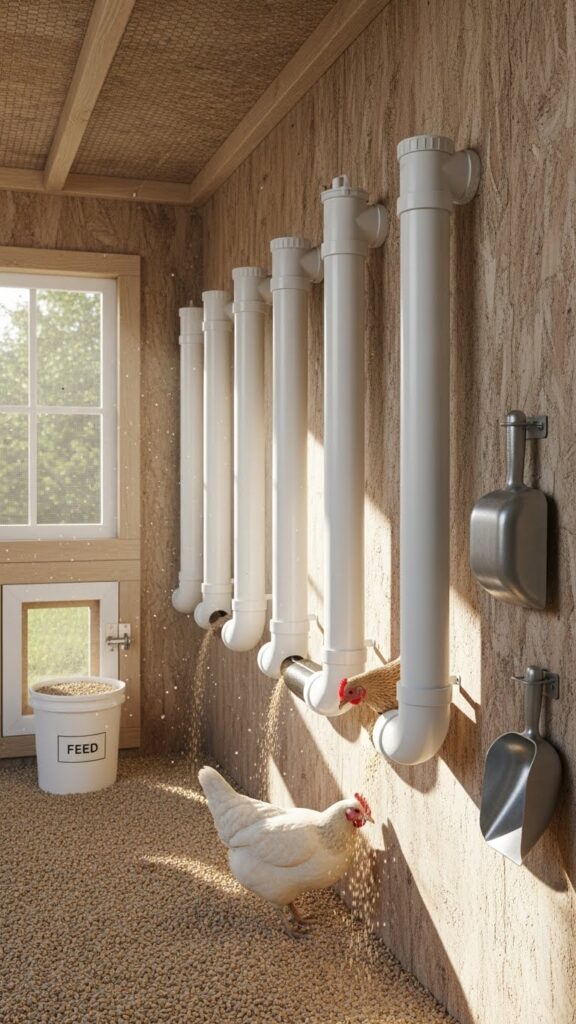
6. PVC External Feeders
Save floor space by installing gravity-fed PVC feeders that are mounted to the wall. You fill them from the top (even better if the fill-hole is outside the coop!) and the food flows down into a small opening at the bottom. This prevents the hens from flicking food everywhere and wasting money.
It keeps the feed off the floor and away from mice. It looks organized and purposeful. You can paint the PVC to match your coop’s theme. It’s a smart, DIY-friendly design that makes daily chores take almost no time at all.
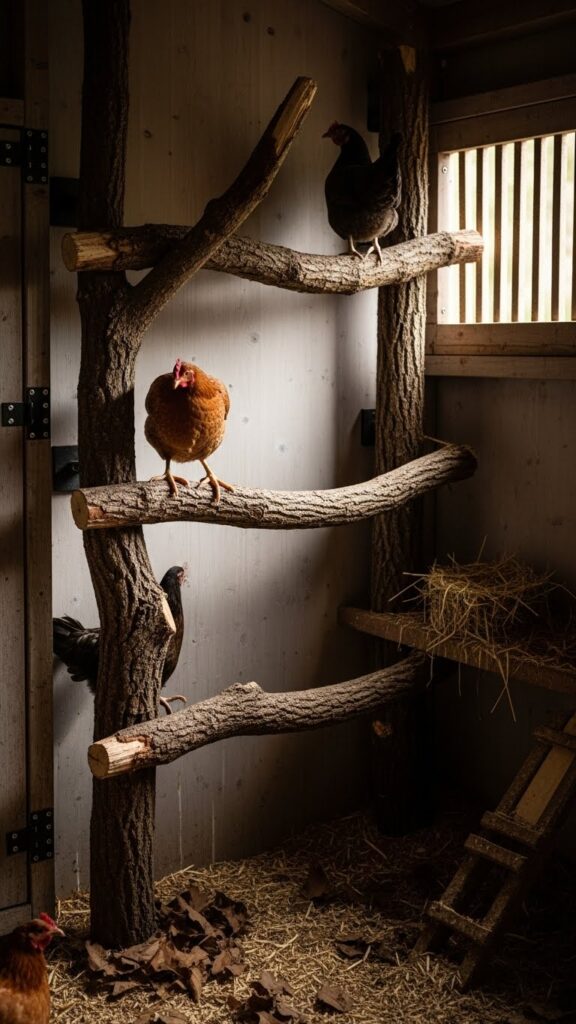
7. Natural Tree Branch Roosts
For a rustic and organic interior, skip the lumber and use actual fallen tree branches for roosts. You want branches about 2–3 inches in diameter with rough bark so the hens can grip easily. I love how this looks; it makes the coop feel like an extension of the forest.
Make sure to strip any sharp twigs and secure them tightly to the walls. The variety in thickness is actually better for their foot health than perfectly uniform bars. It is free, eco-friendly, and gives your chickens a little bit of the wild indoors.
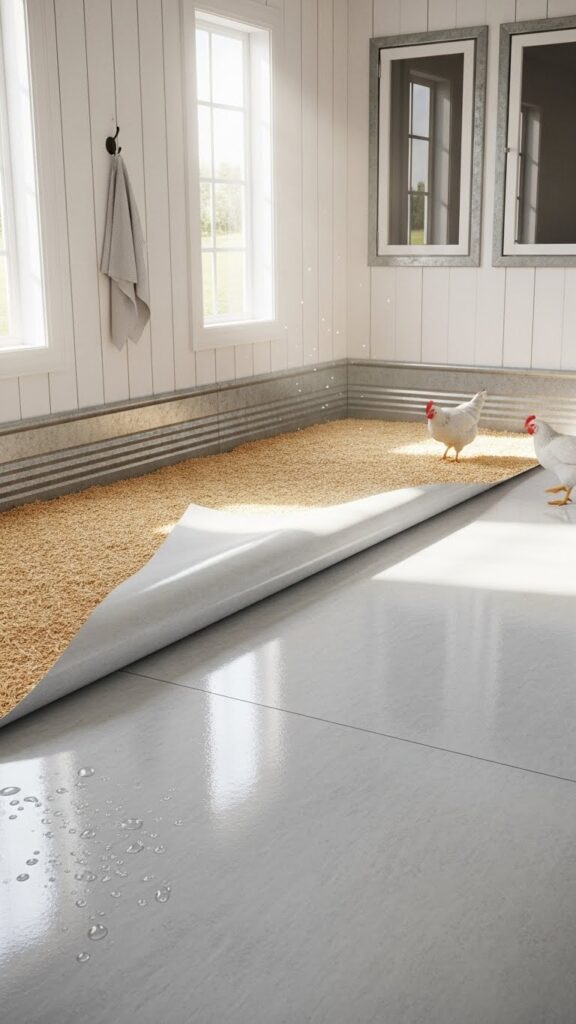
8. Linoleum “Easy-Wipe” Floors
Before adding bedding, cover your wooden coop floor with a single sheet of inexpensive linoleum or vinyl. I’ve done this in every coop I’ve helped build. It prevents moisture from the droppings from soaking into and rotting the wood.
When you do your deep clean, you can literally just spray the floor with a hose and wipe it down. It is a hidden design feature that saves you hundreds of dollars in floor repairs down the line. Plus, it makes the coop look bright and clean once you rake the litter aside.
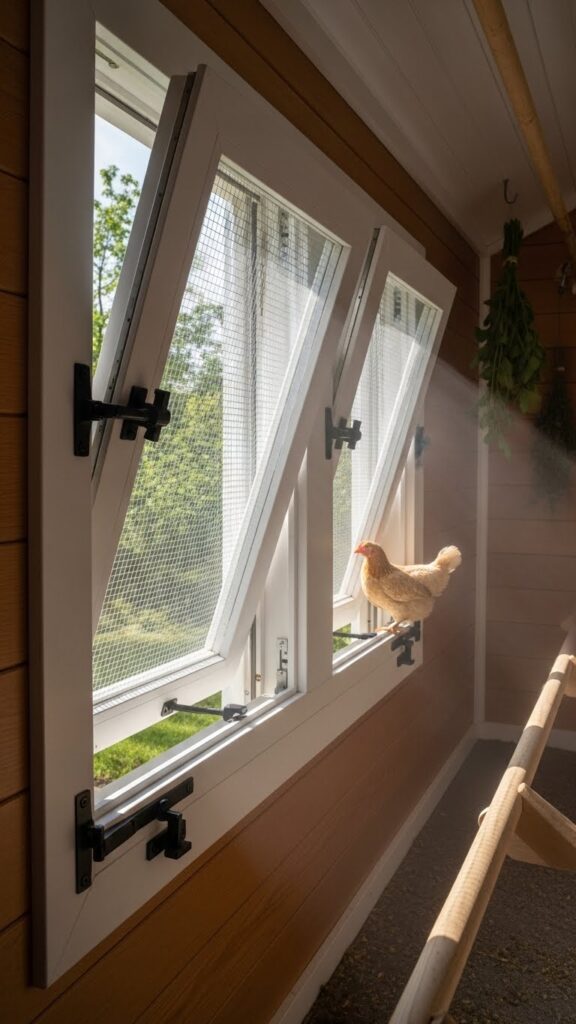
9. Swing-Out Wall Windows
Airflow is the #1 rule of a healthy coop. Designing windows that can latch open in the summer and seal tight in the winter is crucial. I like using plexiglass or heavy-duty hardware cloth to keep predators out while letting the breeze in.
Place them high up so the draft doesn’t hit the birds directly while they sleep. It provides the natural light they need to stay happy and lay consistently. It feels airy and bright inside, which prevents the “dingy barn” vibe. FYI, chickens handle cold much better than they handle heat!
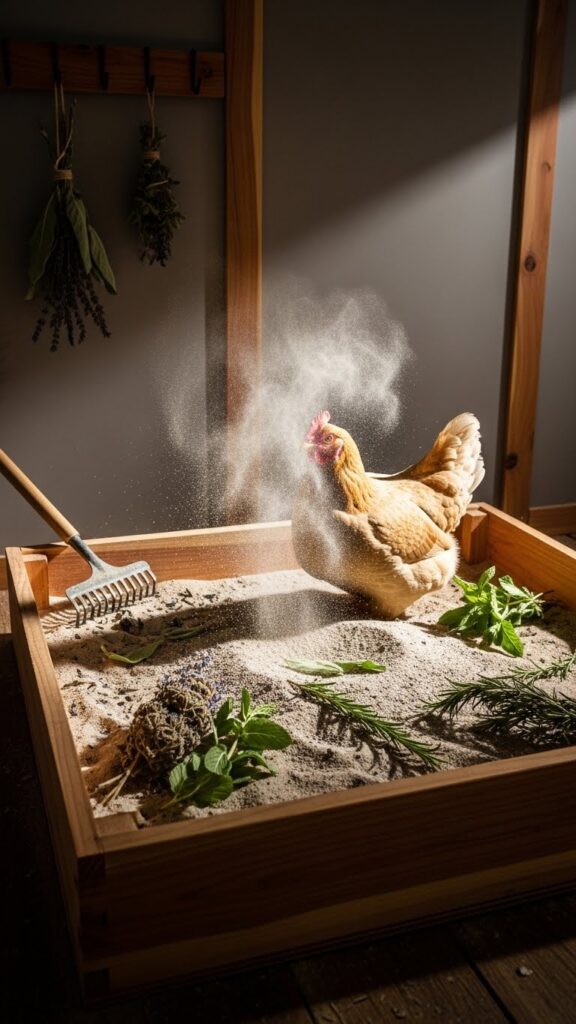
10. The “Herb Garden” Dust Bath
Include a designated wooden box filled with a mix of sand, wood ash, and dried herbs like lavender or mint. Dust bathing is how chickens stay clean and ward off mites. Adding herbs acts as a natural insect repellent and makes the coop smell amazing.
It’s like a private spa day for your hens. I find that having a contained area for this keeps the dust from settling on every other surface in the coop. It adds a soft, organic touch to the layout that celebrates the natural behaviors of your flock.
11. Recessed “Mud-Room” Entrance
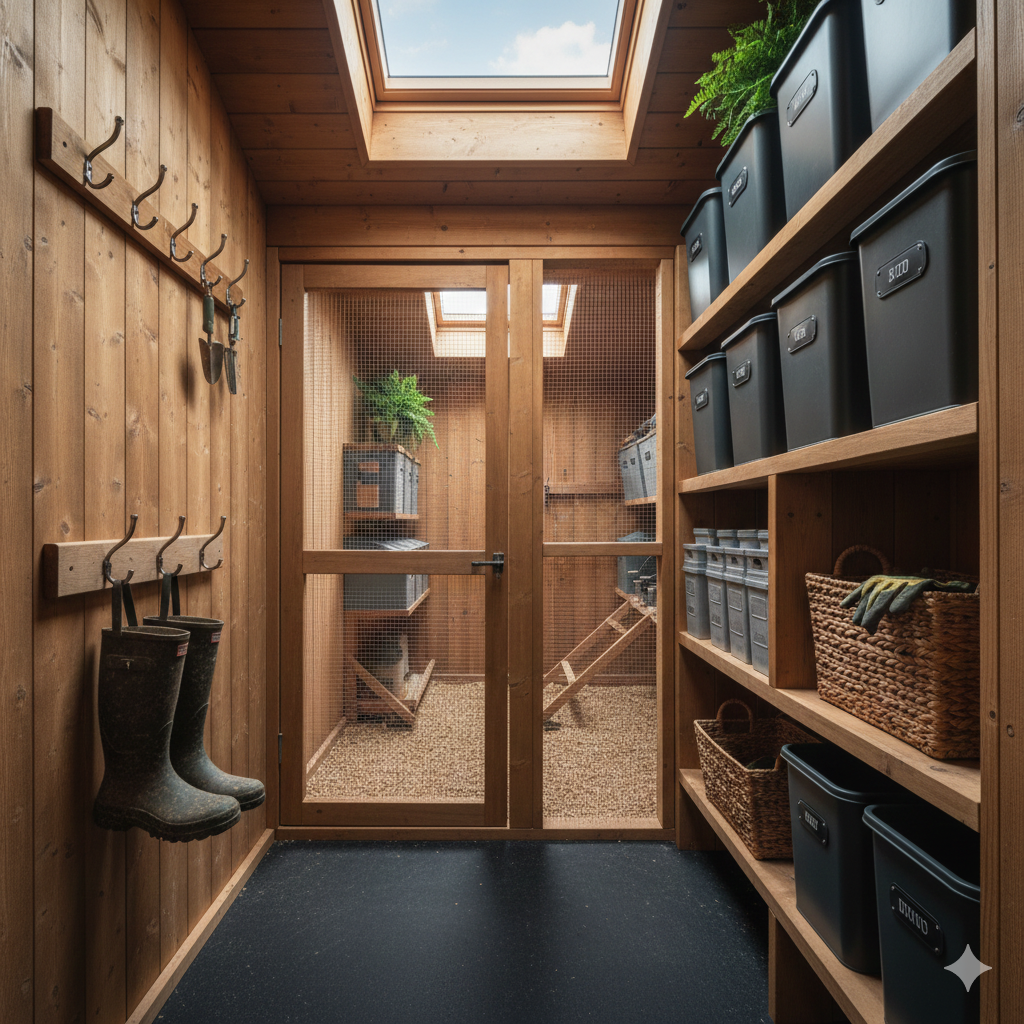
If your coop is large enough, design a small internal vestibule or “mud-room” before the main chicken area. This is where you store your feed bins, rakes, and egg baskets. It creates a secondary barrier to prevent escapees when you open the main door.
It keeps your supplies dry and organized. You can hang hooks for your “coop boots” so you don’t track mess back into the house. It makes the interior feel like a professionally managed mini-farm. It’s the ultimate move for the high-end chicken keeper.
12. Industrial Metal Wall Liners
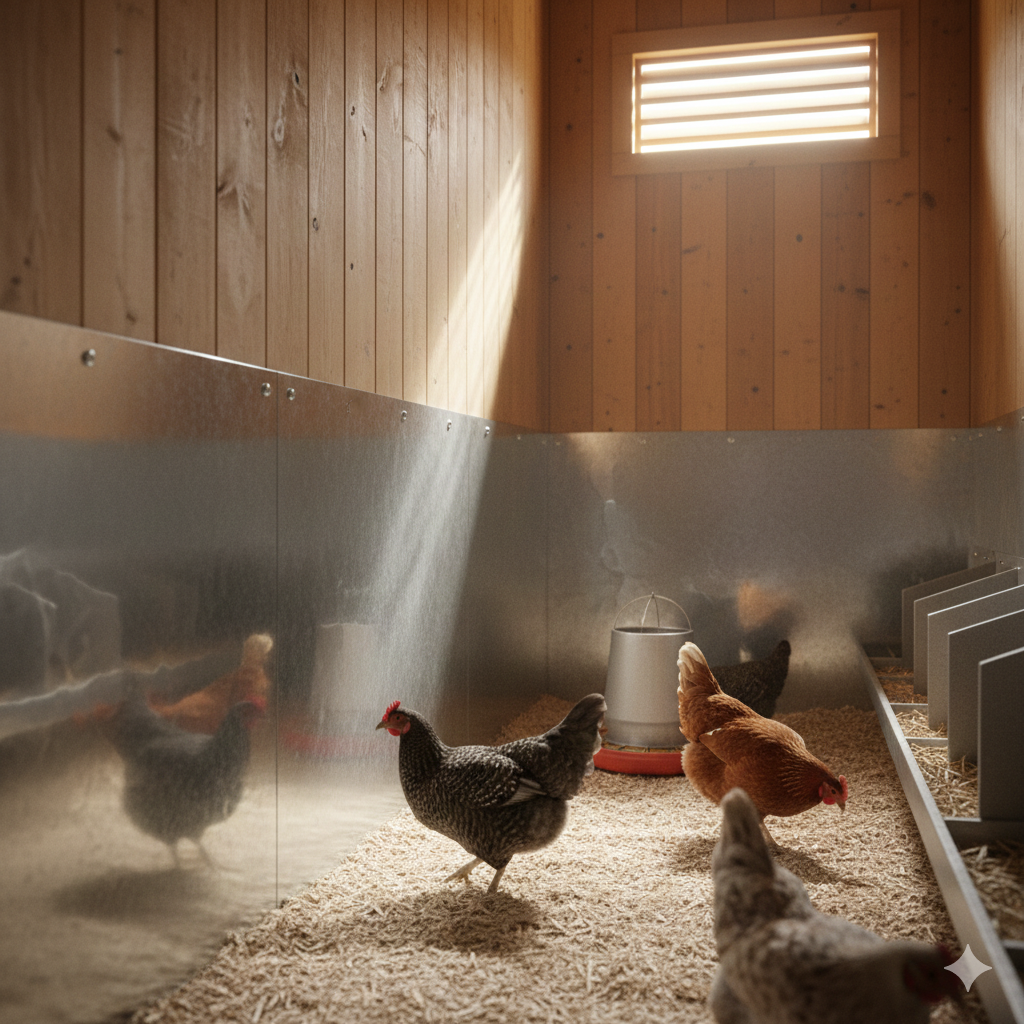
For a modern, indestructible interior, line the bottom 24 inches of your walls with galvanized metal sheets. It protects the wood from scratching, pecking, and moisture. I’ve seen this in large, busy coops, and it looks incredibly clean and industrial.
It’s a breeze to disinfect during spring cleaning. It reflects light, brightening up the lower levels where hens spend their daytime. It creates a rugged, durable aesthetic that says your coop is built to last for decades.
Conclusion
The inside of your chicken coop is the engine room of your hobby. Whether you go for the sleek look of linoleum and droppings boards or the natural charm of tree branch roosts, the goal is to make the space functional for you and cozy for them.
Based on my time in the coop, the best designs are the ones that let chickens be chickens while keeping your maintenance low. Don’t be afraid to try a “spa box” or a “mud room.” Your hens will repay you with calm clucks and a full egg basket every single morning!
FAQs
- How much space do I need inside the coop per chicken?
A good rule of thumb is 3 to 4 square feet of floor space per bird inside the coop. If you have a larger “run” outside, you can get away with 3 square feet, but inside, they need enough room to move around without bullying each other.
- How high should nesting boxes be from the floor?
Aim for about 12 to 18 inches off the floor. You want them to be low enough that the hens can hop in easily, but lower than the roosting bars. If the nesting boxes are higher than the roosts, the hens will sleep (and poop!) in them, which makes for very messy eggs. 🙂
- What is the best way to ventilate a coop interior?
Always install vents at the highest point of the coop. This allows warm, moist air and ammonia to escape while keeping a fresh supply coming in from lower windows. IMO, you can never have too much ventilation as long as it isn’t causing a direct draft on the birds.
- Is it necessary to insulate the inside of a coop?
In most climates, no. Chickens have down coats! Draft-free airflow is more important than trapping heat. If you live in extremely cold areas (regularly -20°F or lower), double-walled construction can help, but standard wood is usually sufficient for most breeds.
- Why should I avoid using hay on the coop floor?
Hay tends to hold onto moisture and can harbor mold spores, which leads to respiratory issues in chickens. Pine shavings, sand, or hemp bedding are much better at staying dry and keeping the air clean inside. IMO, save the hay for the nesting boxes!