
12 Kitchen Island Trim Ideas That Transform Your Space!
Hey there! If you have ever looked at your kitchen island and thought it looked a bit like a plain, unfinished box sitting in the middle of the room, you are not alone. I’ve been through plenty of kitchen renos where the island is the functional star but the visual “blah” of the space. It’s usually just a flat expanse of cabinet backing that does nothing for the room’s energy.
IMO, the back and sides of your kitchen island are the most underutilized real estate in your home. Adding trim is like adding a tailored suit to a plain mannequin—it instantly creates a high-end, custom look. I’ve seen islands go from “builder-grade” to “bespoke designer” in just a single weekend with a few pieces of molding. Let’s dive into twelve creative trim ideas that will turn your island into a legitimate focal point!
1. Classic Shiplap Wrap
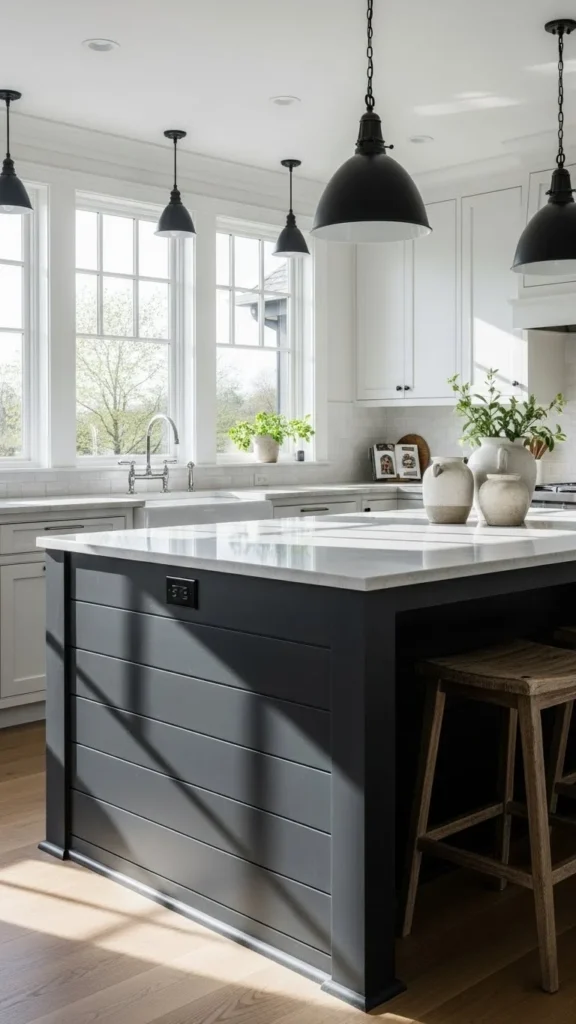
Shiplap isn’t just for walls; it looks incredible wrapped around the base of a kitchen island. I love the horizontal lines it creates, which help elongate the island and make the kitchen feel wider. If you have a farmhouse or coastal vibe, this is a total no-brainer.
Painting the shiplap a contrasting color, like a deep charcoal against white cabinets, makes the texture really pop. It’s a very durable option that hides the inevitable scuffs from barstools and kicking feet. FYI, make sure to use a high-quality, wipeable paint because islands are high-traffic zones! 🙂
2. Sophisticated Picture Frame Molding
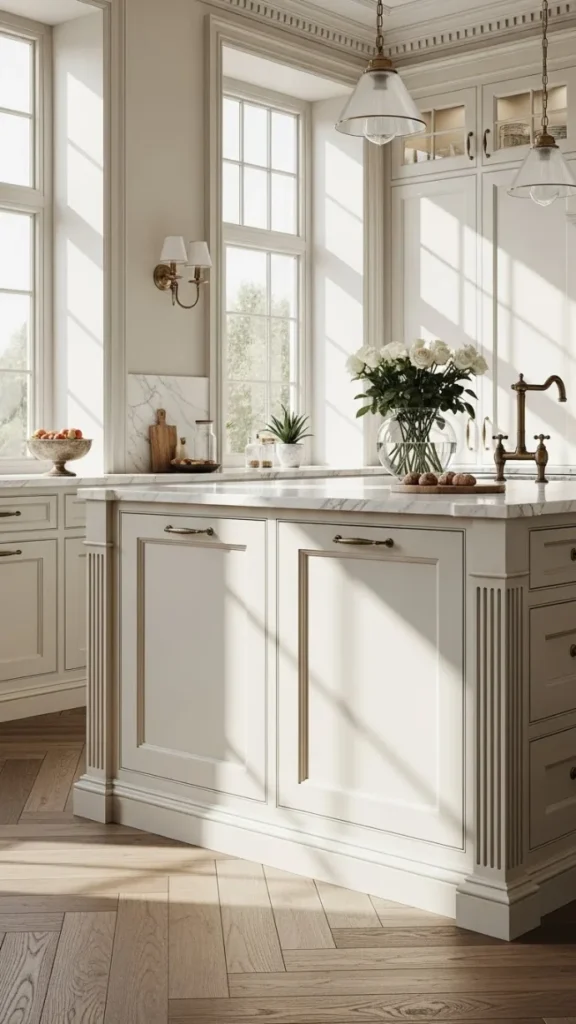
For an elegant, traditional look, you cannot beat picture frame molding. This involves creating “boxes” on the back of the island using thin, decorative trim. I’ve installed this for a friend who wanted a French-country feel, and the transformation was stunning. It adds immediate architectural depth.
It mimics the design of your cabinet doors, making the island feel like an integrated piece of fine furniture rather than a separate unit. It works best when the boxes are symmetrical and follow the rule of thirds. It is a subtle way to add “expensive” vibes without a massive renovation budget.
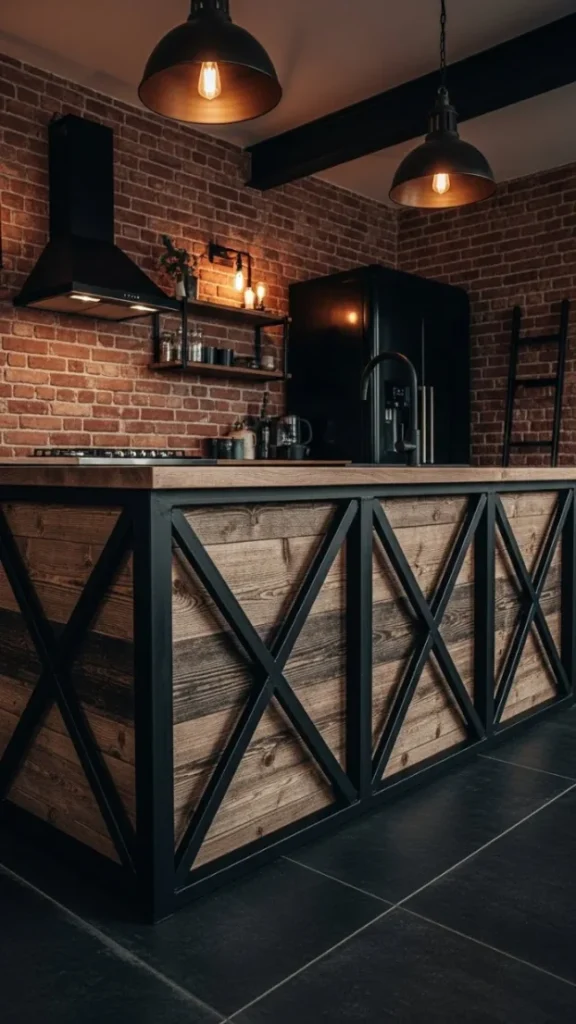
3. Industrial Metal X-Bracing
If you want to lean into an industrial or modern farmhouse aesthetic, metal X-bracing is a creative win. You can use flat black metal straps to create large “X” patterns across the back of the island. I love the rugged, structural feel this brings to a kitchen.
It pairs perfectly with reclaimed wood or dark-painted cabinets. It adds a bit of “downtown loft” grit to the heart of the home. This design is tactile and visually interesting from across the room. It’s the perfect way to anchor a neutral kitchen with a bit of masculine energy.
4. Modern Vertical Slatting
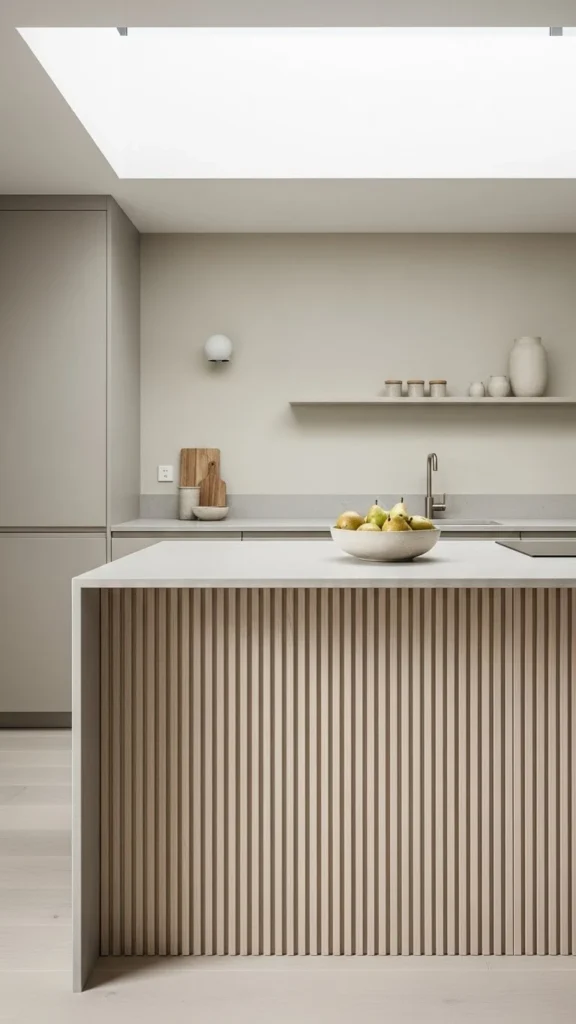
Vertical slats are having a huge moment in design, and using them on an island creates a sleek, linear look. I am talking about thin strips of wood placed close together vertically. It draws the eye up and makes the island feel more substantial.
I suggest using a warm wood like white oak or walnut to create contrast against solid-colored cabinets. It adds an organic, Scandinavian warmth that softens the hard surfaces of the kitchen. It is clean, modern, and feels very curated. Plus, the texture is great for hiding small imperfections.
5. Recessed Panel Perfection
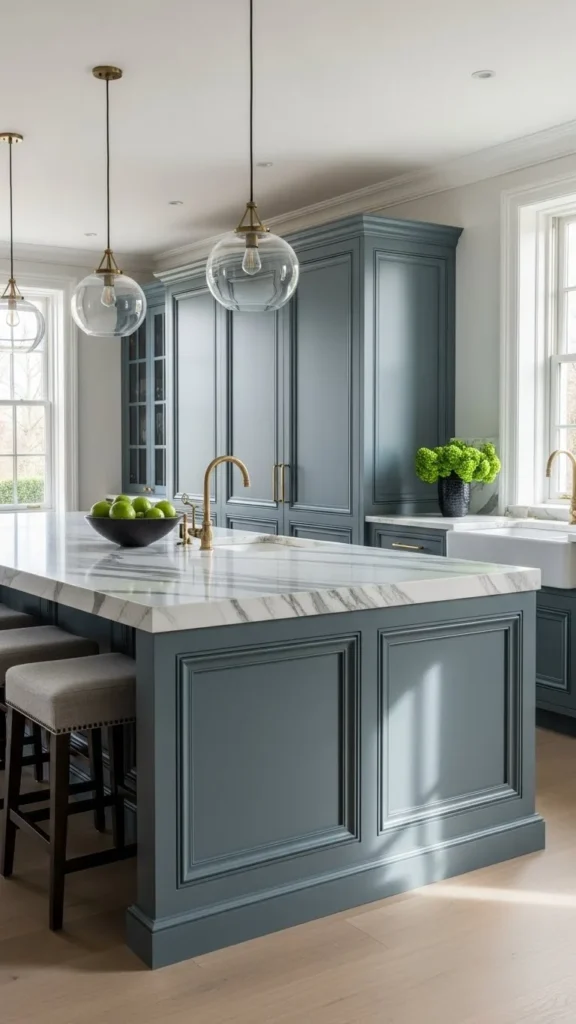
Recessed panels provide a more structural, “built-in” feel than surface-applied trim. This involves adding thicker vertical and horizontal boards to create recessed centers. I think this is the gold standard for a high-end, luxury kitchen look.
It makes the island look heavy and grounded. You can add a bit of detail by putting a small bead of molding inside the recess. It looks phenomenal when painted in a monochromatic theme with the rest of your kitchen. It is a timeless design that will look good for decades.
6. Beadboard Classic Texture
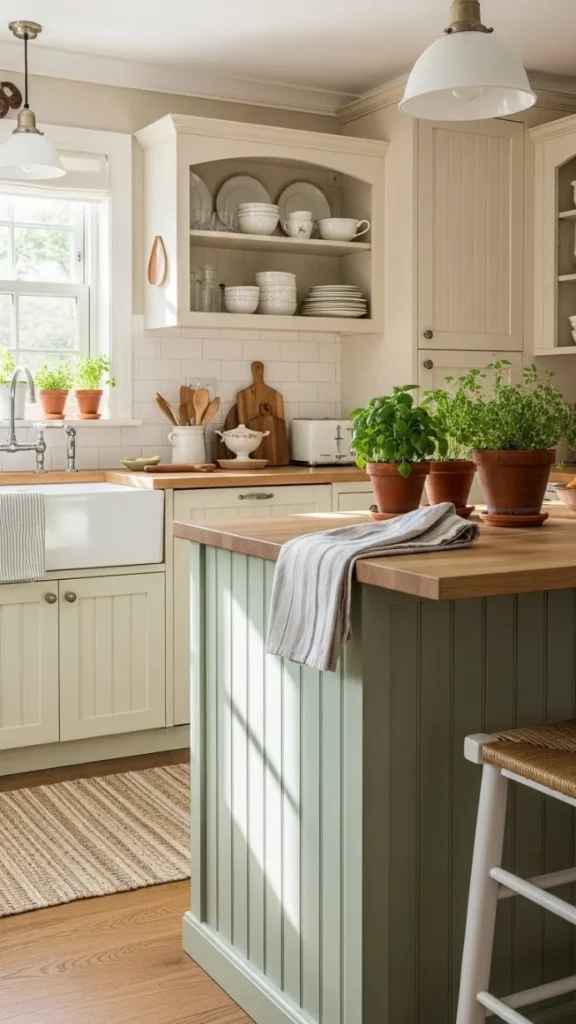
Beadboard is the smaller, more detailed sibling of shiplap. Its narrow vertical grooves add a lot of charm and a slightly traditional feel. I’ve seen this work beautifully in smaller kitchens because the tiny lines provide detail without being overwhelming.
It’s an affordable and lightweight material that is easy to install as a weekend DIY. Paint it a soft sage green or a light blue for a fresh, country-cottage energy. It adds a handcrafted touch that makes the kitchen feel lived-in and welcoming. It is the definition of “cozy-chic.”
7. Contrast Baseboard Drama
Sometimes, you don’t need to cover the whole back—you just need a solid base. Adding a beefy, detailed baseboard around the bottom of the island changes its silhouette. If you use a taller, more decorative baseboard than your standard wall molding, the island starts to look like a piece of furniture.
I love painting the baseboard a slightly darker shade than the island body to ground the piece. It helps protect the bottom edges from the vacuum and floor mops. It is a small detail, but in my experience, small details are what separate a “house” from a “home.”
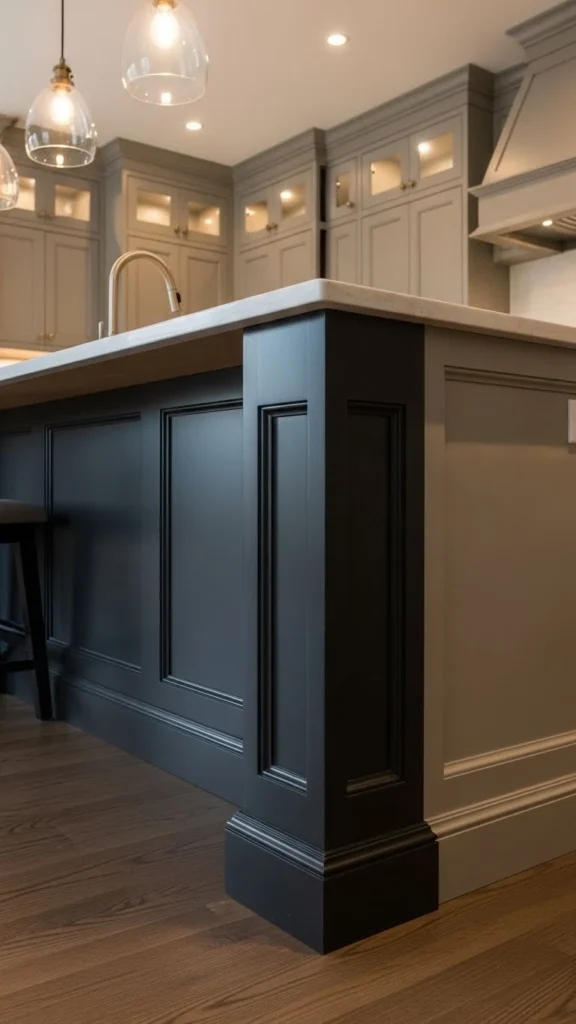
8. Corbel Support Accents
If your island has an overhang for seating, adding decorative corbels (those L-shaped brackets) is a must. They bridge the gap between the counter and the island base. I suggest choosing oversized, chunky corbels to give the impression of heavy structural support.
Even if they aren’t actually carrying the weight, they add incredible visual strength. You can find carved wooden ones for a traditional look or sleek iron ones for a modern twist. It creates a beautiful frame for your barstools and completes the “look” of the seating area.
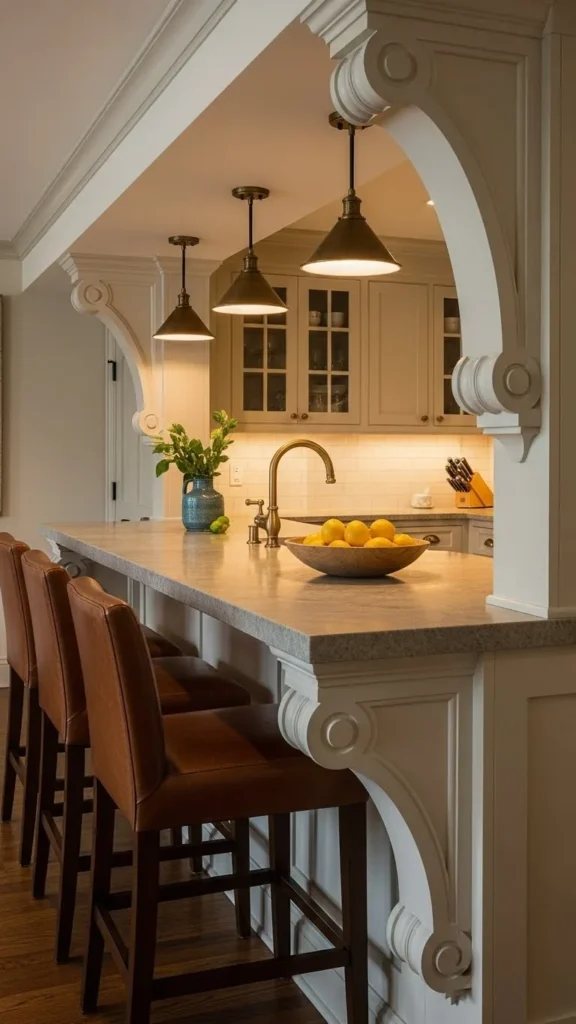
9. Geometric Chevron Wood
For the truly creative, installing wood trim in a chevron or herringbone pattern is a total showstopper. This turns the back of your island into a graphic art piece. I find that using stained wood for the pattern against a painted island creates a stunning contrast.
It is a labor-intensive project, but the results are 100% worth it. It gives the island movement and a high-energy vibe. It’s perfect for a modern or boho kitchen where you want to show off your design flair. It is, IMO, the ultimate way to make a custom statement.
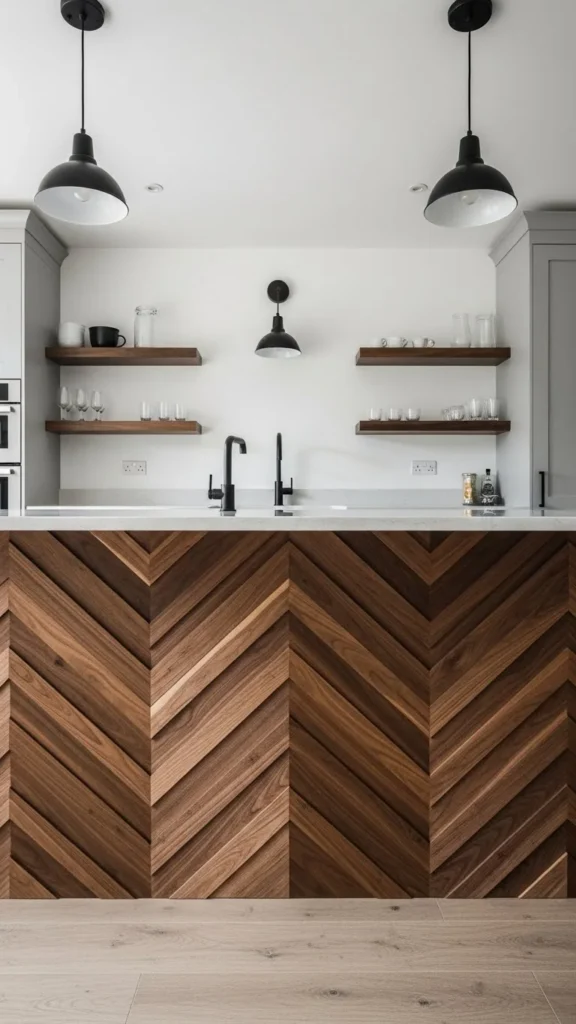
10. Fluted Column Ends
Instead of leaving the corners of the island as flat square edges, add fluted columns or “legs.” Fluting involves vertical rounded grooves that catch the light and add a rhythmic texture. It creates a soft, rounded finish to the island that feels very sophisticated.
This is a classic architectural detail that has made a major comeback. It makes the ends of the island feel solid and intentional. Pair it with an arched faucet or rounded handles elsewhere in the kitchen to create a cohesive, “soft-modern” theme.
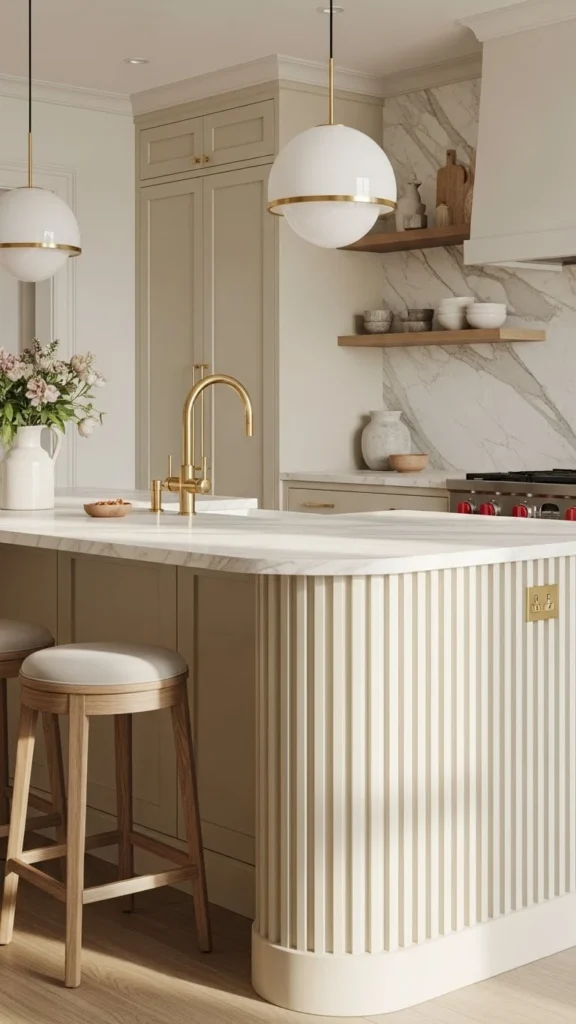
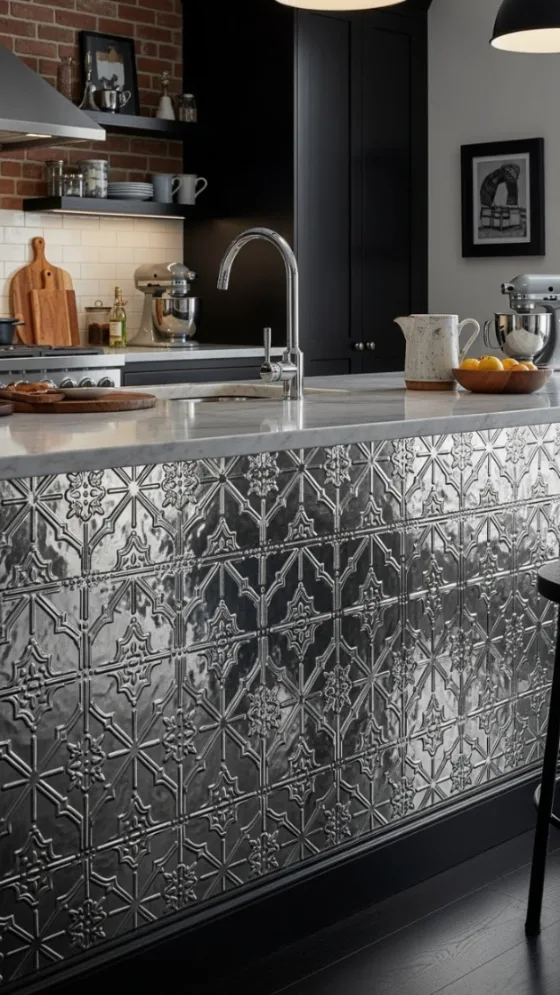
11. Tin Tile Inlay
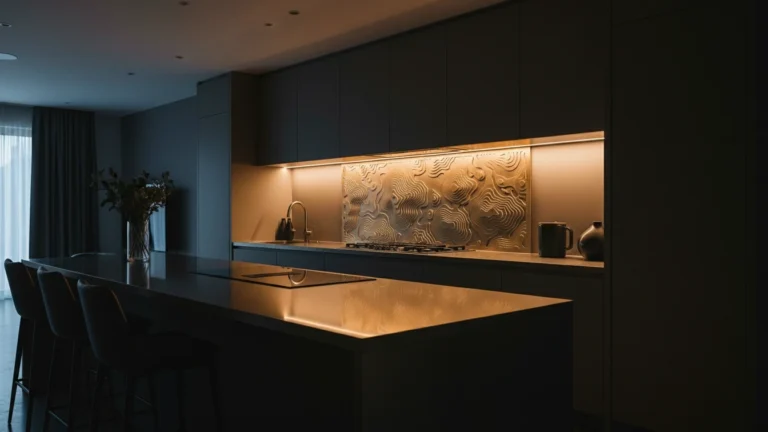
For a vintage or Victorian vibe, you can use faux tin ceiling tiles on the back of the island. These feature embossed patterns that look amazing when painted or given a metallic finish. I’ve seen this in “speakeasy” style kitchens, and it adds incredible sparkle.
The pattern helps disguise kicks and scuffs, making it surprisingly practical. It provides a tactile, historic element that feels unique. It is a bold choice, but it works beautifully if you have other vintage accents in your space. It adds that “found object” energy to a new build.
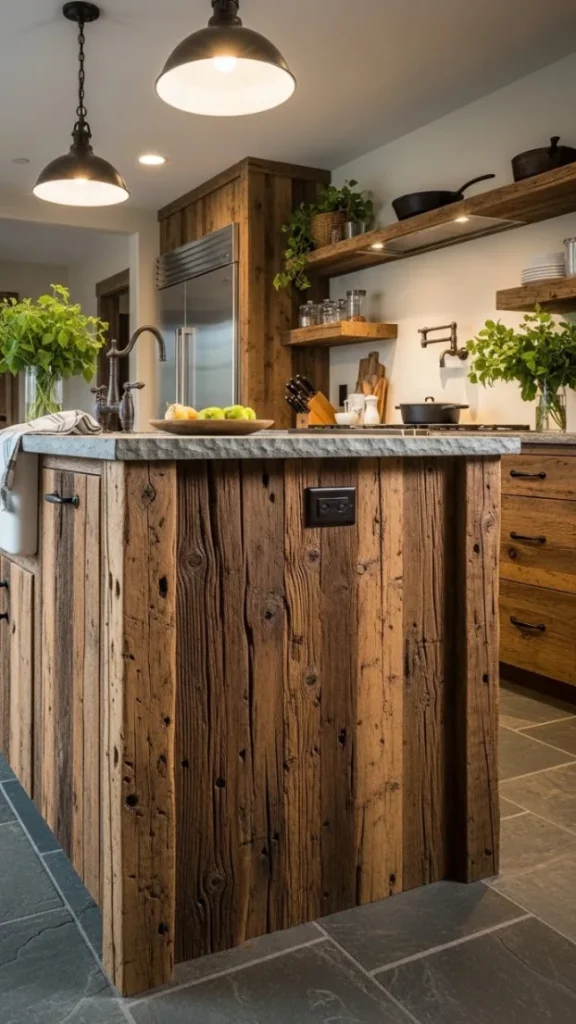
12. Distressed Barnwood Wrap
If your style is more rustic or “mountain lodge,” wrapping the island in authentic reclaimed barnwood is the way to go. The varied tones of the old wood create immediate history in the room. I love how the rough texture contrasts with a smooth quartz or marble countertop.
It hides everything! Muddy footprints from kids or pets just disappear into the natural grain of the wood. It is an indestructible choice that only looks better with age. It grounds the kitchen and makes it feel connected to the earth.
Conclusion
Your kitchen island is the heart of your home, so don’t leave its base looking like an empty box. Whether you go for the clean lines of modern slats or the elegant frames of picture molding, adding trim is the easiest way to elevate your space.
Based on all the kitchens I’ve worked on, the island is the best place to take a design risk. It is a self-contained unit, so go bold! Grab some trim samples, hold them up to your base, and see which one makes you smile. Your kitchen is ready for its custom upgrade!
FAQs
- Does adding trim to an island make the kitchen feel smaller?
Not at all! In fact, adding detail often helps define the space and makes the island look more proportional to the rest of the room. Vertical lines (like slats or beadboard) can actually make an island feel “taller” and more balanced in high-ceiling kitchens.
- Is island trim a good DIY project?
Absolutely. Most island trim options (like shiplap, picture molding, or beadboard) only require a miter saw and a brad nailer. Because the back of an island is usually a flat, standard surface, it is much easier than doing a full room. It is a high-reward project for a single weekend. 🙂
- What is the best material for trim in a high-traffic kitchen?
I suggest using hardwood (like oak or poplar) or high-density PVC trim. Avoid thin, flimsy materials that might crack when kicked. Painting it with a durable cabinet-grade enamel paint will also ensure it stays looking new despite the wear and tear of barstools.
- How do I choose the right color for my island trim?
You can either paint the trim the same color as the island for a subtle, textured look, or use a contrasting color to make the pattern stand out. IMO, matching the color is more sophisticated, while contrasting is more bold and energetic. Both work, depending on your vibe!
- Will adding trim interfere with barstools?
As long as your trim is less than an inch thick, it won’t affect the seating comfort. If you are doing chunky recessed panels, just make sure you still have enough legroom under the countertop overhang. Most barstools only need about 10-12 inches of clearance to be comfortable.