DIY Custom Closet Shelving: 10 Pro Secrets to Build Your Dream Boutique
I recall the exact moment I hit my breaking point with my original closet. I was standing in a pile of collapsed wire shelving and wrinkled sweaters, looking at a space that felt more like a dark cave than a place to get ready. That afternoon, I realized that life is way too short for ugly, flimsy storage. You do not need a massive construction crew or a five-figure budget to have a high-end dressing suite. IMO, building your own custom shelving is the ultimate home improvement flex. It is about taking back your space and making it look like a curated retail showroom.
I have spent way too many weekends covered in sawdust and wood glue to realize that the difference between a “basic” DIY and a luxury masterpiece is all in the details. We are going to move past the simple boards-and-brackets phase and move into the world of professional-grade finishes. Whether you are dealing with a tiny reach-in or a sprawling walk-in, these tutorials and tips will help you engineer a space that feels entirely custom. Grab your power drill and maybe a celebratory coffee. We are about to turn that cramped closet into the crown jewel of your home.
1. The Floating Thick-Shelf Blueprint
If you want your closet to look like a high-end boutique in Paris, you have to embrace the floating shelf. Standard thin boards held up by visible metal brackets look a bit too much like a college dorm for my taste. A thick, chunky floating shelf provides a solid weight and architectural presence that anchors the room. I personally love the look of shelving that is at least two inches thick. It adds a layer of luxury storytelling that tells everyone you didn’t just buy a kit.
To achieve this, you build a “torsion box” or a simple wooden frame that you then skin with thin plywood. By hiding the support cleats inside the shelf itself, you get a clean, seamless look that is incredibly strong. FYI, these shelves can hold a surprising amount of weight if you screw the cleats directly into the wall studs. 🙂 This move keeps your sightlines clear and makes the walls feel like they are made of solid timber. It is the best way to showcase your favorite designer bags or neatly folded knits.
When you install these, make sure you use a long level. Nothing ruins the luxury vibe faster than a shelf that is slightly crooked. I suggest painting the shelves the exact same color as your walls for a built-in, monolithic effect. It makes the closet feel twice as large because your eyes don’t get hung up on visual breaks. It is a sophisticated way to start your custom journey and it feels very intentional.
2. The Integrated Vertical Tower Build
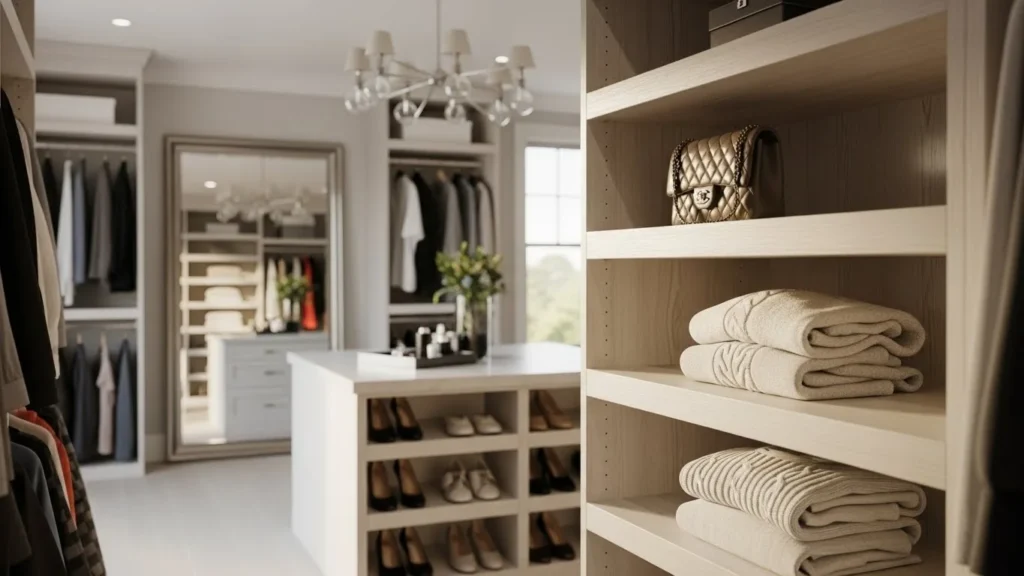
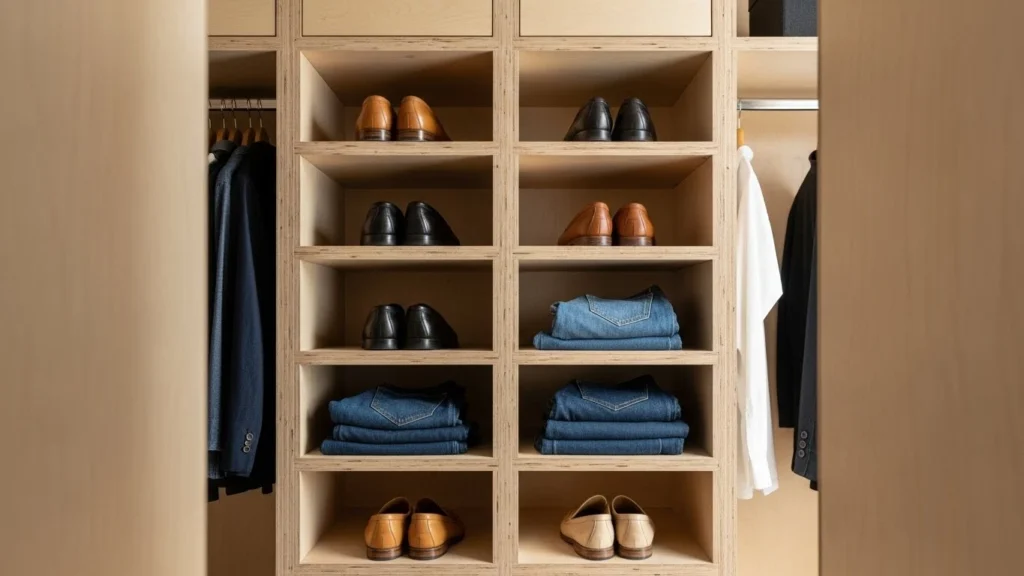
Most people stop at horizontal shelves, but the secret to a professional closet is the vertical tower. This is a central column of cubbies or drawers that acts as the backbone of the entire system. It provides a focal point and breaks up long stretches of hanging rods. I suggest building your tower using three-quarter inch birch plywood for a sturdy, high-end feel. It looks much better than the flimsy particle board you find at big-box stores.
Building a tower is basically like building a tall, narrow bookcase that fits perfectly against your back wall. You want to use pocket holes or wood dowels to keep the fasteners hidden. I personally find that a 12-inch or 15-inch width is the sweet spot for most small closets. It gives you plenty of room for shoes or folded jeans without eating up all your hanging space. It adds a massive amount of modern flair to a boring drywall box.
To keep it feeling luxe, add a few adjustable shelves within the tower. This allows the system to grow with your wardrobe. If you start buying more boots instead of sneakers, you can just pop the shelf up an inch. It is a smart way to maximize your square footage and keep the room looking curated. You will feel like an absolute pro every time you see your items perfectly gridded in their own dedicated cubbies.
3. The Professional Edge Banding Trick
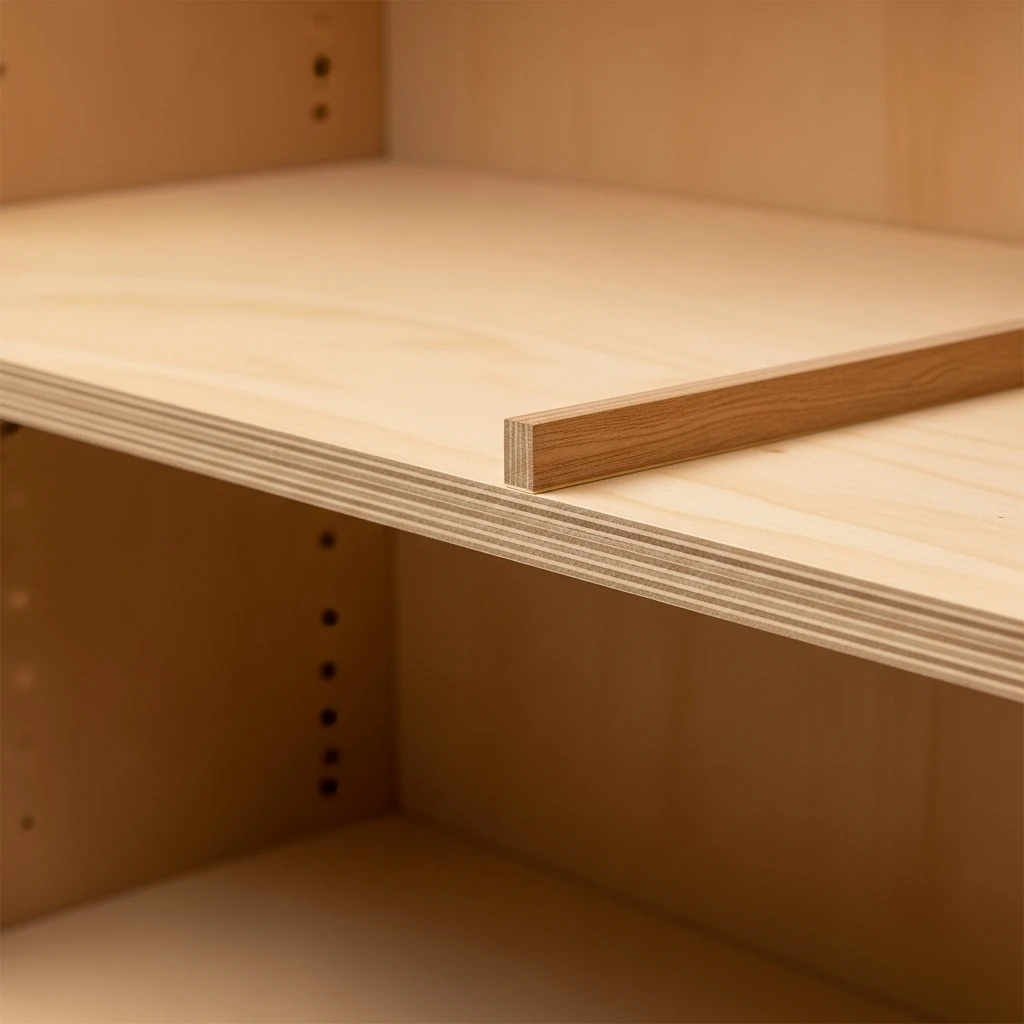
The fastest way to tell if a closet is DIY or professional is by looking at the edges of the wood. Raw plywood edges are ugly and scream “garage project.” To get that five-star finish, you need to master edge banding. This is a thin strip of real wood veneer with heat-activated glue on the back. You simply iron it onto the exposed edges of your shelves and trim the excess. It makes a $40 sheet of plywood look like a solid block of expensive hardwood. :/
I am a big fan of using a dedicated edge banding trimmer for a crisp, clean finish. It is a tiny tool that makes a huge difference. Once the banding is on, you sand it smooth and finish it with the same stain or paint as the rest of the unit. The result is a seamless, solid look that feels incredibly high-end. It is a functional detail that signals a custom-designed experience. You will actually enjoy running your hands over the shelves when they feel this smooth.
If you are feeling extra fancy, you can use a slightly thicker wood trim for the front edges of your shelves. This “bulks up” the look and makes them appear much more expensive than they actually are. It is a classic design trick to add visual weight. Every time you reach for a shirt, you will see those perfect, finished edges and feel like a master carpenter.
4. The Hidden LED Lighting Channel
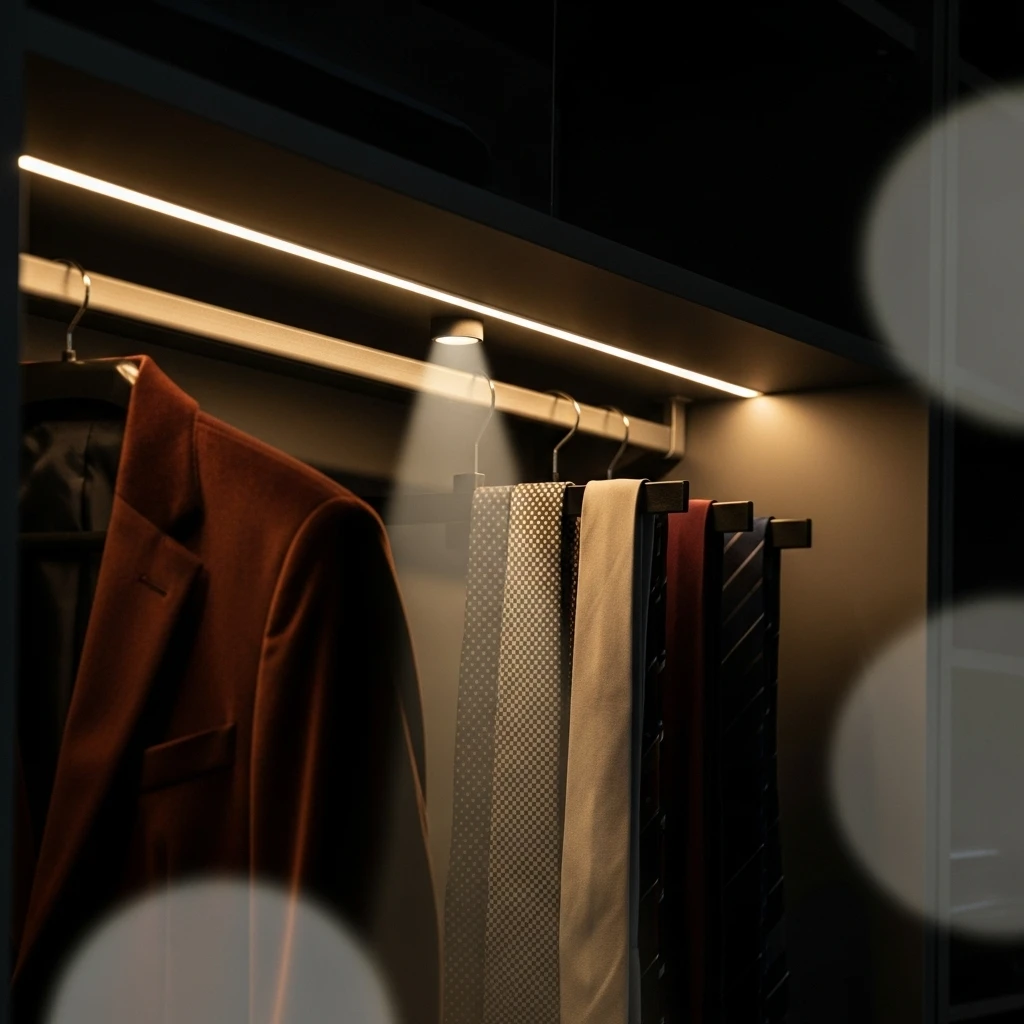
Nothing says luxury like a closet that glows from within. If you only have one sad lightbulb on the ceiling, your custom shelving will still look a bit flat. The fix is to integrate LED strip lighting directly into your shelves. I suggest routing a small channel into the bottom or front edge of your shelves to house the light strip. This keeps the bulbs hidden while flooding your clothes with a soft, expensive glow.
I personally love using motion-activated sensors so the lights turn on the moment you open the door. It adds a layer of comfort and efficiency that is hard to give up once you’ve tried it. You should choose a “warm white” temperature for the LEDs to make your fabrics look rich and inviting. It prevents the room from feeling like a clinical hospital ward. It is a sophisticated move that makes the closet feel like a high-end retreat.
To keep the look clean, you need to plan your wiring before you mount the shelves. You can hide the wires behind the back panels or inside the vertical towers. It is a small electrical task that delivers a massive return on your design investment. Good lighting is the most important “hidden” element of luxury design. It sets the mood for the entire room and makes your custom work look like a million bucks.
5. The Floor-to-Ceiling Wardrobe Wrap
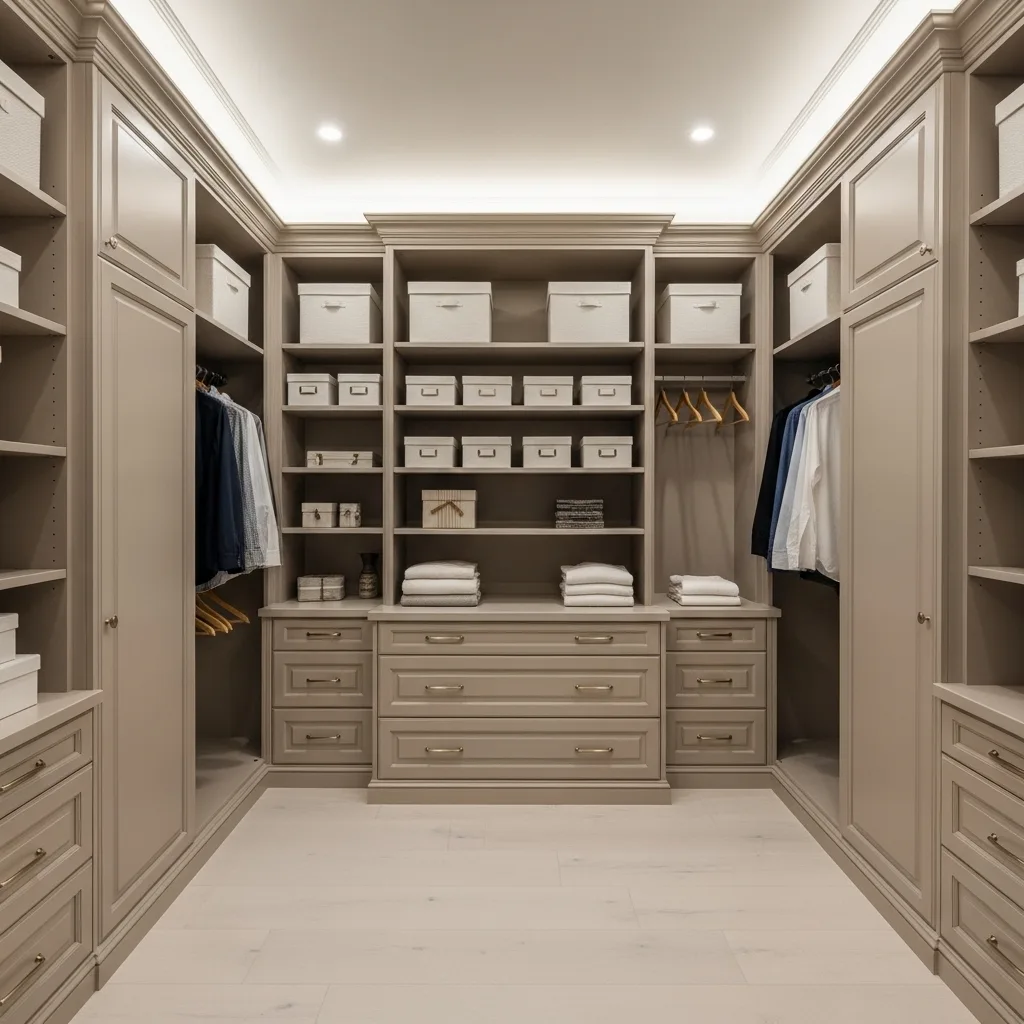
If your closet feels a bit small, you have to use every single inch of vertical real estate. I suggest a design where the shelving and towers go all the way from the floor to the ceiling. Most people leave a two-foot gap at the top where dust just collects for fun. By building your units all the way up, you create a seamless, built-in look that makes the room feel much grander. It is a night and day difference for your organization.
To achieve this, you can build your vertical panels in two sections if your ceilings are very high. Once they are installed, you cover the seams with a horizontal shelf. I personally suggest adding a chunky crown molding at the top to bridge the gap with the ceiling. It acts as the final “finish” that every luxury closet needs. It turns a simple shelving project into a piece of permanent architecture.
The top-most shelves are the perfect place for “archive” items like winter coats or extra linens. You can use identical high-quality boxes up there to keep the look cohesive and calm. It clears up the lower, more accessible shelves for your daily essentials. You will be shocked at how much more you can fit when you stop letting the top of your walls go to waste. It is the ultimate way to master your square footage.
6. The Velvet-Lined Jewelry Drawer
If you are building a central tower, you absolutely have to include at least one drawer for accessories. But we aren’t just building a wooden box. We are creating a boutique experience. I suggest lining your custom-built drawer with soft velvet or microfiber. It is a small detail that makes a huge impact. It prevents your watches and jewelry from sliding around and adds a tactile layer of luxury.
You can build the drawer box using half-inch Baltic birch and mount it on high-quality soft-close slides. The “soft-close” part is non-negotiable for a luxury feel. I find that using spray adhesive to attach the velvet to a thin piece of foam board works best. You then drop that board into the bottom of the drawer. It feels plush and looks incredibly professional. It signals that you value the things you own and treat them as pieces of art.
For an extra touch of glamour, use a glass-top for the drawer or even the shelf directly above it. This allows you to see your accessories without even opening the drawer. It turns your organization into a visual display. It is a functional detail that signals a custom-designed experience. You will feel like an absolute pro every time you slide out a perfectly organized tray of your favorite watches or necklaces. 🙂

7. The Corner Carousel Alternative
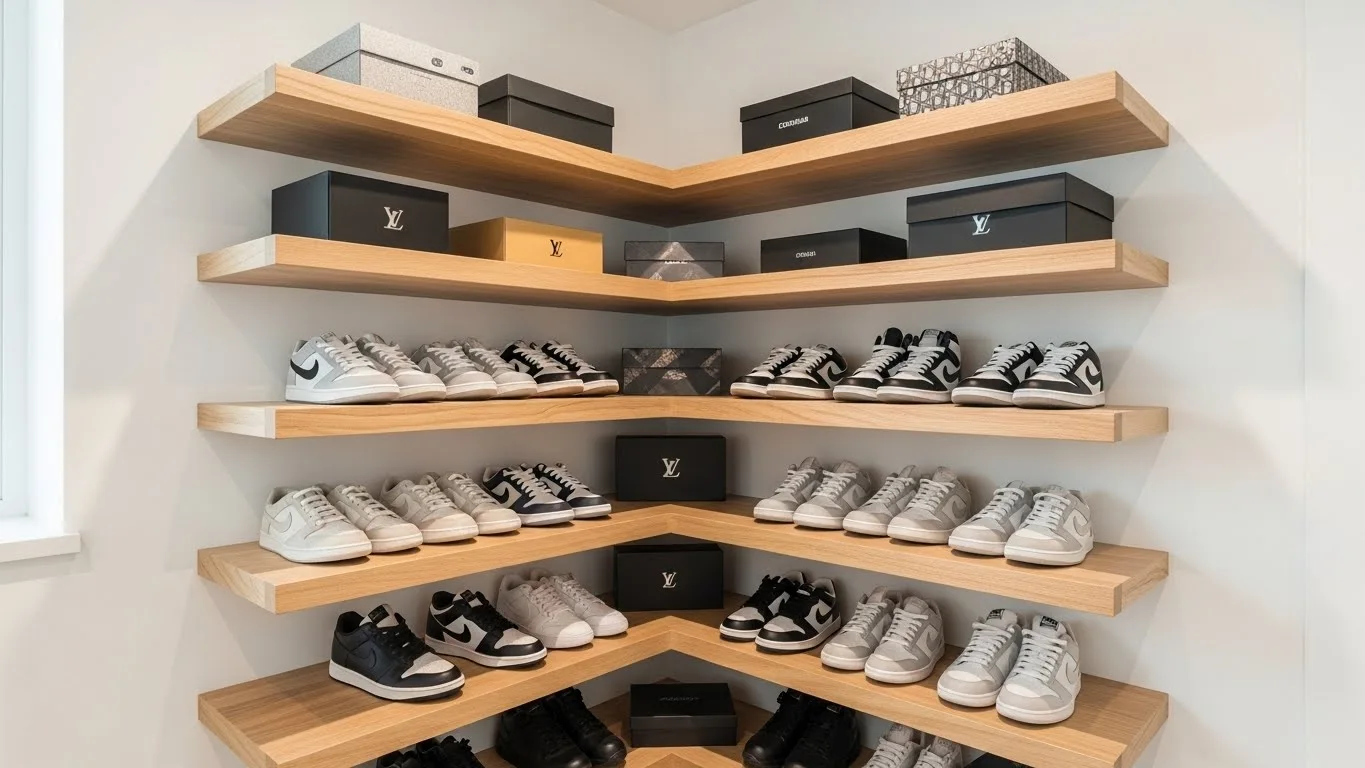
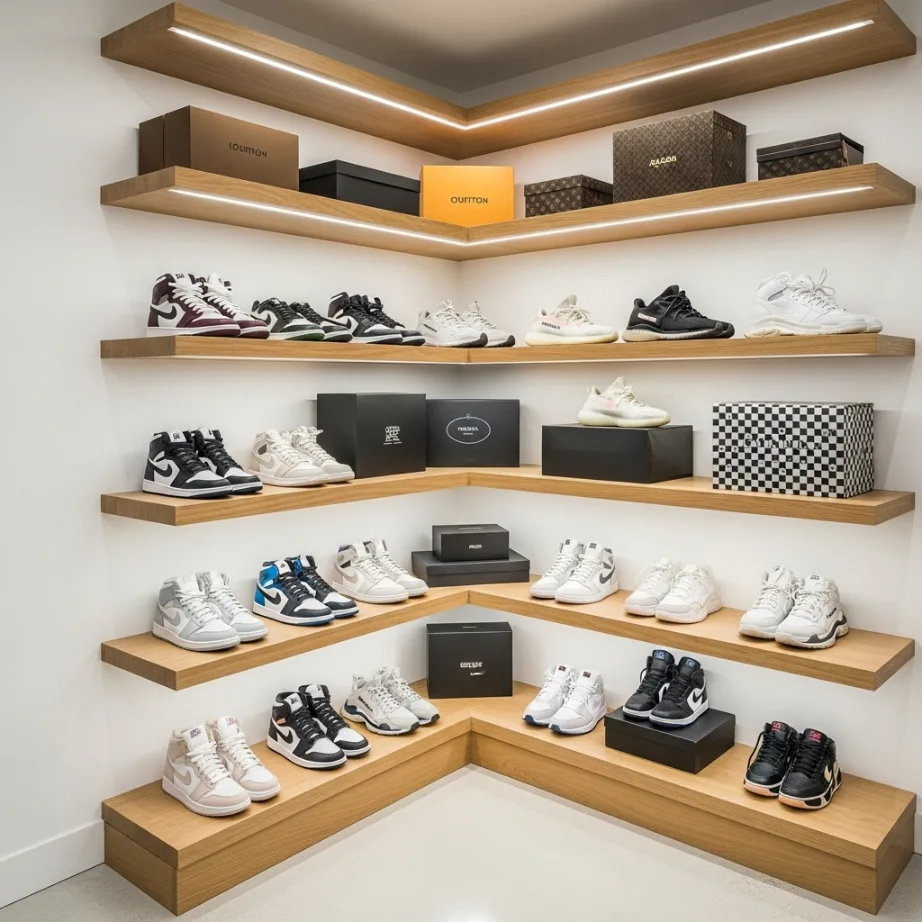
Corners are the absolute worst part of any closet. They usually become a dark abyss where old luggage and forgotten shoes go to die. Instead of a standard “blind corner” shelf, I suggest building a wraparound L-shaped shelving unit. By joining two shelves at a 45-degree angle or a simple butt joint, you keep the flow continuous. It is a much more sophisticated use of space than those clunky wire corner racks.
I personally love the look of a curved shelf in the corner if you have the skills to cut it. It softens the hard lines of the room and makes the closet feel much more custom. To keep it feeling luxe, use this corner area for bulkier items like handbags or folded sweaters. It adds a layer of depth and luxury storytelling that feels very intentional. It prevents the room from feeling like a series of disconnected boxes.
If you want to get really fancy, you can install a rotating “lazy susan” style platform on one of the corner shelves for your shoes. It is a clever way to gain focus and make a difficult architectural corner into a functional and beautiful display. It is the secret weapon of designers working with tight walk-ins. You will actually enjoy reaching into the corner when you can see everything at a glance.
8. The Wood-Capped Hanging Rods
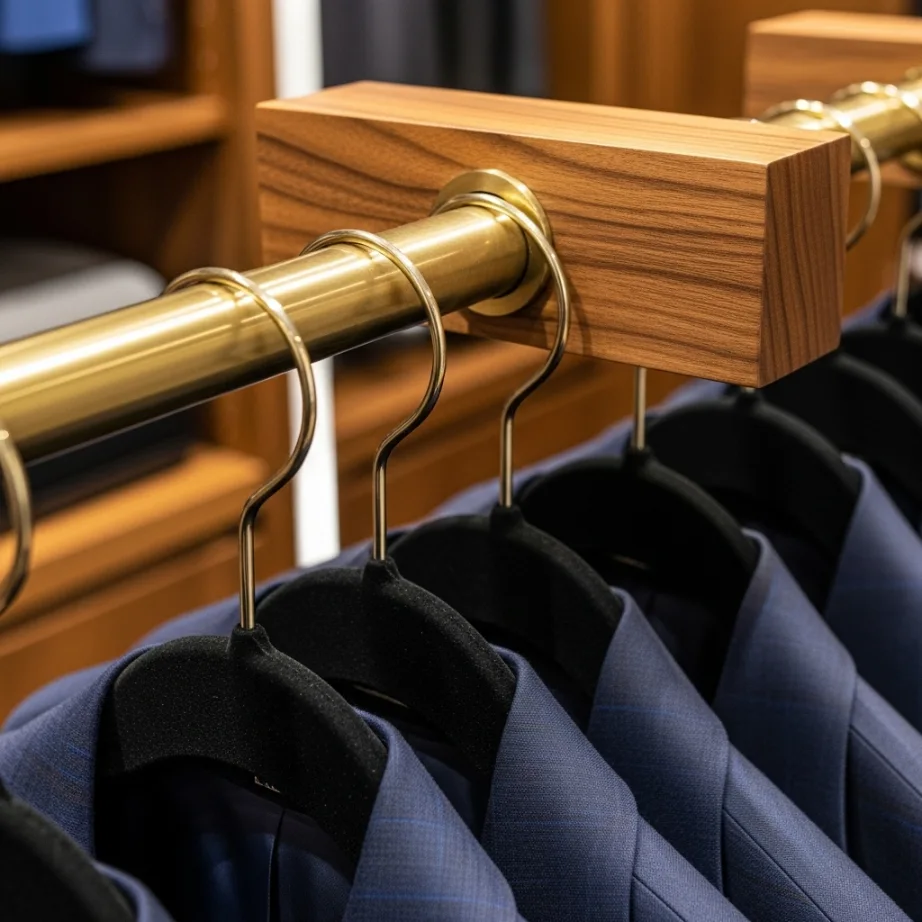
Standard white metal closet rods are fine, but they don’t exactly scream “luxury.” To elevate your DIY project, I suggest using heavy-duty metal rods and capping them with wood or using high-end finishes like brushed brass or matte black. Even better, you can build wooden “cleats” to hold the rods instead of using those cheap plastic sockets. It provides a sense of modern geometry and comfort that is hard to find in a kit.
I suggest matching the finish of your rods to the hardware on your drawers. It creates a sense of harmony that makes the room feel designed by a pro. I personally think a thick, one-fiftieth inch diameter rod looks much more expensive than the thin ones. It is a small detail that makes the whole closet feel more like a custom suite. It adds a ton of function to the space because a thicker rod won’t sag under the weight of heavy coats.
To keep it feeling luxury, only use high-end hangers on your new rods. Ditch the plastic and go for uniform wood or velvet versions. The combination of a beautiful brass rod and matching hangers is the ultimate design flex. It is a smart way to gain focus and maximize your visual appeal. You will be shocked at how much more expensive your clothes look when they are hanging on a sturdy, beautiful rod.
9. The Monochromatic Paint Drench
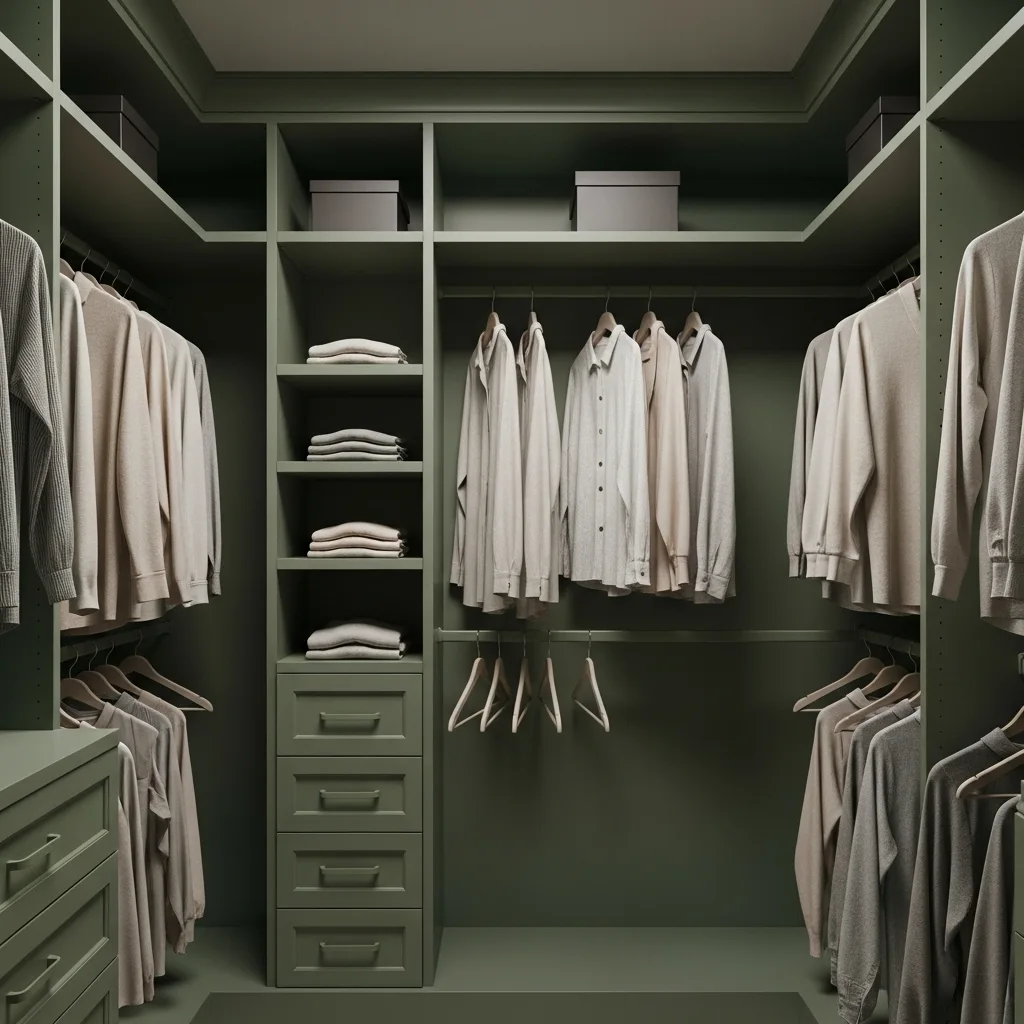
If you want your DIY shelving to look like it cost ten times more than it did, you have to master the paint job. Most people leave their shelves white and call it a day. I suggest a “monochromatic paint drench.” This involves painting your shelves, the walls, and even the ceiling the exact same color. In a small space, this removes all the visual breaks and makes the entire system look like a solid, carved object.
I suggest picking a soft, mid-tone color like a warm mushroom, a sage green, or a soft charcoal. Since there are no contrasting lines to break the flow, the interior feels like one continuous, expansive room. It creates a tranquil environment that is perfect for a small closet. It is a high-impact look that requires nothing more than a bit of confidence and a few cans of high-quality cabinet paint. :/
To get a professional finish, you should use a high-quality primer and a small foam roller. This prevents brush marks and gives you a smooth, factory-like surface. It is a functional detail that makes your daily life much easier because the paint won’t chip or peel under the weight of your shoes. You will feel like an absolute pro every time you step into your perfectly color-coordinated sanctuary.
10. The Mirrored Back Panel
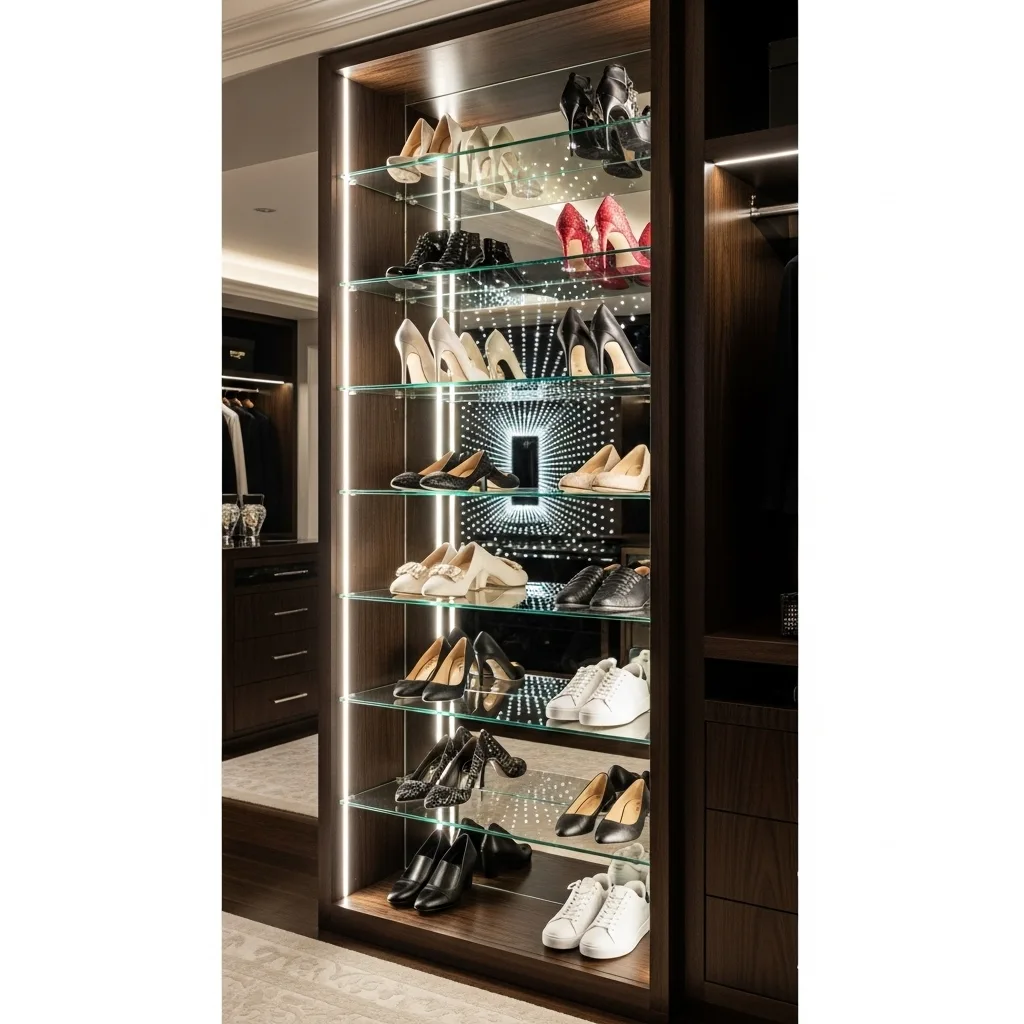
For the final touch of luxury, I suggest adding a mirrored back panel to one of your shelving units. This is a classic move in high-end boutiques to add depth and reflect light. You can buy inexpensive acrylic mirror sheets and cut them to fit the back of your towers or shoe shelves. It makes the closet feel twice as deep and gives it a bright, sparkling jewel-box effect.
I am a big fan of how a mirror catches the light and bounces it into the darker corners of the closet. It makes the room feel like a grand destination rather than a utility space. To keep it feeling luxury, pair it with those integrated LED lights we talked about earlier. The reflection will make the light look even more brilliant and complex. It is a small detail that makes the whole closet feel more like a custom palace.
If you don’t want to use real mirrors, you can use a high-gloss metallic paint or a reflective wallpaper for a similar effect. It adds a touch of glamour and makes your clothes look like they are on display in a museum. It is a sophisticated move that turns a simple DIY project into a masterpiece of home design. You will actually enjoy your morning routine when your closet provides a bright, beautiful place to reflect on your day.
Conclusion
Maximizing your home with custom DIY shelving is all about honoring the space while injecting it with 21st-century light and luxury. You have the perfect excuse to go bold with your design choices because this is your most personal sanctuary. Whether you choose a dramatic floor-to-ceiling wrap or a simple floating shelf, the key is to make every choice intentional. Think about how the light moves through the room and how the wood feels under your hands.
Don’t be afraid to pick up the saw and start your project this weekend. If you aren’t ready for a full room, start by adding a single tower or a set of floating shelves. But chances are, once you start adding personality to your dressing space, it will become your favorite spot to show off. Go grab some lumber and start dreaming about your modern sanctuary. Your closet is waiting for its glow-up. Remember, even the smallest spaces can have the biggest style. Stay creative and keep making your space yours.
FAQs
- What is the best wood to use for custom closet shelving? I highly recommend three-quarter inch birch or maple plywood. It is much stronger and more stable than particle board or MDF. It takes paint and stain beautifully and gives you that high-end, solid wood feel without the massive price tag of solid timber planks.
- How much does a DIY custom closet usually cost? A typical reach-in closet can be done for $300 to $600 in materials, depending on the wood and hardware you choose. This is a fraction of the $2,000 to $5,000 you would pay a professional company for the same custom look and quality.
- How do I ensure my shelves are strong enough for heavy items? The secret is in the studs. You must ensure that your support cleats and vertical panels are screwed directly into the wall studs using high-quality 3-inch wood screws. If you can’t find a stud, use heavy-duty toggle bolts, but studs are always the gold standard.
- Can I build custom shelving in a rental apartment? Yes, but you should stick to a modular design. Build your towers and shelves as free-standing units that are only secured to the wall with a few small anchors for safety. This way, you can take the entire system with you when you move out.
- What tools do I absolutely need to start a closet project? At a minimum, you need a circular saw with a straight-edge guide, a power drill/driver, a level, and a stud finder. A pocket hole jig and a dedicated edge banding trimmer are also huge time-savers that will give you a much more professional finish.