15 Hot Chocolate Bar Ideas for a Cozy Christmas
A hot chocolate bar turns an ordinary corner into the cosiest spot in the house — a self-serve cocoa station where guests (and you, every single December evening) can mix, top, and sip their perfect cup.
Quick Answer: What Goes on a Hot Chocolate Bar?
A great hot chocolate bar needs a warm drink base (cocoa mix, chocolate shavings, or a slow-cooker of melted hot chocolate), a row of toppings (mini marshmallows, crushed peppermint, chocolate chips, whipped cream), fun stirrers, festive mugs, and a menu board so guests know what to build. Keep it compact — even a tray or bar cart works beautifully.
Our Cozy Guide to Hot Chocolate Bars
There is something about December that makes ordinary hot chocolate feel like a letdown. Last year I caught myself standing in my kitchen at 9 pm, staring at a plain packet of cocoa mix, and thinking — this is *not* the cozy Christmas moment I promised myself. That night I pulled out a wooden tray, a couple of glass jars, and every topping I could find in the pantry, and honestly? That little hot chocolate bar setup for a Christmas party I threw a week later became the thing every single guest photographed. A cocoa station is not about spending money; it is about layering warmth, texture, and tiny festive details until a corner of your home feels like a holiday hug. These are the fifteen ideas I actually use, in order from easiest to the ones worth the extra effort.
1. The Classic Tiered Tray Cocoa Station
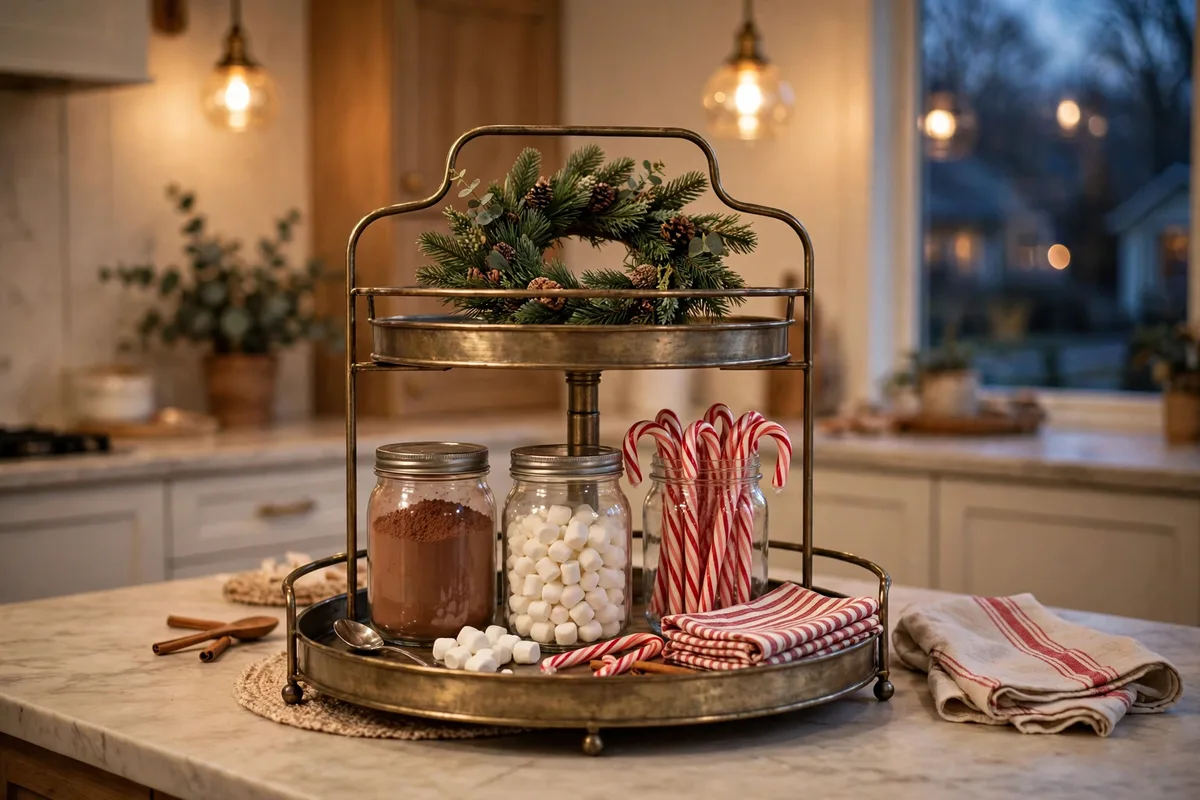
A two- or three-tiered tray is the fastest route to a hot chocolate bar that looks styled rather than scattered. I keep mine on the kitchen island through December — cocoa mix jars on the bottom tier, a tiny stack of striped napkins and candy canes in the middle, and a little wreath tucked on top. Everything rises vertically, so it takes up barely any counter space while still reading as a "station."
The magic of the tiered tray cocoa station is how easy it is to refresh. When the marshmallows run low I just swap in a fresh jar; when my niece visits, I pop a few gingerbread biscuits onto the middle tier and it feels like a different display. Style each tier by colour family — creams and golds on one, reds and greens on the next — and the whole thing photographs like a Pinterest dream with almost no effort.
2. A Rolling Hot Chocolate Bar Cart
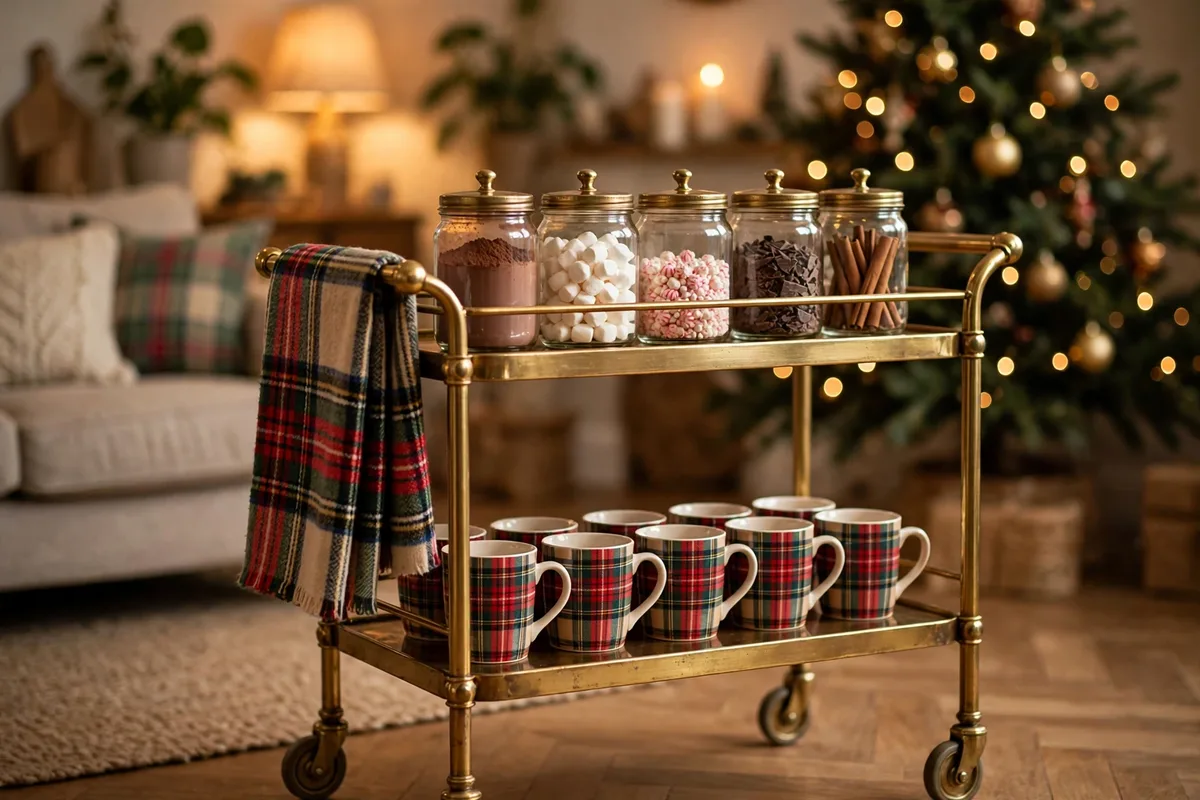
If you love the idea but dread being stuck in one spot, put your whole bar on a rolling cart. I converted a thrifted brass cart into my cocoa headquarters — jars of mix and toppings on the top shelf, mugs lined up below, and a folded plaid blanket tossed over the handle for pure December coziness. Then I wheel it to wherever the people are: the living room for movie night, the hallway for a party, the bedroom corner for a quiet read.
Because it is on wheels, the cart works for both everyday cocoa and the big Christmas gathering — no lugging jars around at the last minute. When you style it, borrow a few ideas from classic bar cart styling and you will find the balance of pretty and practical almost takes care of itself. The one thing I never skip: a little sign that says "Cocoa Station — Help Yourself" so guests know they are welcome to dive in.
3. A Chalkboard Cocoa Menu Board
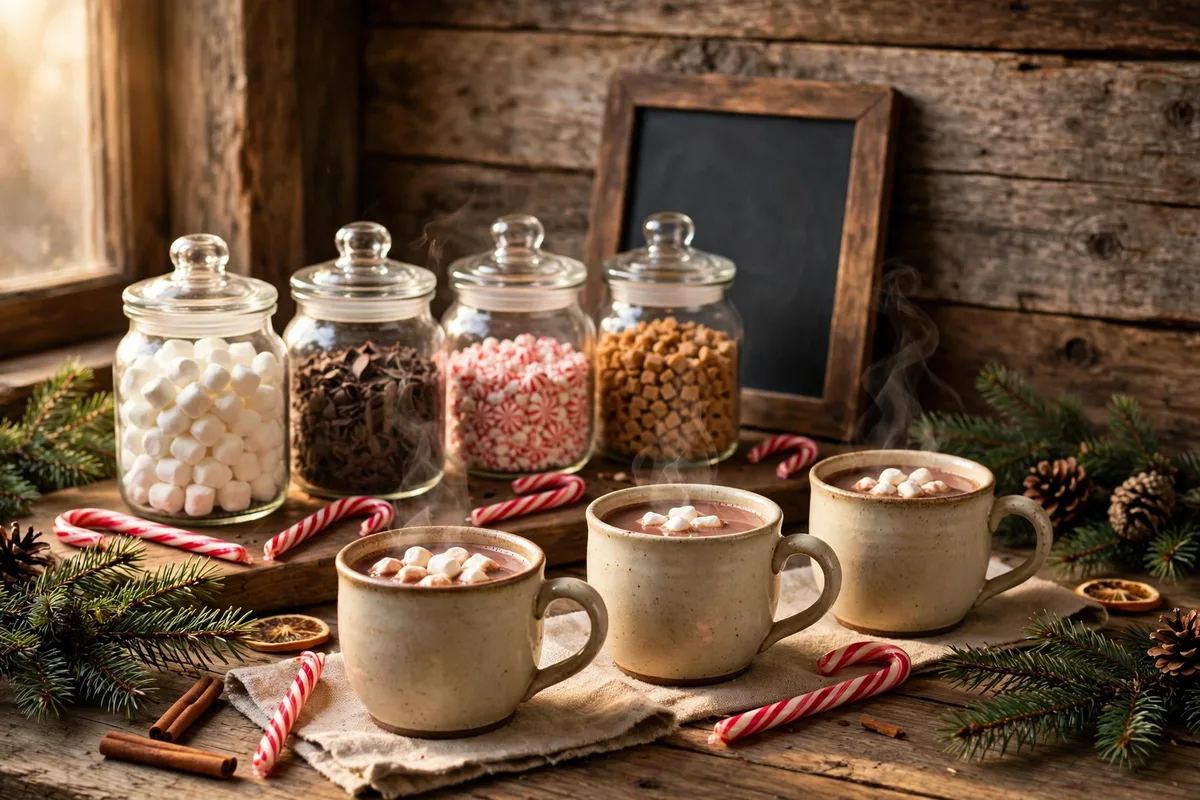
A handwritten chalkboard menu is the single detail that makes a cocoa bar feel like a café instead of a snack table. Mine lists three "signature" drinks: Classic Cozy Cocoa, Peppermint Wonderland, and Salted Caramel Snow — each with two lines of instructions. Guests love it; I love that nobody asks me "how do I make this" anymore. The chalkboard cocoa menu also gives me an excuse to buy those pretty chalk pens I have been eyeing all year.
Write the recipes in your own handwriting rather than printing something — the slightly imperfect lettering is exactly the charm. I lean the board against the wall behind the jars, add a small "Please rinse mugs" note at the bottom (learned that one the hard way after a party), and I tuck a few chocolate curls in front as garnish. In December light, with steam rising from the cups, it genuinely looks like a little Alpine café corner.
4. Styled Marshmallow Jars
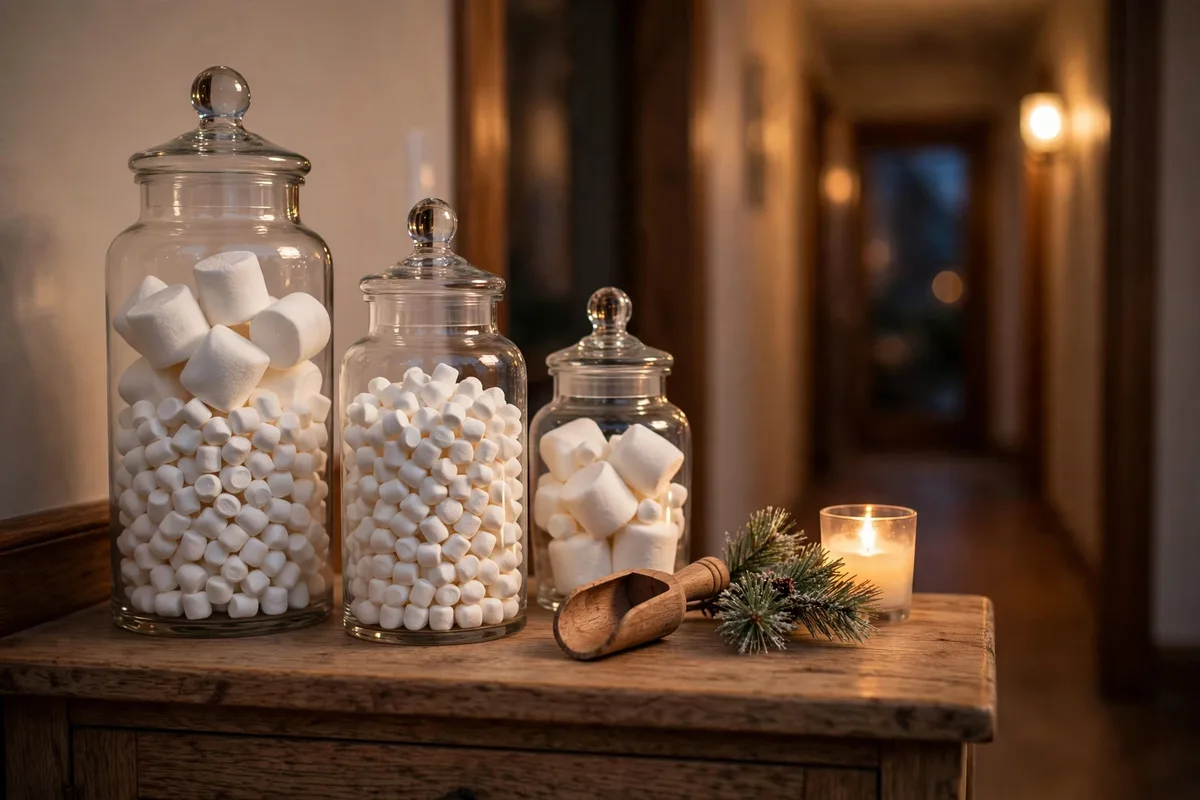
This is the cheapest trick in the whole list and possibly the most effective. Marshmallow jar styling is simply about decanting: tip the supermarket bag of mini marshmallows into a glass apothecary jar, stack a jar of the jumbo ones beside it, and suddenly toppings that looked cheap in their packaging look like boutique candy. I add a third small jar of chocolate-covered marshmallows and a wooden scoop, and guests always assume I bought them somewhere fancy.
Layer the jars at slightly different heights — a cake stand under one, a small stack of books under another — so the display has movement. In my house, the jars sit next to a sprig of faux pine and a battery candle, and that little cluster glows at the end of the hallway every evening. It is proof that presentation is nine-tenths of the magic: the same marshmallows, just given a stage.
5. A Peppermint Stirrer Collection
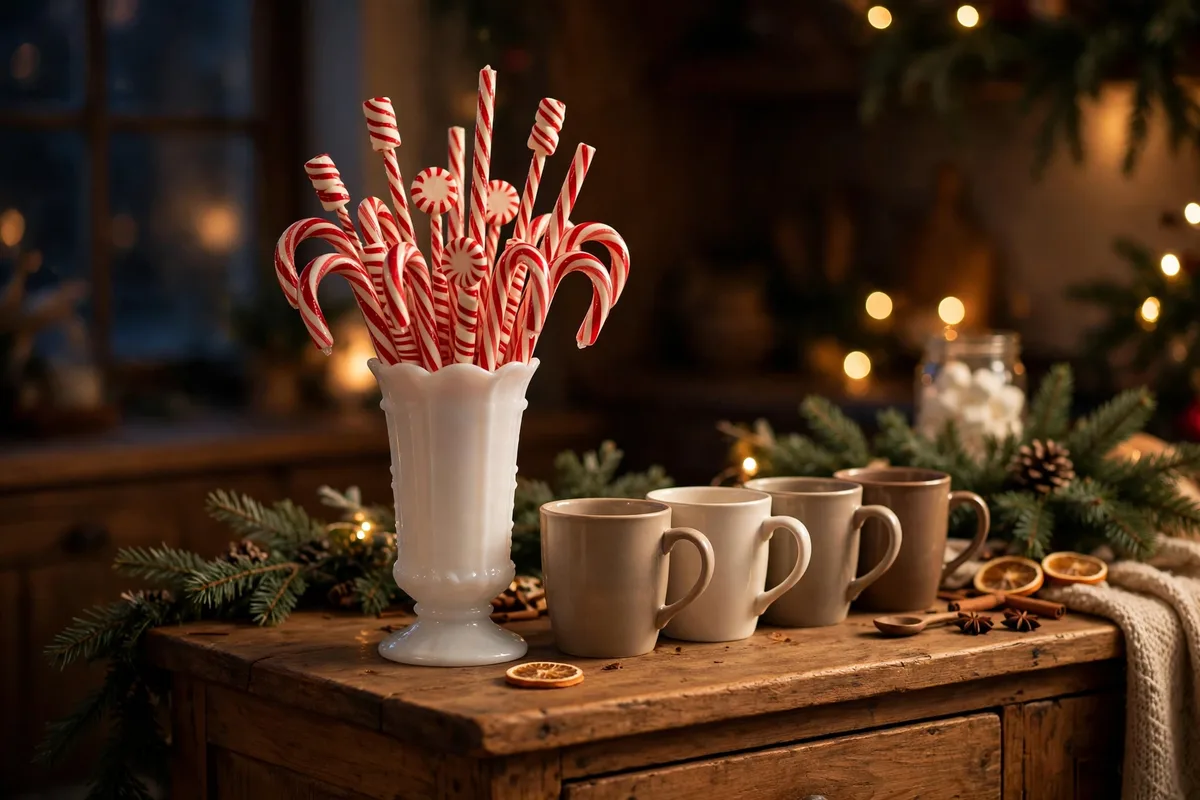
Candy canes and peppermint stirrers do double duty — they flavour the drink and they look gorgeous standing in a glass. I collect a few varieties: classic red-and-white canes, the peppermint sticks with the white chocolate coating, and a handful of long cinnamon sticks for guests who prefer warm spice. They live in a tall milk-glass vase right beside the mugs, and the striped red-and-white against the wood is instantly Christmassy.
Keep one thing in mind: buy a few more than you think you need. At my party last year the stirrer vase emptied faster than any single topping — everyone takes one for the photo and then a second for their cup. I now keep a hidden reserve bag in the cupboard and refill the vase before it looks picked over. It is a tiny detail, but an always-full stirrer display is what separates a styled bar from a depleted one.
6. The Plaid Mug Collection
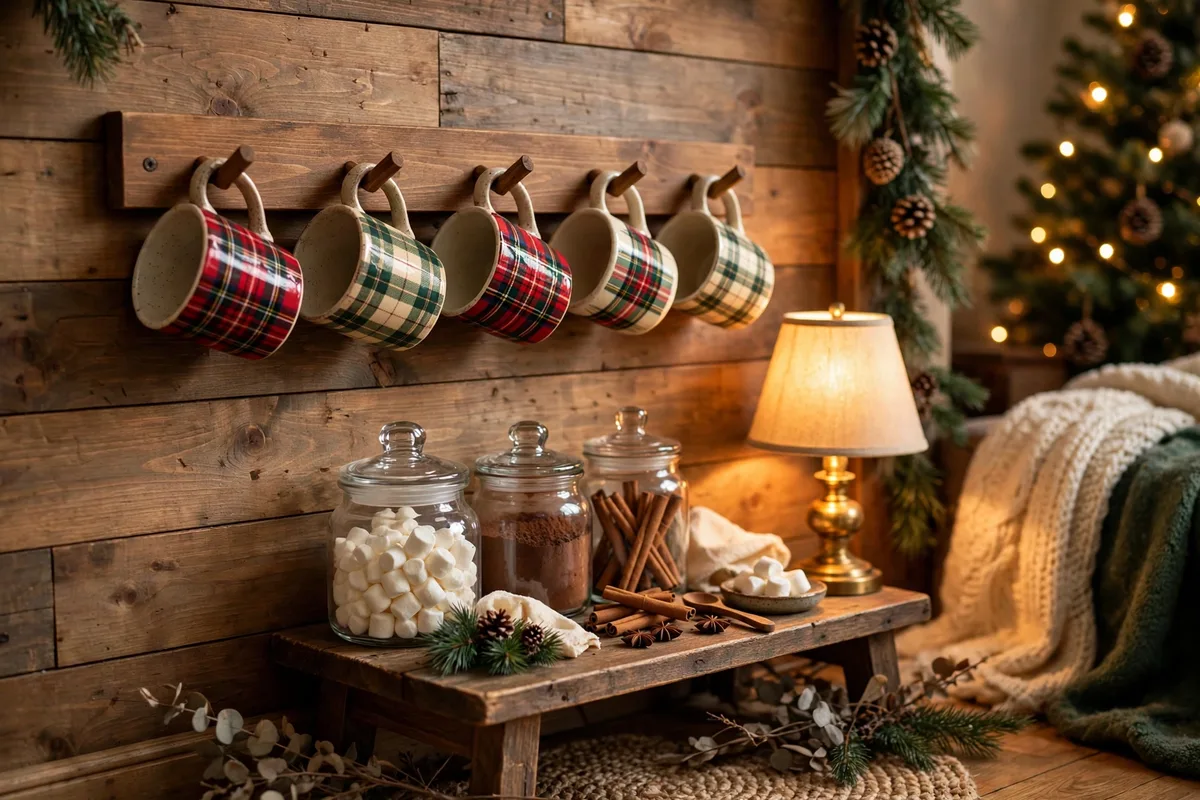
You cannot have a cocoa bar without mugs, and a plaid mug collection makes them part of the décor. I have been collecting plaid and tartan mugs for years — red buffalo check, green-and-navy tartan, a couple of cream cable-knit ones for contrast — and hung them on a simple wooden peg rail behind the bar. Even before anyone pours a drink, the wall of pattern says "Christmas is here."
Mix patterns deliberately rather than matching everything: two or three plaid designs in the same colour family look collected and personal, which is the whole point of a feminine, homey holiday style. I rinse mine through the dishwasher the night before a party so the peg rail is full and gleaming. And I always put out one or two extra — somebody's cousin always shows up, and there is no sadder thing than a guest without a mug at a cocoa bar.
7. A Small-Space Corner Cocoa Bar
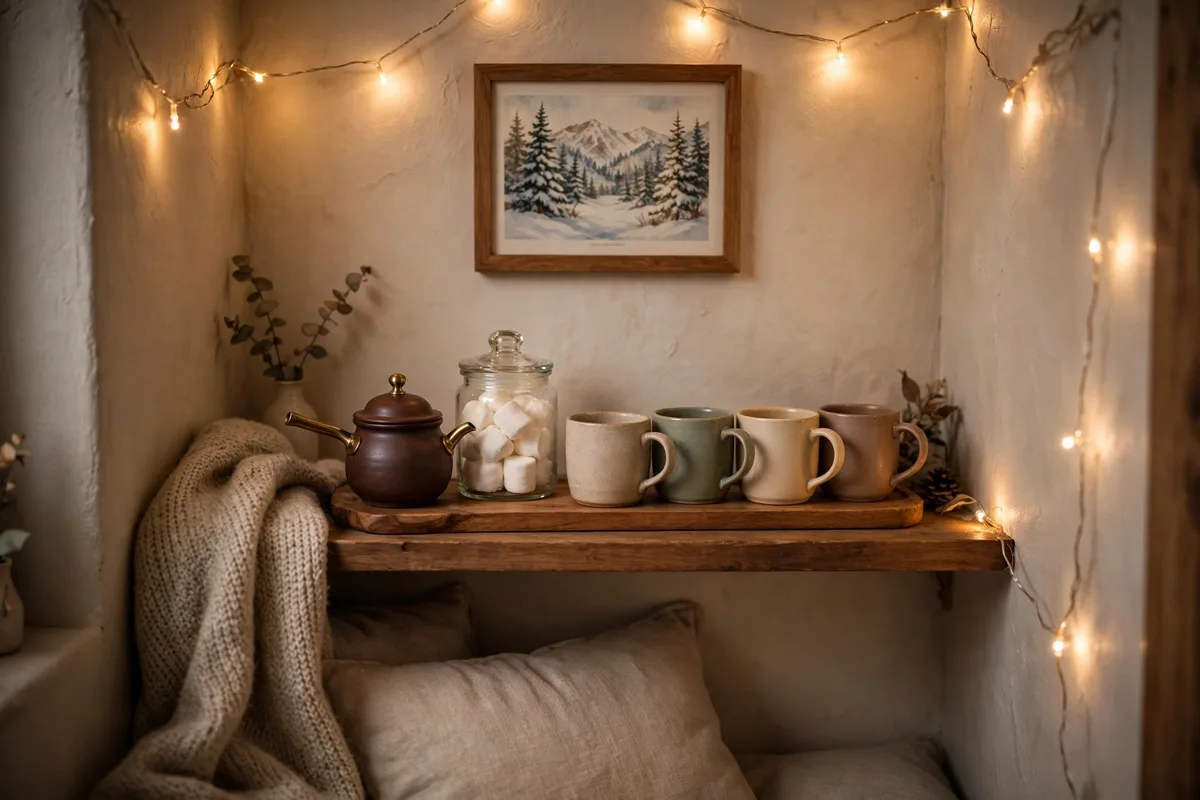
You do not need a dining room or even a full counter to pull this off — small space hot cocoa bar cart solutions genuinely work in a hallway corner or on a deep bookshelf. Mine started life on a 40-centimetre shelf in my reading nook: one tray holding the cocoa base, one jar of marshmallows, one of crushed peppermint, four mugs, and a tiny framed "Warm & Cozy" print. That was the entire station, and my guests were obsessed with it.
The rule for tiny bars is ruthless editing: three toppings, one base, four mugs, no more. I chose a slow-cooker mini pot for the drink itself so guests just ladle and go — no kettles, no faff. If your space is vertical, lean into it with a wall-mounted shelf above the tray for the menu card. Proof that small can still be special: that little corner bar appears in more of my friends' Instagram stories than any "big" décor project I have ever done.
8. A Rustic Wooden Crate Bar
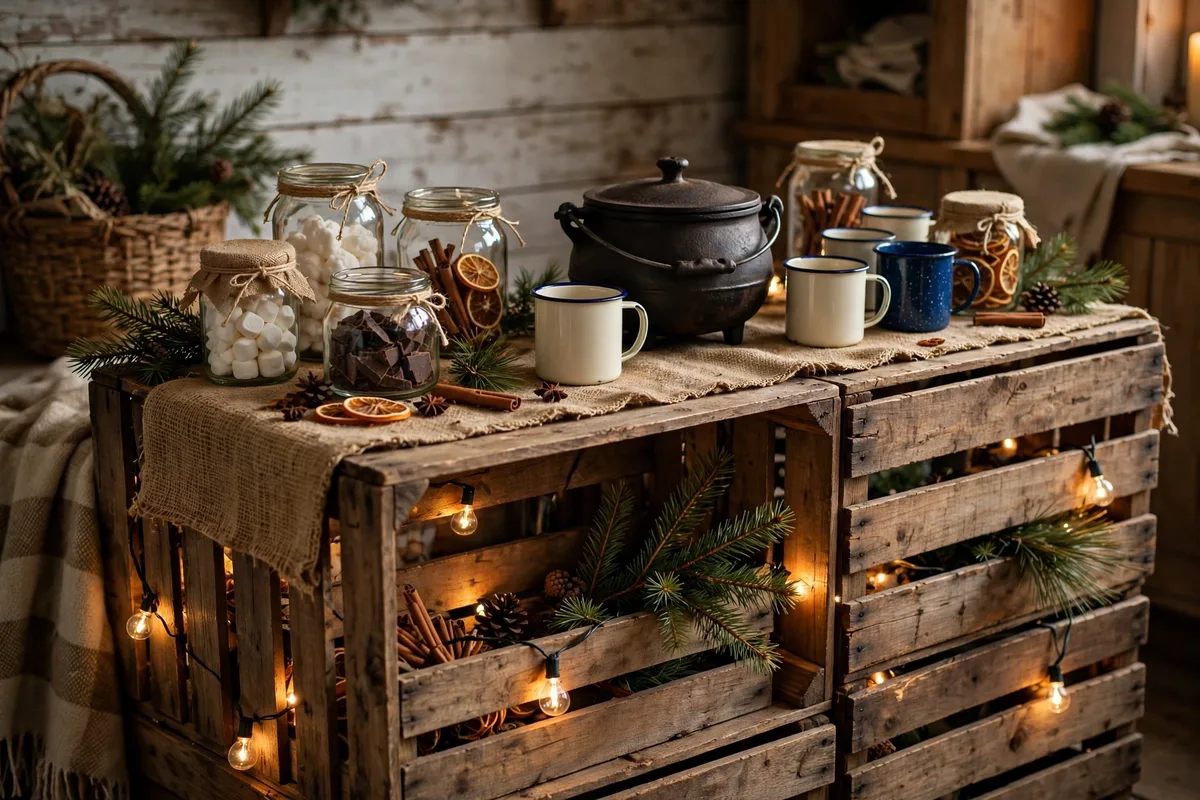
For anyone whose Christmas leans farmhouse, a stack of wooden crates becomes a bar with real character. I used two apple crates from a flea market — one upright, one on its side as the riser — and styled the surfaces with enamel mugs, a cast-iron cocoa pot, burlap runner, and jars of mix with twine-tied labels. The whole setup cost me under £30 and looked like it belonged in a country Christmas film.
The trick with crates is filling the gaps so it looks abundant rather than empty. I stuff the upright crate with pine branches, string lights, and a few wrapped gifts to hide the dark interior, and it doubles as a mini photo backdrop. If you browse through vintage Christmas décor ideas you will spot this same layered-fill approach everywhere. Rustic does not mean sparse — it means every item looks like it was gathered, not bought, and crates are the fastest way to get that feeling.
9. A Winter Wonderland White Bar
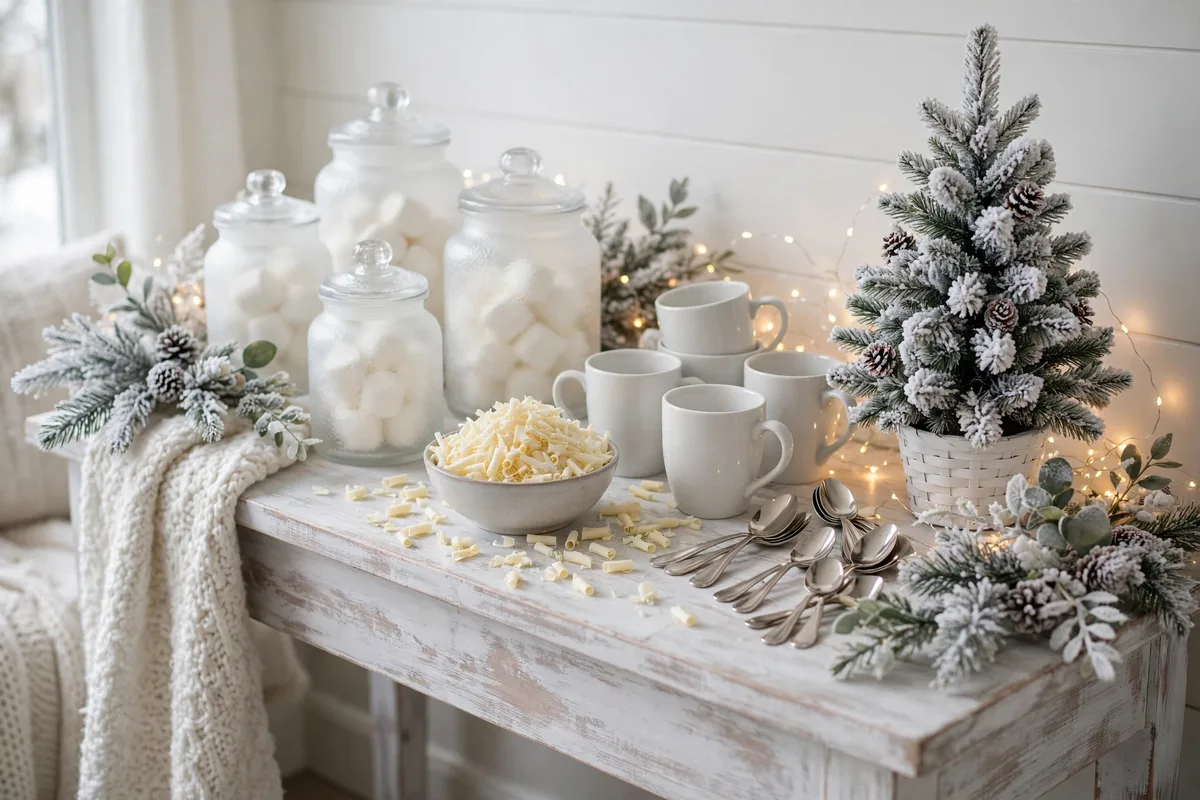
If your December style runs more Scandi than rustic, go monochrome: an all-white winter wonderland cocoa bar with frosted-glass jars, white mugs, silver spoons, and white chocolate shavings as the star topping. Mine sits on a whitewashed console table with a flocked mini tree beside it, and when the fairy lights come on the whole thing sparkles like fresh snowfall. It is the most photographable version I have ever made.
White-on-white needs texture to avoid looking flat, so I vary the finishes deliberately — matte ceramic next to cut glass, knit coasters, a marble slab for the toppings board. I keep one contrast note, a small dark chocolate bar broken into pieces in a white bowl, which also happens to be the topping guests reach for first. This is the bar style I bring out when I want the whole corner to feel calm and intentional rather than busy.
10. A DIY Cocoa Bar for the Christmas Party
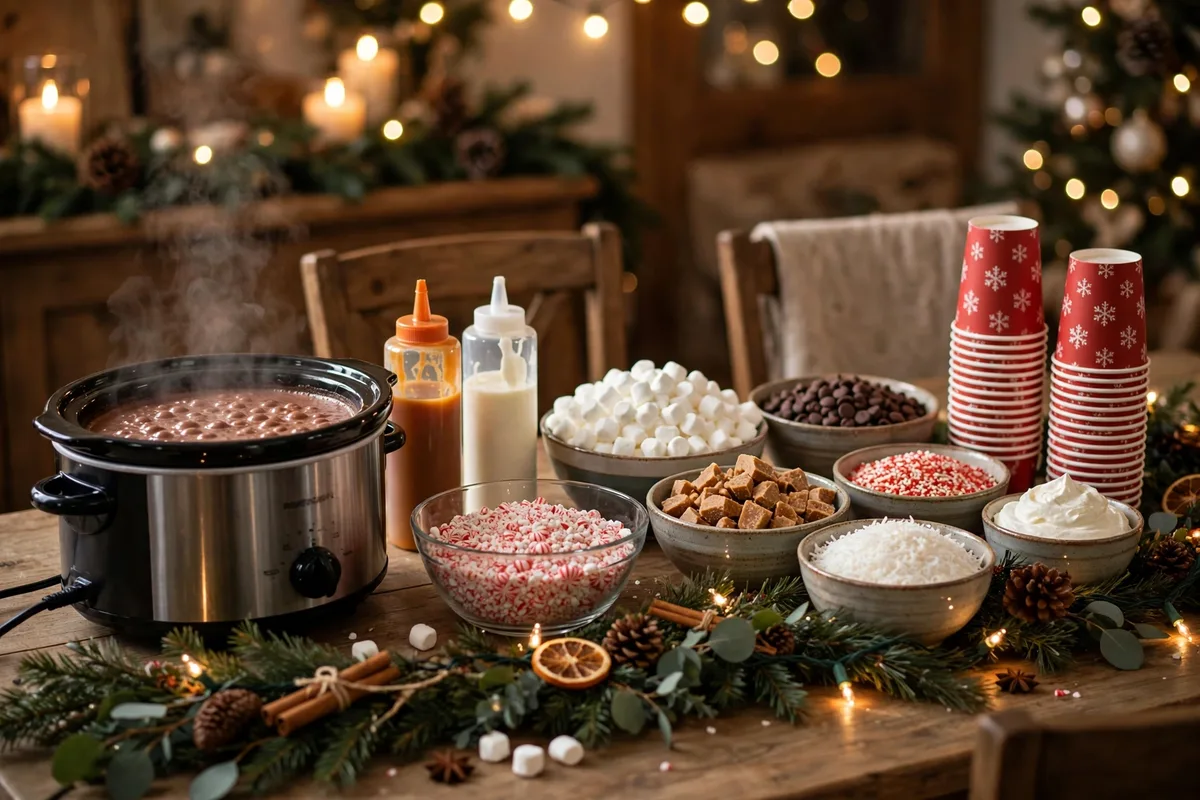
When you are hosting a proper gathering, the cocoa bar needs to survive twenty people without constant refills. My hot chocolate bar setup for a Christmas party recipe: a 4-litre slow cooker of rich drinking chocolate (kept on low), two rows of squeeze bottles with caramel and white chocolate sauce, big bowls of the four crowd-favourite toppings, and a stack of disposable-but-pretty compostable cups for the overflow guests. The slow cooker is the hero — it stays hot for hours and guests serve themselves.
I also print a simple one-page instruction card for the host (me): refill order, where the spare mugs live, and the slow-cooker setting to switch to after the rush. At my last party the cocoa bar sat next to the christmas living room tree and became the natural gathering point — people chatted around it longer than anywhere else in the house. Plan for twice the marshmallows you think you will need; parties always surprise you.
11. A Kids-Friendly Cocoa Bar
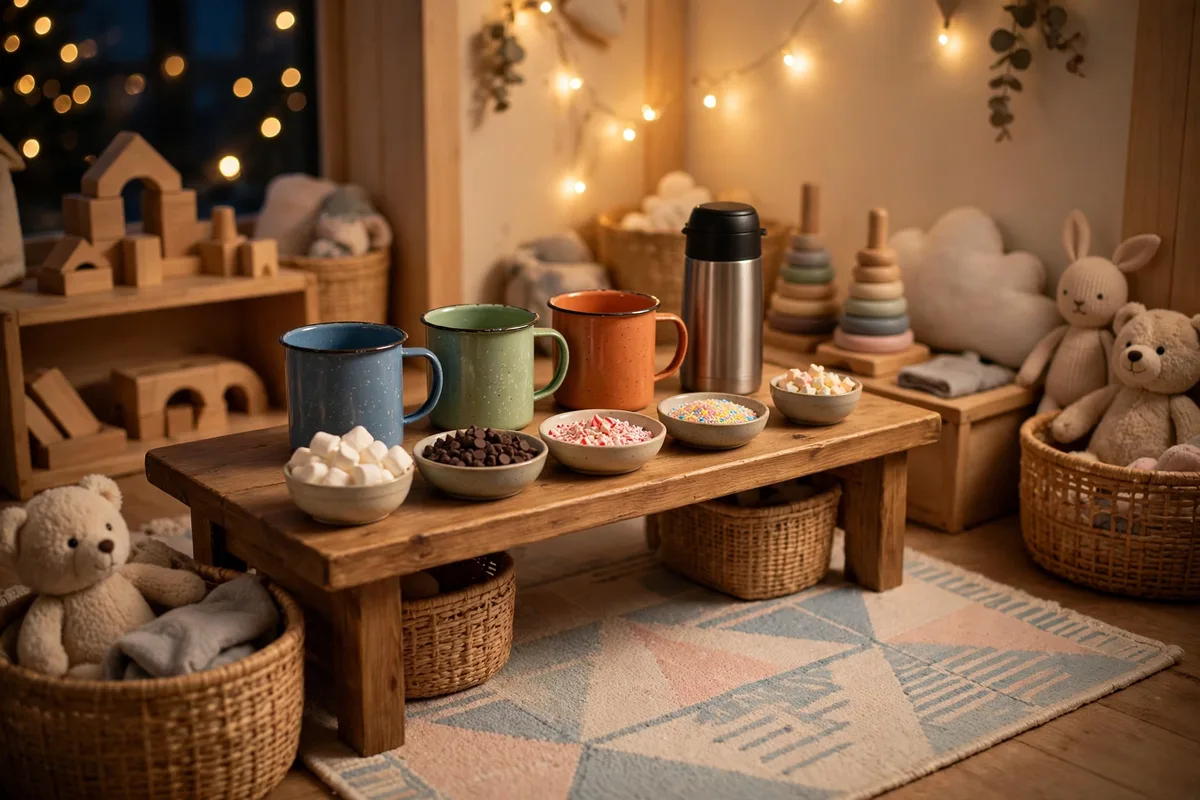
Children need their own version — lower, sturdier, and utterly magical. I built a kids' cocoa bar on a low bench the year my nephew was four: plastic-free but shatterproof enamel mugs, a thermos of warm (not hot) milk-cocoa, toppings in small bowls they could reach, and a "build your snowman cocoa" card where they stacked a marshmallow, two chocolate eyes, and a pretzel-stick nose on top of their drink. He still talks about it.
Keep the drink temperature firmly in the warm zone and skip the peppermint extract (too strong for little taste buds). I lay a washable runner underneath because cocoa *will* go everywhere, and I consider that part of the memory, not a problem. The kids' bar lives one evening in the playroom corner, fairy lights on, Christmas film playing — it is the easiest "special memory" I have ever manufactured for about £10 of ingredients.
12. A Gingerbread and Cocoa Pairing
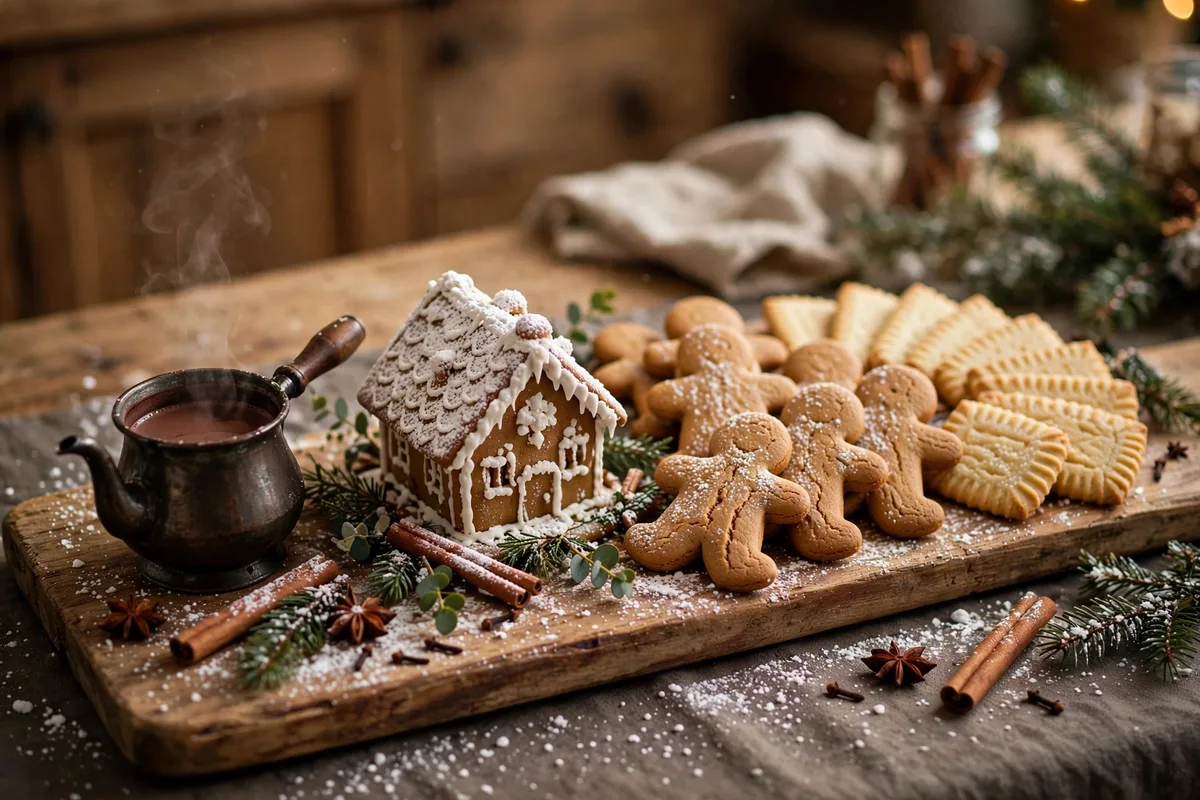
Cocoa tastes better beside its best friend. A gingerbread pairing tray — homemade or bakery-bought gingerbread men, a few Biscoff biscuits, a small plate of shortbread — turns the drink into a full dessert moment. I arrange mine on a long wooden board with the cocoa pot at one end and the biscuits fanning out towards the other, and I always include one spectacular piece (last year it was a tiny gingerbread house from a kit) as the centrepiece.
This is the idea that costs almost nothing if you lean on bought biscuits and one homemade touch. I dust everything with a little icing sugar through a sieve — the "snow" effect takes thirty seconds and makes the whole board look finished. Guests instinctively pick up a biscuit with their cup, which means they linger longer, which means the party feels warmer. Pairing food with the cocoa bar is a tiny bit of hostess theatre and I am entirely here for it.
13. A Hot Chocolate Toppings Display Board
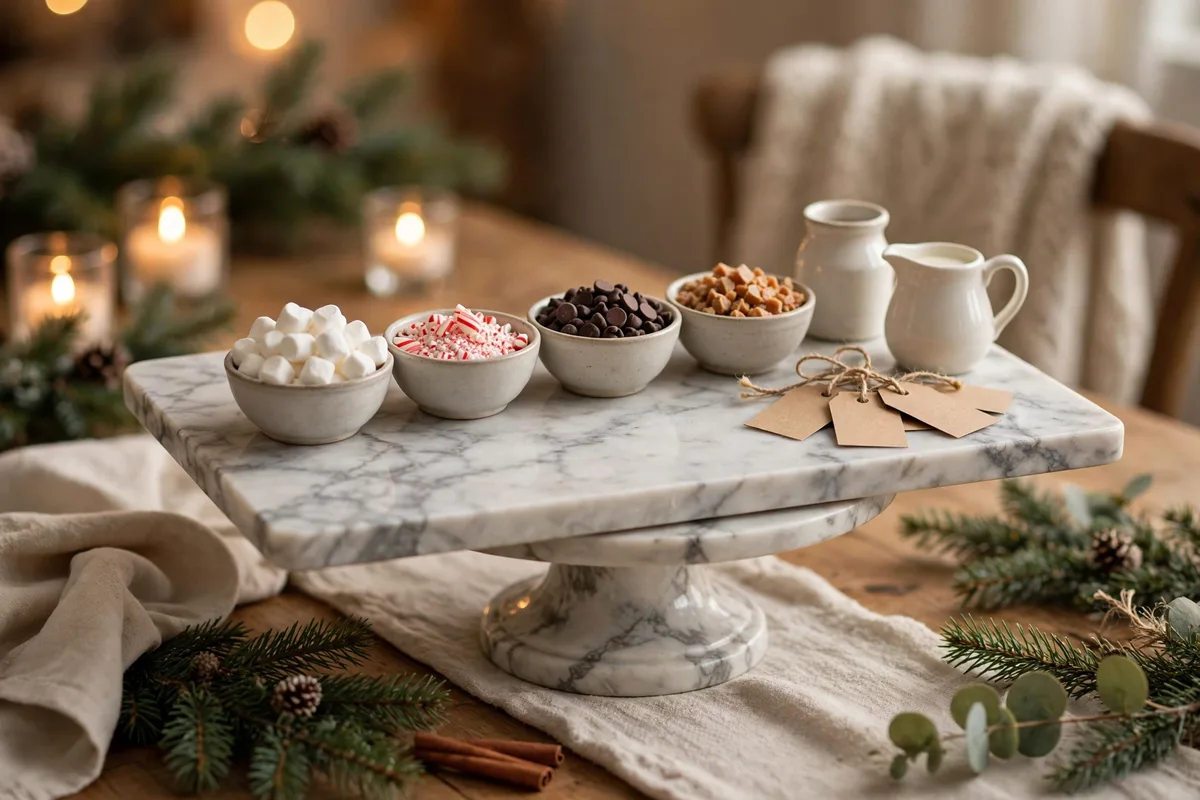
Give your toppings the presentation they deserve with a dedicated hot chocolate bar toppings display: a long marble or slate board holding small bowls of everything — mini marshmallows, crushed candy canes, chocolate chips, toffee bits, coconut flakes, a tiny jug of double cream. Label each bowl with a handwritten tag (I use mini kraft luggage tags and twine) and arrange them in colour order so the board looks like a palette. Guests treat it like a tasting menu.
The secret weapon here is height: put the bowls on the board, then elevate the board on two small boxes so it has presence on the table. I discovered this trick when my toppings disappeared into the tablecloth; the raised board reads as a proper feature. Refill the bowls through the evening rather than starting with mountains of each — a neatly filled bowl always looks more tempting than a depleted pile, and it costs nothing but attention.
14. A Cozy Fireplace Cocoa Corner
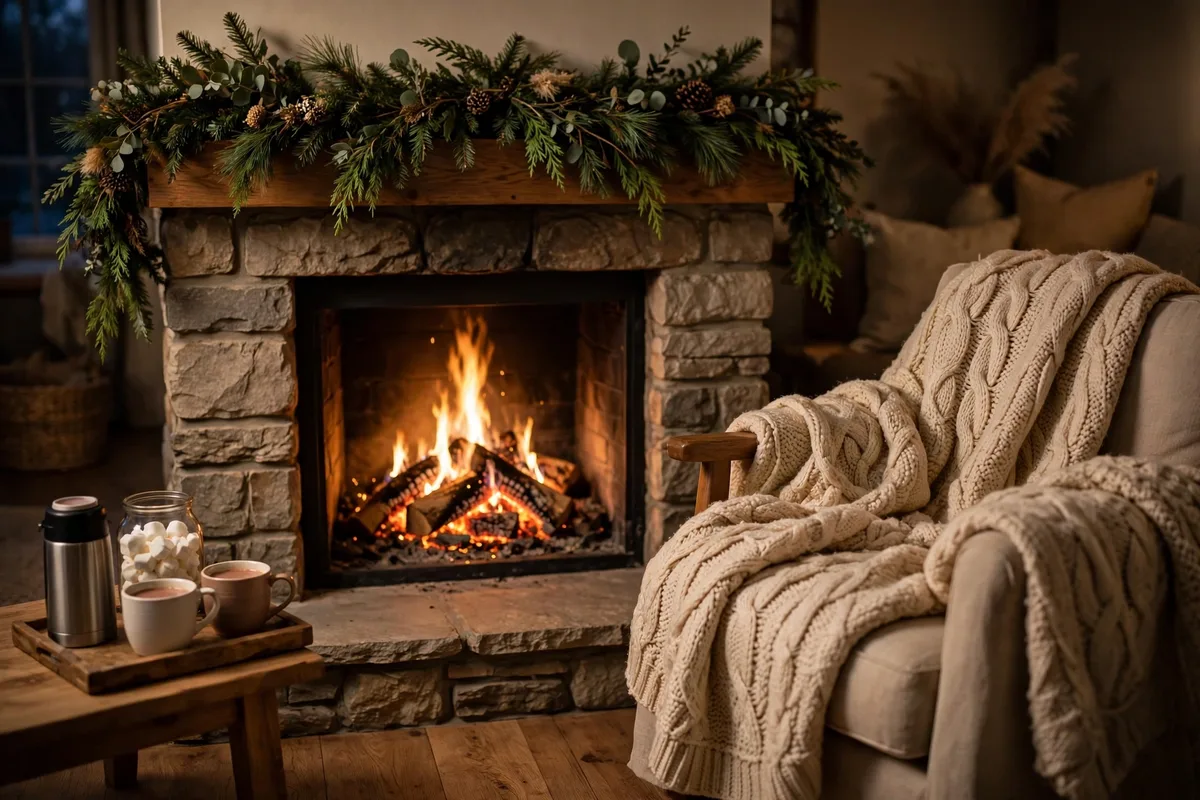
The cocoa bar belongs where the coziness already lives — beside the fireplace. I clear one side of my mantel and set a small tray beneath it: two mugs, a thermos of cocoa, a jar of marshmallows, a blanket draped over the hearth-side chair. The cozy winter corner formula is simple: warmth (the fire), comfort (the blanket), and something warm to hold. We do this every Sunday evening in December and it has become the ritual I look forward to most all year.
Pair it with soft styling around it — a few battery candles on the mantel, some christmas mantel ideas tucked around the tray — and the corner feels completely intentional rather than improvised. I also keep the cozy winter bedding vibe going upstairs so the whole house hums with the same warmth, but honestly the fireplace corner is the heart of it. Nobody rushes a cocoa when the fire is crackling.
15. An After-Dinner Adult Cocoa Bar
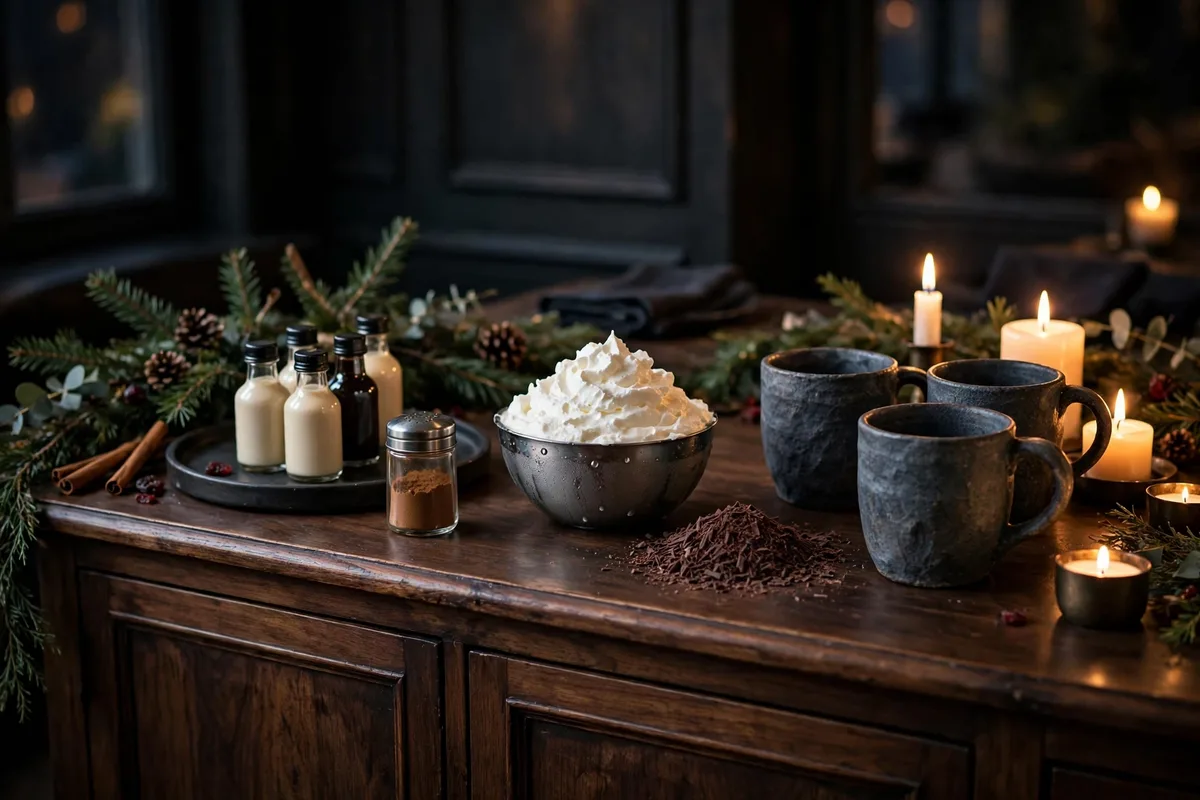
Once the kids are in bed, the cocoa bar can grow up. My after-dinner version adds the grown-up extras: a small tray of liqueur bottles (Baileys, amaretto, Kahlúa — one of each), a shaker of cinnamon, dark chocolate shavings, and real whipped cream in a chilled bowl. I write the menu on the chalkboard with pairing suggestions — "Salted caramel + Baileys" — and set it up after dessert so it feels like a second act rather than an afterthought.
Keep the liqueurs in a separate cluster slightly away from the main bar so daytime guests and kids never mix them up — I use a dark wooden tray as the visual boundary. The mugs shift too: I bring out the big chunky stoneware ones that hold a generous pour and keep drinks warm longer. It is the most elegant five minutes of my Christmas evenings, and my girlfriends now request it by name every year.
You May Also Like
- Christmas Gift Ideas for Mom — thoughtful gifts she will actually love
- Gold and Red Christmas Tree Ideas — a classic festive tree scheme
- Christmas Fireplace Decor Ideas — style your mantel for the season
Our Cozy Conclusion
A hot chocolate bar is one of those rare Christmas ideas that asks for almost nothing and gives back so much — a prettier corner, happier guests, and a reason to slow down on a cold December evening. Whether you start with a single tray or go all out with a rolling cart and a chalkboard menu, the rule is the same: keep it warm, keep it abundant, and keep the marshmallows within reach. Pour yourself a cup, light the fairy lights, and enjoy the cosiest corner of your Christmas.
FAQs
*What do you put on a hot chocolate bar?*
At minimum: a warm chocolate base (mix, shavings, or a slow-cooker pot), mini marshmallows, crushed peppermint, chocolate chips, whipped cream, stirrers, and mugs. Add a menu card so guests know what to build, and keep everything in clear jars so it looks abundant.
*How do you keep hot chocolate warm for a party?*
A slow cooker on the low setting is the easiest answer — it holds a large batch at serving temperature for hours. For smaller bars, use an insulated carafe or thermos and refill from a pot on the stove. Avoid leaving milk-based cocoa on high heat for too long, as it can scald.
*How far in advance can I set up a cocoa bar?*
Dry goods — jars of marshmallows, candy canes, stirrers, mugs, and décor — can be set up a day or two ahead. Make the hot chocolate itself no more than two hours before guests arrive, and whip the cream at the last minute so everything tastes fresh.
*What are the best toppings for a hot chocolate bar?*
The crowd favourites are mini marshmallows, crushed candy canes, chocolate chips, caramel sauce, whipped cream, and a dusting of cinnamon or cocoa powder. Add one surprise element — like toffee bits, toasted coconut, or a flavoured syrup — to make your bar memorable.
*Can I make a hot chocolate bar in a small kitchen?*
Absolutely. Use a single tray, a rolling cart, or even a deep shelf as your station. Keep it to three toppings, one chocolate base, and four mugs — ruthless editing makes a tiny bar look styled rather than cramped, and it takes up almost no counter space.
*What mugs work best for a cocoa bar?*
Chunky, wide-mouthed mugs keep cocoa warm longest and leave room for toppings. Enamel or stoneware mugs suit rustic bars, while porcelain or glass look right on white winter-wonderland setups. Always put out more mugs than you expect to need — guests always outnumber your estimates.